Polymer Clay Canes for Beginners 27 videos, step by step, beginner cane workshop
What people are saying about this tutorial.
jennifer rose
Just finished this first workshop on how to make canes, and I must say I learned so much. This is exactly what I have been looking for, someone who could explain cane making in a step by step that process that I could replicate. I watched the videos, went into my studio and began to create all of the canes Alice showed. I finally have results I can be proud of, and I say thank you so much for doing this workshop. My only question now is when do we get more workshops. If you are only going to take one online class let it be this workshop. Thank you Alice for your hard work, and your dedication to helping others learn the joys of polymer clay.
Online Workshops with Alice Stroppel
[caption id="attachment_102" align="aligncenter" width="100" caption="Member IPCA"]  [/caption]
|
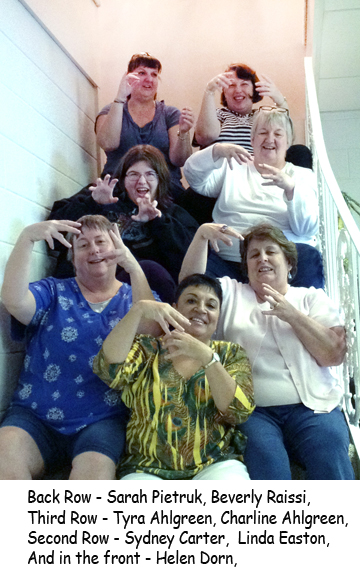
By the time our two day workshop was over, we were all totally into body parts. Feet and lips and noses and HANDS. The picture above is an indication of the fun we had, you can see it was a crazy time with a great group of talented friends. I think they all invited their muses to join us while some pretty impressive face and body parts came to life.
I love teaching, the ah ha moments that produce giant smiles and the looks on faces that say, “got it, I can do that”. It’s so satisfying to watch people step out of their comfort zone and realize how much talent they have.
Just look at these face and body parts that this class made. Everyone made their own sample parts so They’ll have them to look at when they’re ready to make their next character.

Seriously, everyone did a fabulous job and I’m so grateful to be able to share what I know. Thank you ladies.
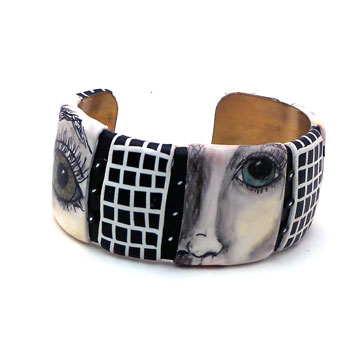 I think with the new Twilight movie just out this bracelet might just fit right in. I didn’t intend for it to be so gothic but the black and white with just a touch of color seems to make it that way. Kind of mysterious don’t you think? I think with the new Twilight movie just out this bracelet might just fit right in. I didn’t intend for it to be so gothic but the black and white with just a touch of color seems to make it that way. Kind of mysterious don’t you think?
Both this bracelet and the one below are the newest additions to my Etsy shop.
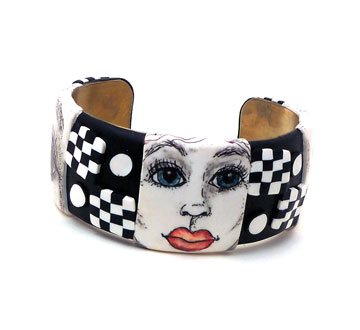
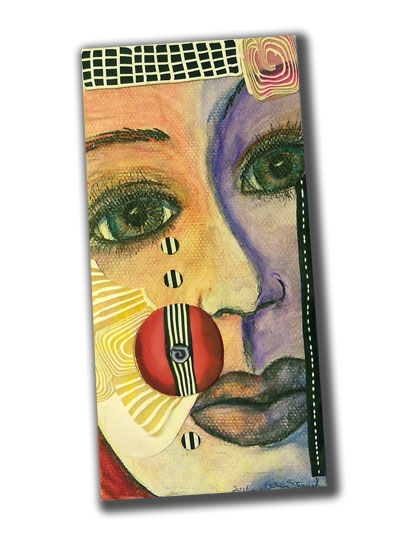 When I tell you I have too many ideas in my head, it’s the truth. I was inspired and reminded by Vicky in my class the other day that I love playing with color on faces. I love her faces. When I tell you I have too many ideas in my head, it’s the truth. I was inspired and reminded by Vicky in my class the other day that I love playing with color on faces. I love her faces.
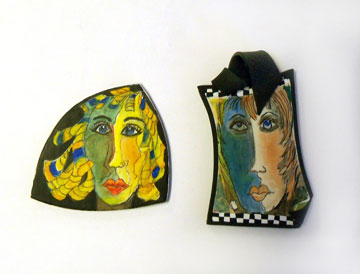 Vicky She said she was inspired by a face cane I did and an artist friend of hers. Here’s a bracelet I made with that face cane.
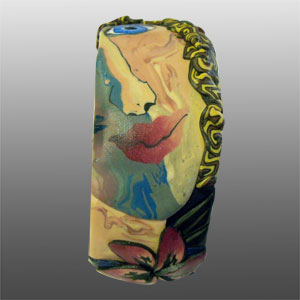
I was inspired when making the face cane by a fabulous watercolor artist friend of mine, Janet F. King. Here’s a sample of her work. Look at all the different colors in her faces.
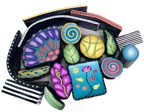
 Boys in the Band - Janet F. King And so it goes, inspiration is around us everyday and in everything. The problem is finding the time to execute all the ideas. Which brings me back to the first picture on this post. This is a painting with pen and ink and markers on canvas coated with polymer clay, then accented with polymer clay canes. The layering inspiration came from a Kathleen Dustin class.
Combining lots of ideas got me here and I really, really, really like doing these and can’t wait to make more.
I was going to wait to post this next idea until tomorrow, but since it’s the 4th of July, I probably will be outside all day so I thought I’d go ahead and post it now.
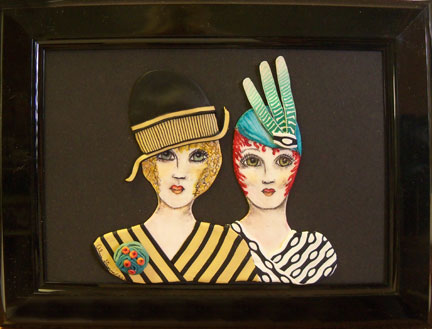
I am just as excited about these women as I am about the canvas woman. I’ve cut out the shape from polymer clay, used pen and ink and markers, then added polymer clay canes again. I’m excited! It’s why I love polymer clay, the possibilities are truly endless.
 Face Patterns These are some of the sample items I made for my class last weekend and I think they are a good mix of styles from the same group of patterns. The face on the bracelet in the middle is the same face that is one the figure in blue surrounded with black and white canes.
If you are a student in my P&I class the patterns in pdf form are emailed to you after class, usually the next day. If you can’t make it to the South East anytime soon, you may want to consider my tutorial and these patterns. Both are for sale in my Etsy shop.
Now that I’ve started coloring on clay, and I kind of feel like I’m 10 and have all these wonderful coloring book pages in front of me and all the colors to go with it. I just can’t stop.
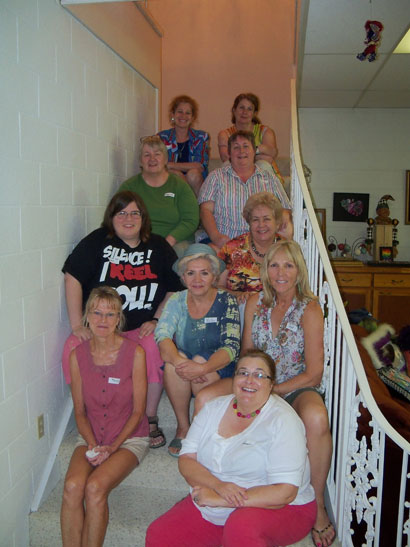 Carole, Ellyn, Charlene, Sydney, Tyra, Marty, Terri, Vicky, Pat, Karen It was a hot day in Central Florida, but we had enough fun to make up for it. This was a great group of woman who created some fabulous work. I’m always inspired by the diversity of the pieces. Even though we all start at the same place we end up with such different creations, it’s a joy to witness.
Most of these shape were created with Barbara McGuire’s Antique Door Plate stamps. You can purchase them from me, just leave a comment on this post if you’re interested.
Here are the works of art in the order of the stairs ….. pendants first.
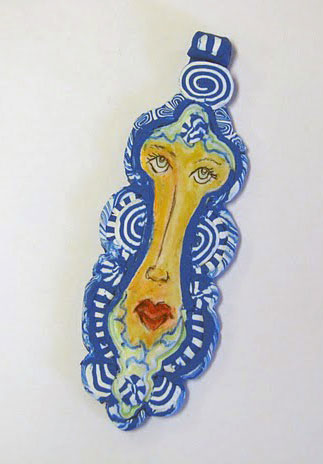 Carole Carole wanted a blue surround and made quick work of putting together blue canes for her soulful girl. Love her eyes.
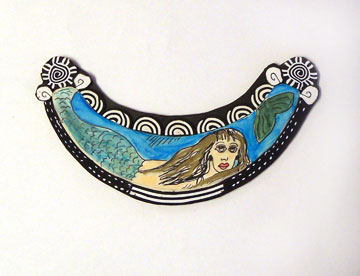 Ellyn Ellyn and I are on the same wave length, I love mermaids and this one is going to be such fun to wear.
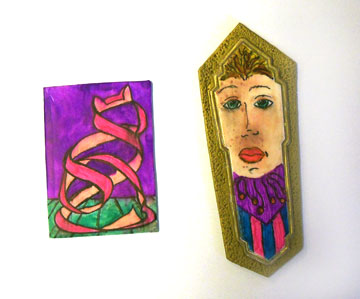 Charlene Charlene freehanded this cool ribbon cat and step away from the rest of the group with a gold surround for her face. Charlene is President of the Orlando Area Polymer Clay Guild that sponsors the Fandango retreat. You should think about attending next year.
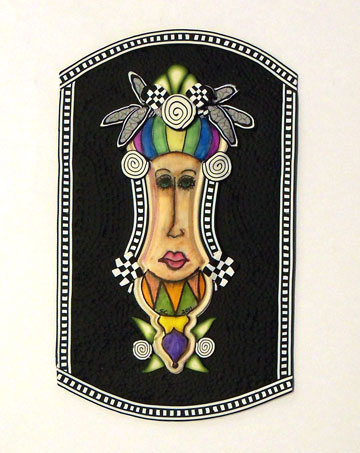 Sydney Okay, so Sydney just kept adding until hers is now too big to wear and is going to grace the front of a journal. A mixture of canes and ink and markers, can you tell which is which? Can’t wait to see the finished piece. Sydney is involved in the Florida Gulf coast Polymer Clay Guild, if you live in that area you should check it out.
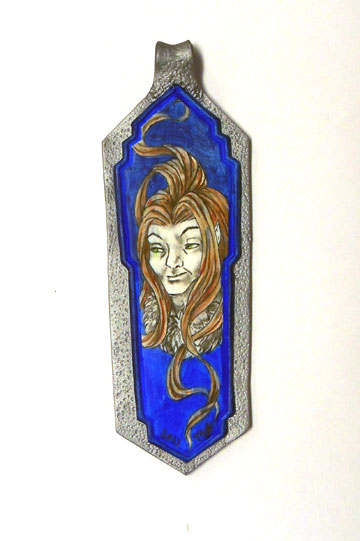 Tyra Tyra created her own drawing of this interesting mythical character and we were all impressed. Lots of wonderful detail.
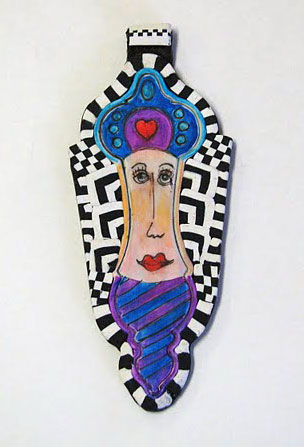 Marty Marty kept saying she couldn’t draw and didn’t like her pendant at first, but by the end of the class she walked out with it around her neck. I think she was mistaken about the drawing part.
Marty is owner of Beads, F.O.B., Inc. in Sarasota. If you’re over that way stop in and tell her and Karen I said hi.
I don’t have a pendant picture for Terri. Terri, if you have a picture send it to me….. please.
 Vicky Vicky created these fabulous faces on her own shapes. I just love the colors and her imagination. Vicky has a website with more of her beautiful work displayed.
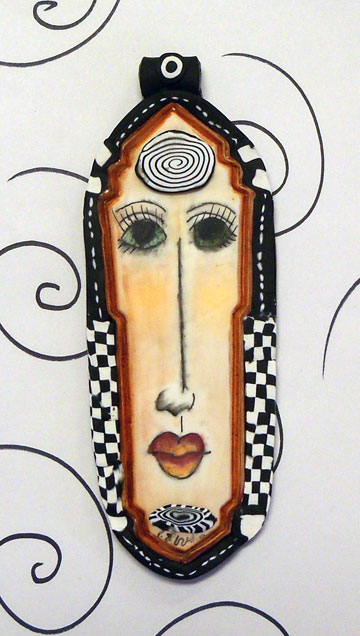 Pat Pat outlined her face in red, a great accent against the black. Fun! Love those lips.
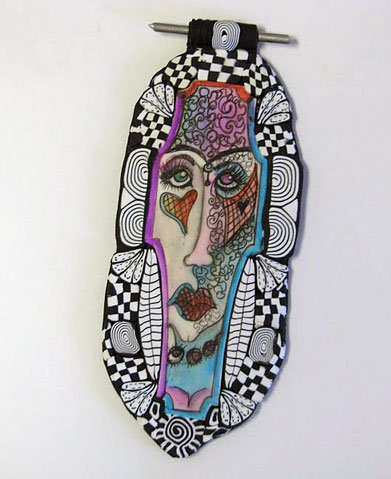 Karen Now Karen’s face is right up my alley too. It’s strange and funky, and yes very cool, I love that.
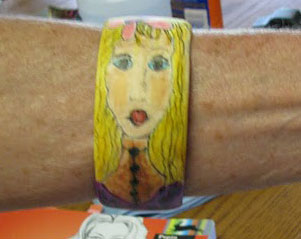 Terri Terri created this sweet girl and used her imagination to cover a mistake in coloring. I know she’s going to love wearing this bracelet.
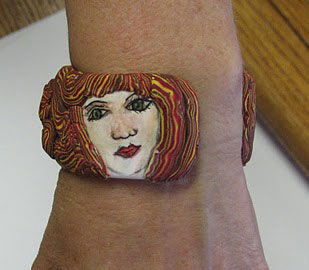 Carole Carole combined the pen and ink with a hair cane to come up with this unique bracelet. There is three different faces, it’s really cool.
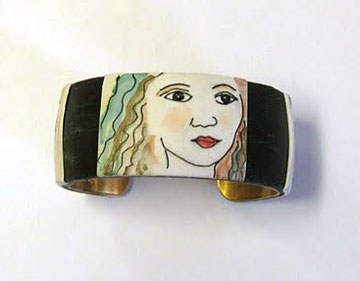 Ellyn Ellyn has three faces on her bracelet as well. I love the softness of this face and the coloring of the hair. She emailed me the next day saying she wore it home and it made her smile. YES!!! that’s my goal, so mission accomplished.
Ellyn works at the Vero Beach Museum of Art, check out what they have to offer.
Not everyone finished their bracelets in class but will finished them at home I hope. Send me pictures everyone.
Thanks to Sydney for taking pictures of everyone work, I had to borrow some of hers. She also has an album she created. Take a look.
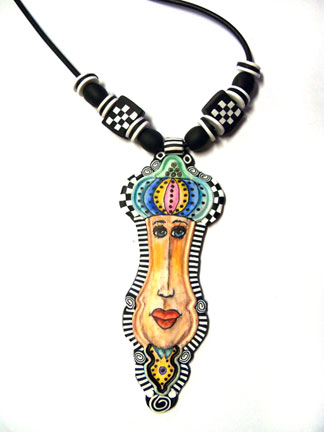
Here’s the second necklace made with faces from my Fandango retreat. More black and white and pen and ink. Can you tell I’m having fun!
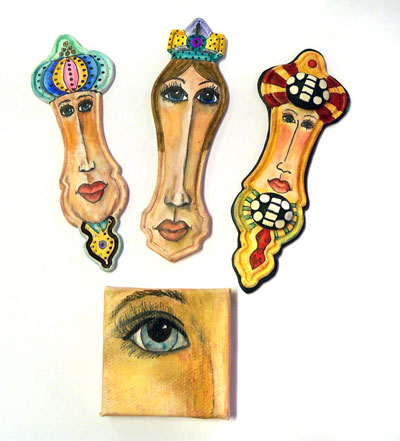
I promised you and myself videos and photos from another wonderful Orlando Area Polymer Clay Guild’s Fandango, that’s true, but all I have is this one photo taken here at home. And it’s only of my stuff, not of the instructors, not of the demo artists, the students or the wonderful Fandango Committee.
You ask why??? I packed all my cameras in my large black camera bag and left it by the door, put my very huge tripod in the trunk the night before so I was all set, right! The problem was, at 6:00 the next morning, I left the camera bag sitting right there by the back door. I was 50 miles away from home before I realized what I had done, or rather hadn’t done.
There is an up side to this, I didn’t have to worry about getting the pictures, rounding everyone up and being responsible. I just played, visited and enjoyed my short time there. So even though I’m paying for it now and you don’t get to see videos from this year, I truly had a carefree time at Fandango.
I really did have a great time, seriously, I met so many wonderful new friends and loved seeing all the friends from last year. I have to tip my hat to this years Fandango committee, they did an outstanding job. Wait until you see who the instructors are for next year, start saving now! And don’t worry, I will still shamelessly plug fandango and the Orlando Guild throughout the year.
The picture above shows some of the faces I worked on while I was at Fandango. I also finished another bracelet with eyes and lips and that went home with my new friend Kathe Keck, thanks Kathe.
The face on the right was one of the first faces I did using my Pen and Ink Technique and a stamp from Barbara McGuire’s collection. The other faces I’ve done recently. I can see how I have improved, can you?
Granted, they are still silly faces, not realistic at all, but that’s the point with these guys. But I like the definition in the nose and better coloring.
The solitary eye is on a 2″ x 2″ canvas. I painted it with liquid clay and then used my technique. Fun! I’m getting closer.
Everything we do, we do better the longer we work at it. Clay, drawing, life!!! I decided I wanted to draw faces and in the beginning I wasn’t doing too well, but I have continued to try and I’m happy with how far I’ve come. There is still miles to go before I’m able to show my work next to some of the artists I look up to, but that’s okay, I am truly having the best journey.
And as I learn, I want to teach what I’ve learned because I enjoy teaching and sharing! I can’t wait to share this pen and ink technique and I’m going to be teaching here in my studio in Sebring.
I met several wonderful clayers at Fandango that said they would like to spend the day creating their own special pen and ink “masterpieces” so here is the first of many classes I’m offering.
Join me in my studio on
June Saturday 25th 9:00am to 4:00pm
$50.00
Optional $8.00 – supply package that includes
1 Brass bracelet blank
Black and white cane slices
Necklace cording
Sebring, FL
Lunch included
Students limited to 8
email me to register alice@polymerclayetc.com
Download the flyer here
Pen and Ink on Polymer Clay Class
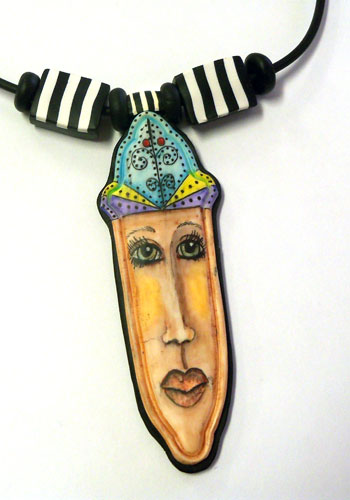
I’ve been working on several pieces to send to Woman Creative. These are a few face Pendants that use Barbara McGuire’s Vintage Hardware door plates Shapes rubber stamp (boy that’s a mouth full), polymer clay and my Pen and Ink technique.
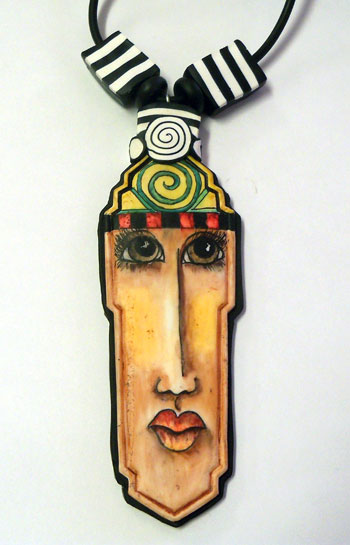
You can order the rubber stamps from Barbara online, or better yet come and join me at Woman Creative on Saturday June 4th from, 11:00 to 5:00 and make one with me. I promise you, we’ll have fun.
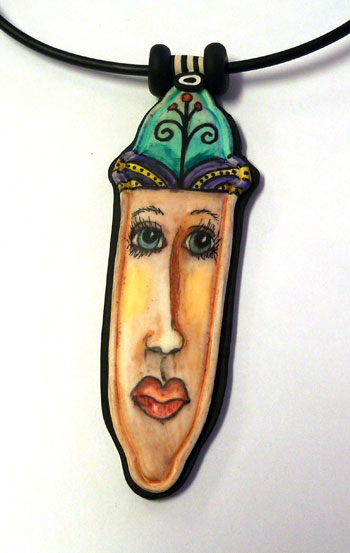
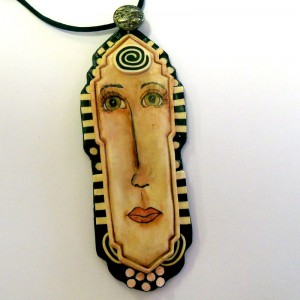
When I came home from Woman Creative – Art and Jewelry Design Center just outside Atlanta, I came loaded down with rubber stamp shapes from Barbara McGuire’s collection. I started playing around with them and because I am so involved with my pen and ink technique I decided to marry the two elements. I, as always have created something I think if incredibly fun and a bit off beat, but I’m diggin’ ’em.
I have tons of old jewelry and buttons and well just stuff (cool stuff mind you) that I’ve be gathering over the years and have decided to continue to use those bits and pieces to accent my work. I’ve added a cool button to the top of the face pendant above.
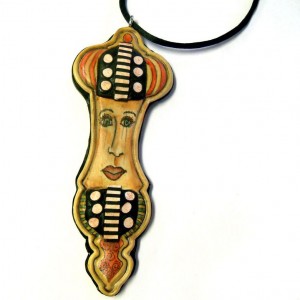
The pen technique is the one I demonstrate in my video for sale in my Etsy Shop and the shapes are rubber stamps from Barbara McGuire’s collection. The ways you can use the pen and ink technique are endless. Use some of these ideas of mine or dream up some of your own. The sky is the limit and the only thing keeping you from floating away is you thinking you can’t fly.
Okay, okay, you can’t REALLY fly, but you can feel that way sometimes if you lose yourself in your creativity. Stop judging yourself and you will be more than surprised at what you can create. I’m talking to myself as much as to you, I produce things I’m proud of when I make them for the joy of it, not for the dollars I might gain.
Learning to let them go to someone else is the next big stumbling block for me, but I’m doing much better at that too. I can’t wear, look at or hang all the things I make, so I find it much easier to let them go than I did in the beginning.
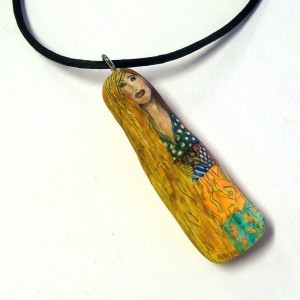
I’ve also been playing around with whole shapes. I like this girl and really wanted to keep her, but I’m putting her in my Etsy shop. I have ideas for oh so many more. Here I am again, too many ideas and not enough time. Oh well, there’s always tomorrow. Maybe I’ll see you then too.
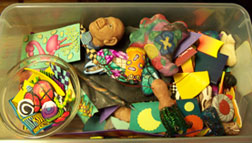 If you have been playing with clay for awhile, you have to have a box full of bits and pieces of things that are half finished or half burned or just a big question mark. If you’re like me, you can’t even remember doing some of them. If you have been playing with clay for awhile, you have to have a box full of bits and pieces of things that are half finished or half burned or just a big question mark. If you’re like me, you can’t even remember doing some of them.
Anyway….I’ve been cleaning and rearranging and wondering if I should just throw some of these older “probably never going to finish” bits away. When I came across this piece that I was messing around with (see it here) and decided that instead of throwing it away or putting it back in the shoebox, I’d combine it with other slices of old canes and make something just for me to hang on the wall.
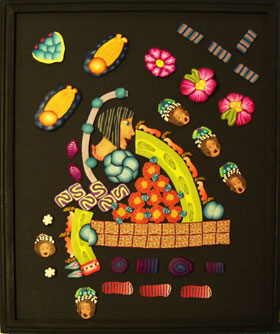
So here it is, a sample board of canes I’ve made or I like to call it a story board because it’s kind of a story of where I’ve been.
I’ve mounted them on a piece of black foam board that I got from the dollar store and put it in a dollar store frame. So there isn’t much money involved but I’ve rescued some canes and I get to look at them from time to time.
Next….another idea I’ve been working on. See ya’ then.
|
|






Comments