Polymer Clay Canes for Beginners

27 videos, step by step, beginner cane workshop beginner Cane Tutorial What people are saying about this tutorial. jennifer rose Just finished this first workshop on how to make canes, and I must say I learned so much. This is exactly what I have been looking for, someone who could explain cane making in a step by step that process that I could replicate. I watched the videos, went into my studio and began to create all of the canes Alice showed. I finally have results I can be proud of, and I say thank you so much for doing this workshop. My only question now is when do we get more workshops. If you are only going to take one online class let it be this workshop. Thank you Alice for your hard work, and your dedication to helping others learn the joys of polymer clay.

Online Workshops with Alice Stroppel

Catagories

[caption id="attachment_102" align="aligncenter" width="100" caption="Member IPCA"]Member IPCA[/caption]

Catching Up or What I’ve Been Up To

It’s been over a month since I’ve posted here on Polymer Clay Etc. and so much has happened. All good, exciting and fun.  You might have seen these images and heard all this before on Facebook etc. but this is for my friends who aren’t on those other social media sites.

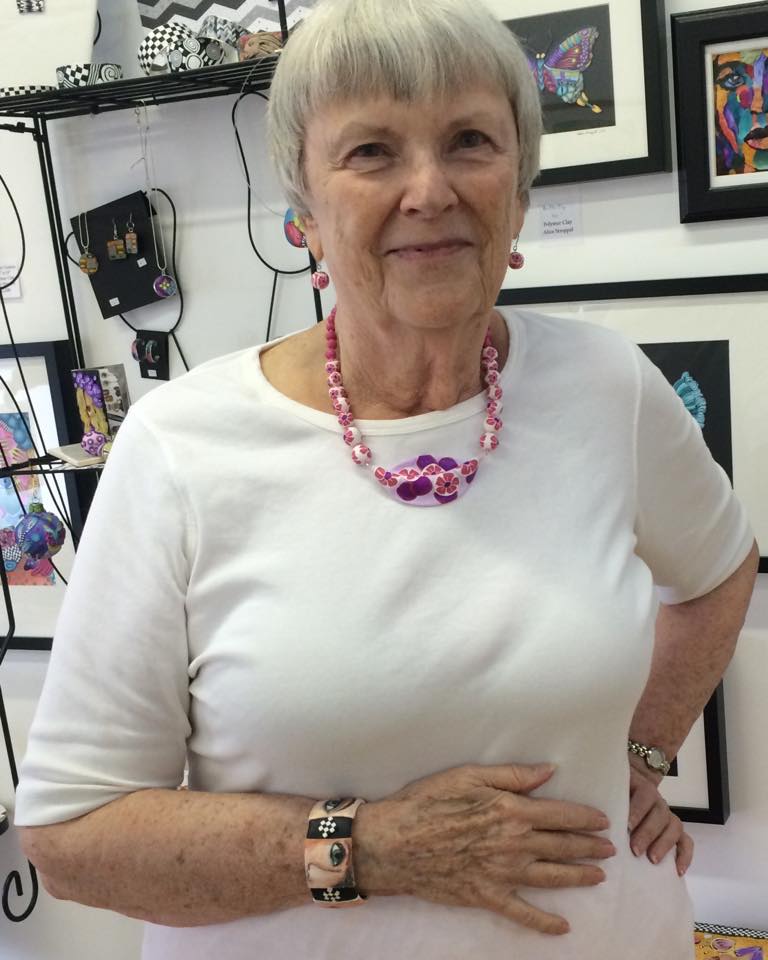
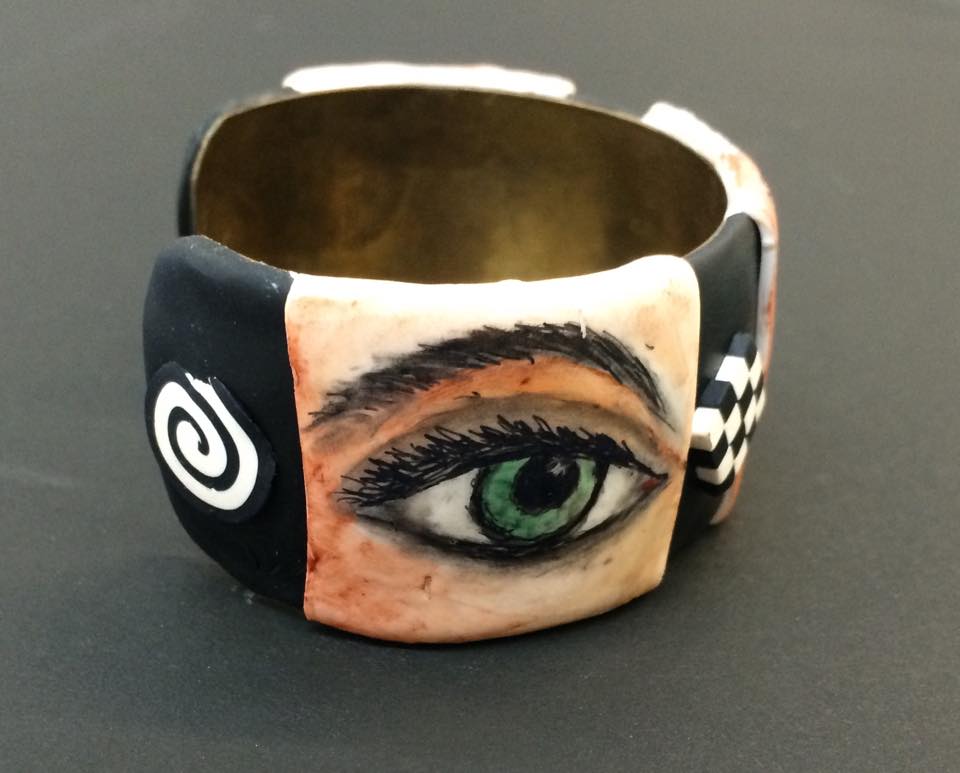
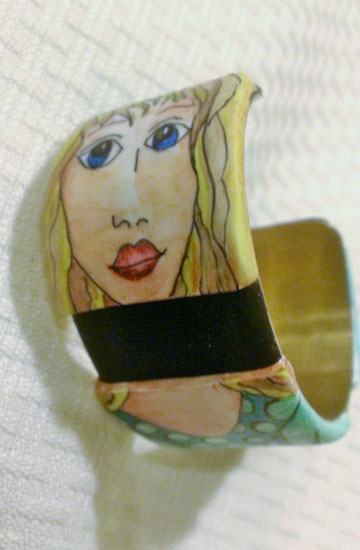
First of all I had a private Pen and Ink workshop with Mary Jane Reinhart and she created a great bracelet that day. You should see the work she’s doing now, fabulous! Plus she’s so much fun, I love having her in the Studio.

Mary Jane Reinhart

eye - Mary Jane Reinhart

I was over the moon when I received the newest addition of Belle Armoire Jewelry magazine,  just before I left town for a retreat.

Belle Armoire Jewelry Magazine 

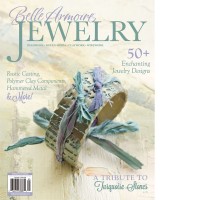
Laurie Prophater wrote a wonderful article about a challenge she proposed to Meisha Barbee, Julie Eakes and me when they were all staying at my house and playing at Studio 215 while Meisha was teaching. (Read about the fun we had here.) I’m thrilled to be published along with these talented women. Thank you Laurie for thinking of such a enjoyable project.

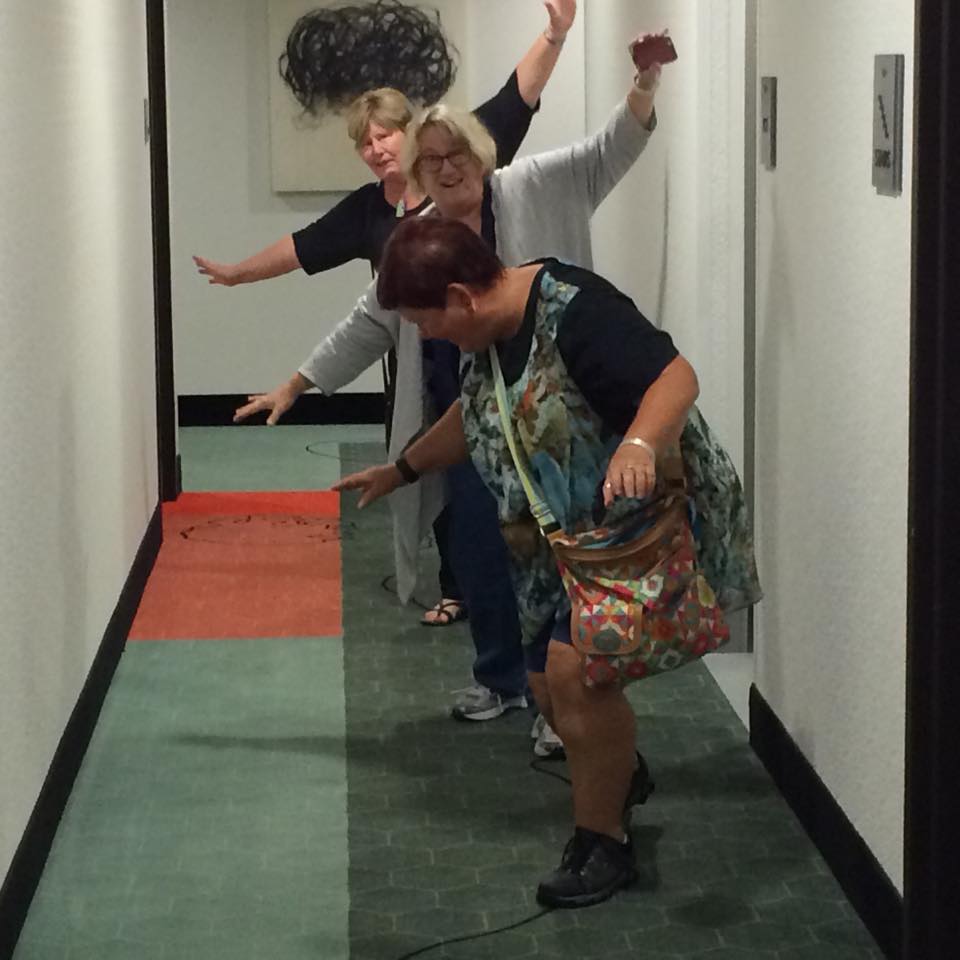
Next I met up with several claying friends in Denver, Syndee Holt, Julie Eakes, Meisha Barbee, Libby Mills, and Emily Levine, we had a great time.  Crazy but oh so much fun!

syndee, Julie, Meisha


Then it was on to the retreat where we exchanged bowls. 25 incredible bowls came home with me and this exchange started me on my bird obsession. I posted about my bird bowls and my larger bird wall piece here.

I came home with many wonderful things from an auction we have every year and I purchased some lovely pieces from my friends to sell at Studio 215 with more to come. I can wait to share some of them with you. I’ll be posting them on my Studio 215 blog and on my Studio 215 Facebook page. If you’d like to see what I’m up to at the Studio, sign up to receive a notice each time I post, my newsletter, and like my Facebook page.

I can be found on Instagram , Twitter,  and Tumbr too. Whew.

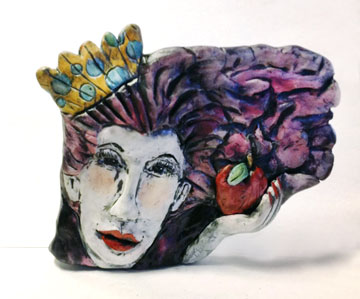
Last week I was featured by Cynthia Tinapple on Polymer Clay Daily  and that is always treat and a compliment. Thank you Cynthia.

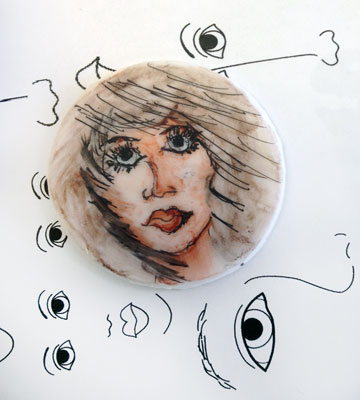
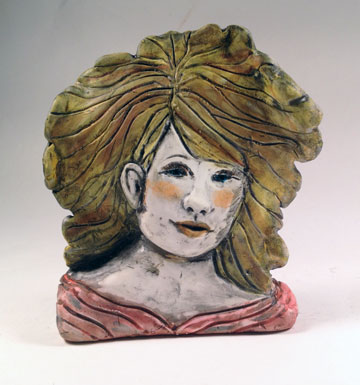
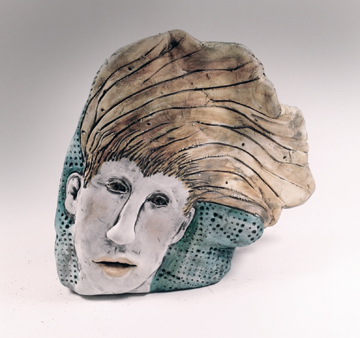
I was featured with my newest face that I created for the auction at the retreat. I was flattered that there was many bids on it.

Alice Stroppel Face 8-15

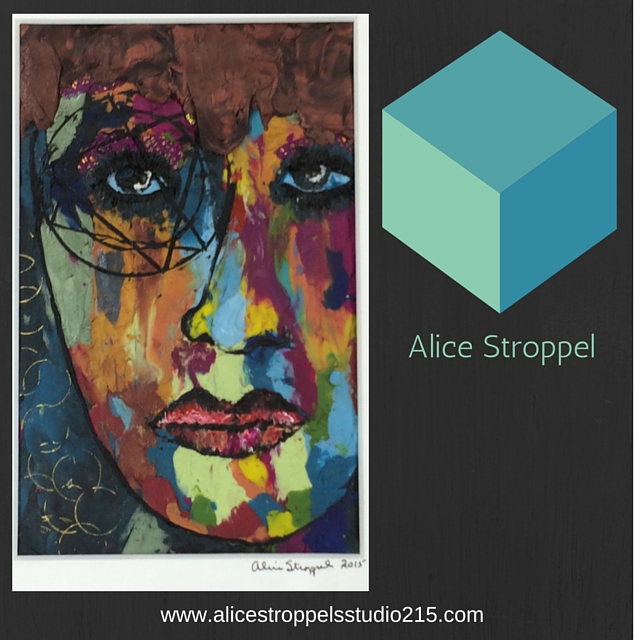
I made this cool graphic using an app called Canva. My friend Meredith Arnold shared this with me and I can’t stop using it. Very cool, thanks Meredith.

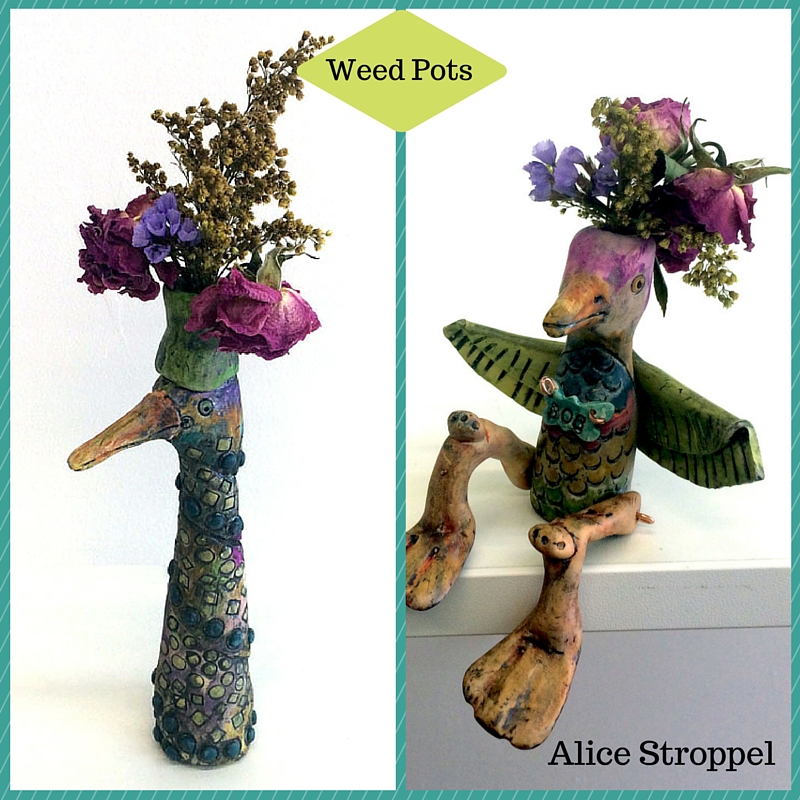
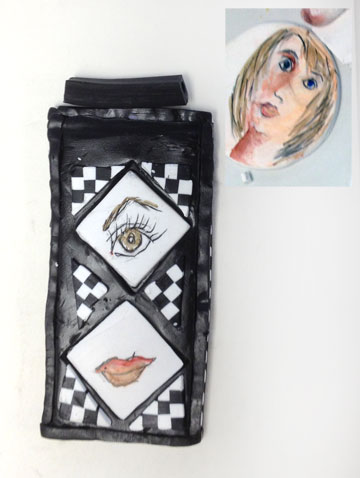
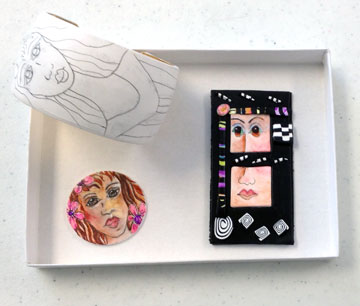
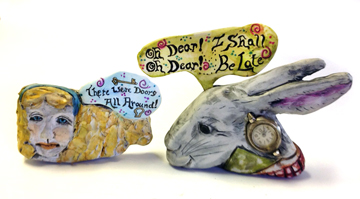
Here’s another graphic made with Canva showing off my newest bird weed pot prototypes that I worked on while on retreat. I hope to get more of these done showcasing different critters and characters. I’m smiling and that is always my goal, to create things that make me smile.

Alice Stroppel bird weed pots

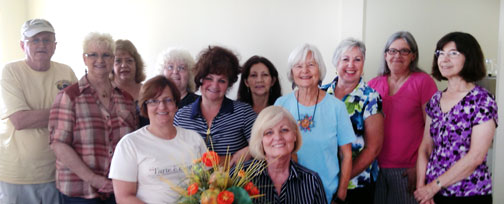
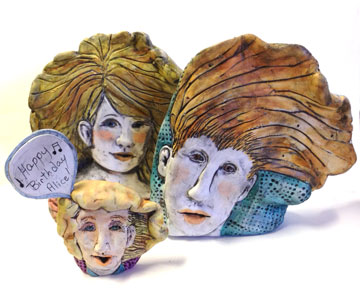
The beginning of September brought more laughter and fun at Studio 215 when several of my favorite people came to take a Profile Face cane class with me. We had a great time for sure.

Polymer clay face cane studio215--9-3-15

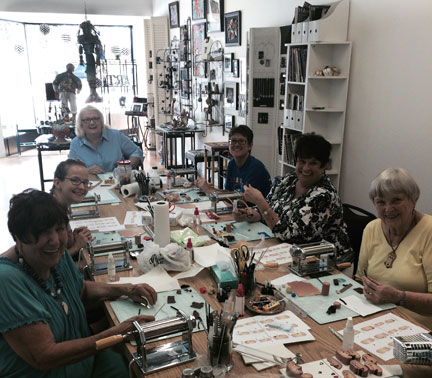
Dottie, Kathryn, Barbara, AnnaMarie, Majel, and Mary Jane are new converts to polymer and I believe they aren’t getting away without clay sticking in they brains. They’re having as much fun as I did with I first started, but they’re lucky to have others to share the experience. Thanks, ya’ll are making me so happy to see you having so much fun and making such cool things.

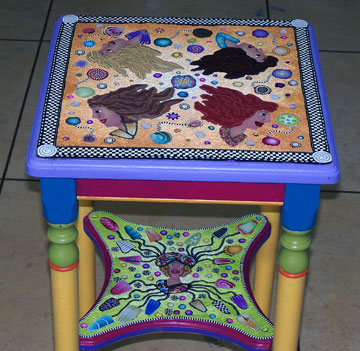
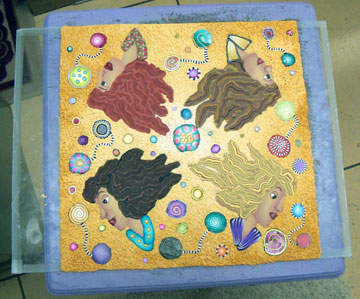
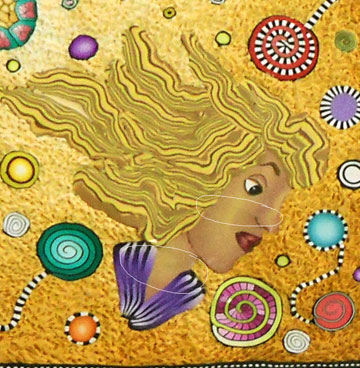
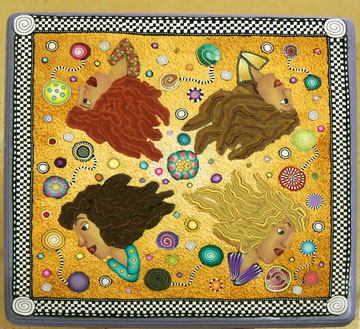
Then to top it all off, Kathryn Obidzinski has been my apprentice for several months now and before I went on retreat she started a palette knife polymer clay self portrait. I think she created a wonderful piece. I know she had fun, learned a lot and I hope I can reel her in to explore polymer clay a bit more.

Katherine-Obinzinski


I’m spending the rest of the day prepping for the Houston Polymer Clay Guild’s Lone Star Retreat. I’ll be teaching along with Randee Ketzel and Sarah Shriver. Next month it’s Sandy Camp in San Diego. Just too much fun!!!


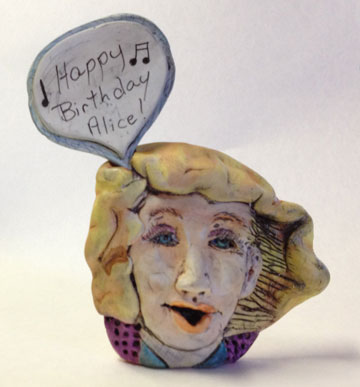
Thanks for stopping in, Alice


Faces on Bracelets – Pen and Ink on Polymer Clay

 pen and ink on polymer - Alice StroppelI took time out from cane mapping to finish this face bracelet. It’s pen and ink on polymer clay. I’ve had the bracelet covered and baked for  months so it was about time I finished it.

Disaster Averted – Mixed Media – Polymer Clay Table

polymer clay table top - Alice Stroppel


I’ve been working on the polymer clay cane mapped top of my little table off and on for days. Right now I’m not able to work days in a row, but can only get to my studio 3 or 4 days a week. So getting this piece finish it taking awhile.

I thought I might not share with you what happened, you know, admitting to a huge mistake and all, but then I decided that you might benefit from my lesson learned. Besides, (laughing) I was able to save it so I don’t look to stupid.

I’d already baked the top once with only the girls on the glass. See last post. I finished the background and cane slices and places it on the table top to see how it looked. I added some more cane circles and then baked it again.

top in progress - Alice Stroppel


I added my dot, dot, dot cane around two edges of the baked piece and then a row of black and white check. The reason I only did two ends was because my glass wasn’t big enough to do the other two sides.

I baked it again and I was very happy with the way it was coming along. Then…..DISASTER….I can’t show you pictures, because I had to work quickly to try and save the piece and all my work.

Here’s what happened. I removed the baked top from the glass and put it on a large ceramic tile that I work on. I thought, great, this is just the right size to finish the edges. I added more dot, dot, dot cane and checkered canes to the remaining two edges. I finished off with a larger dot, dot, dot cane.

Fabulous, now to bake it and see how it fits the top. I had planned to figure out the very edges once I could really see how much room I had left.

I considered using an extruded piece that I could bake and then glue in place. I received a new CZeXtruder from Kimberly Idalski and want to try it out on the edge. I’ll be posting more about using the new extruder in another post.

Well………..I put it in the oven, baked it the normal time, the buzzer went off, I opened the oven and the piece was a total mess! YIKES!

Buckling in the center and a couple of other places and so drastically the blonde girl had cracked right in two across the middle of her face and neck.  Circled in white in the picture below, this is after the fix and I’m still amazed a how well it turned out.

Alice Stroppel table close up

I won’t repeat what I thought and said in the minutes that followed……. but I was able to save the entire piece and honestly I still can’t believe it. I wish I had pictures of the before.

Here’s what I did to save the piece. At first I just used a towel to press the bulging clay gently back down. It seemed to help but it wasn’t enough and the pressure wasn’t even. The tile was still extremely hot. I used another tile the same size to place on top of the piece to apply even pressure. I first placed a piece of paper on top of the design, I didn’t want the second tile to create a shine.

I remove the tiles from the oven tray and onto a cooler surface, not a cold one, just cooler. When I had completely cooled I removed the top tile and paper and it had pretty much gone back into the original shape. You can imagine how relieved I was. I’ve ruined many things in my day, but this was the biggest, most time invested piece that I “almost” lost.

I glued it down quickly to my table top. The blonde girl was actually in three pieces, but I put her back together like a puzzle and glued all the pieces in place. You can barely see hair  line cracks and that my friends is the ONLY way you can tell the was a near disaster.

Now, there are two things that may have cause the buckling. At first I thought it might have been because I moved the rack up one level, I wanted to bake another piece at the same time and that put the whole thing closer to the top of the oven, you know, heat rises. And that may well have contributed, but this morning I really think the main problem is that it was on the large tile. I actually had the tile at an angle in a broiler pan and air could get underneath it. But the tile was very hot and I think the glass must not get as hot or maybe not hold the heat as well.

Alicestroppeltabletop1w

I bake in a regular home oven, by the way.

Whatever the reason, I will stick to baking my cane mapped pieces on glass and I won’t move away from the center of my oven.

Here’s the finished top, whew is all I can say. I’m still not sure about the very edges and I want to add more slices to the leg etc. More when I can….

Claying with Kathe

Kathe Keck

My friend Kathe Keck came to see me a couple of weeks ago and we made face canes. I told her she was my test model for a full face cane class. We had a great time, she went home with a face and I learned a bunch about what I need to stress when I teach it next. Stay tuned for dates and places. (sometime in 2014)

Kathe’s moving to the West Coast and I’m glad she could come play with clay before she left, I’m going to miss her. But luckily, I’ve been invited to visit, so l’m looking forward to a trip in 2014. Fix up my room Kathe, I’m almost on my way.

Orlando Area Polymer Clay Guild – Pen and Ink on Polymer Clay

OAPCG workshop with Alice Stroppel

I always enjoy spending time with the Orlando Area Polymer Clay Guild. Their group has so much fun together and there are always new members to meet and old friends to greet.

Once again I want to thanks Polyform Products and Iris Weiss for sponsoring this class with a generous amount of Premo clay.

Many thanks to Kem Eid for all the bookwork, manning the ovens and help, Eva for sending out notices….and all the rest of the group for making the day a delight.

And because of Crazy Nancy we have a group picture. I reminded and she remembered. It takes two….:-) I also managed to get a photo or two of some of the work, thanks guys for reminding me before you left.

It sounds like I have a really bad memory, okay I do, but…I’m also busy at the end of class and before I know it, people are gone. Forgive me if I don’t show your work here, we had some great pieces and lots of fun as always. Send me your Pictures and I’ll update this post.

Here’s just some of the work….

OAPCG workshop with Alice StroppelOAPCG workshop with Alice Stroppel


OAPCG workshop with Alice Stroppel


OAPCG workshop with Alice Stroppel


Michele Smith

Stand Ups – Different Clay – Alice and the White Rabbit

Alice and the White Rabbit


I’ve always love fairytales and Alice in Wonderland, ( I wonder why) so I’m playing with some of the characters.

I tried some Sculpey original white clay for the rabbit. It takes the alcohol ink differently than the white Premo. I need to play with it more to see which I like better. There are pros and cons to both it seems.

I’ll let you know.


Hey Snow, An Apple a Day….Just Sayin’


I’m having a great time with these Stand Ups. Snow's Queen

Another Stand Up

Still playing with Stand Ups. 

Stand UP Girl 2

Stand Ups – Polymer Clay Characters

Polymer Clay figures


Okay, I’ve been working on an idea using white polymer clay and alcohol inks in both liquid and marker form. I wanted them to be free standing and collectable. Tallest one, the guy, is about 4 1/2″ tall. The small singing head is about 2 1/4″ high and has a removable, exchangeable saying bubble.,


The girl was the first one I made and I wanted the white face with black wash and color for the hair and clothes. Polymer clay girl

I think the black wash was a bit too much, so I made this guy and didn’t use as much black, I like it better. Looks more like ceramic or stone.

The dots in the background are from a new technique design block by Sculpey.

Polymer clay guy

Both of the larger figures are made with scrap clay, (yes I do have real scrap clay that looks like mud, some scraps are  just not Stroppel Cane material hehe) covered with white Premo. But even I will run out of muddy scraps at some point, so I made a smaller one made entirely from new white clay. Needless to say I’ve ordered more white clay.

Happy Birthday figureI thought how much fun it would be to be able to use these as little greetings. Happy Birthday, Mother’s Day, etc, etc. I even make it so that you can remove the saying and replace it with another. (no it’s not my birthday). How about crazy funny off the wall humor?

This one I decided to try a little bit of color on her face, and it’s okay, but I like the other finish better, for a signature “look”.

I’m still playing and wondering if it would make a good class. I think most of the people that took my Sun class at Fandango made some great faces and I know these faces would be just as successful.  I’m having a blast and my head is full of all kinds of new ideas with these stand alone, Stand Up, characters.

More later.


Three Girlfriend – Polymer Clay Slide

I have been taking pictures and videos of several items that I have waiting in line to go in my Etsy shop. I’ve decided that taking 5 pictures of something so that my customers can see the item from all angles is so time consuming. It’s why I put off adding things. My solution, we’ll seee how it works, is to take short little videos to show what they look like in 3d.