Polymer Clay Canes for Beginners

27 videos, step by step, beginner cane workshop beginner Cane Tutorial What people are saying about this tutorial. jennifer rose Just finished this first workshop on how to make canes, and I must say I learned so much. This is exactly what I have been looking for, someone who could explain cane making in a step by step that process that I could replicate. I watched the videos, went into my studio and began to create all of the canes Alice showed. I finally have results I can be proud of, and I say thank you so much for doing this workshop. My only question now is when do we get more workshops. If you are only going to take one online class let it be this workshop. Thank you Alice for your hard work, and your dedication to helping others learn the joys of polymer clay.

Online Workshops with Alice Stroppel

Catagories

Member IPCA

Member IPCA

Polymer Clay Veneer


AliceStroppeltealtablefinihsed4w


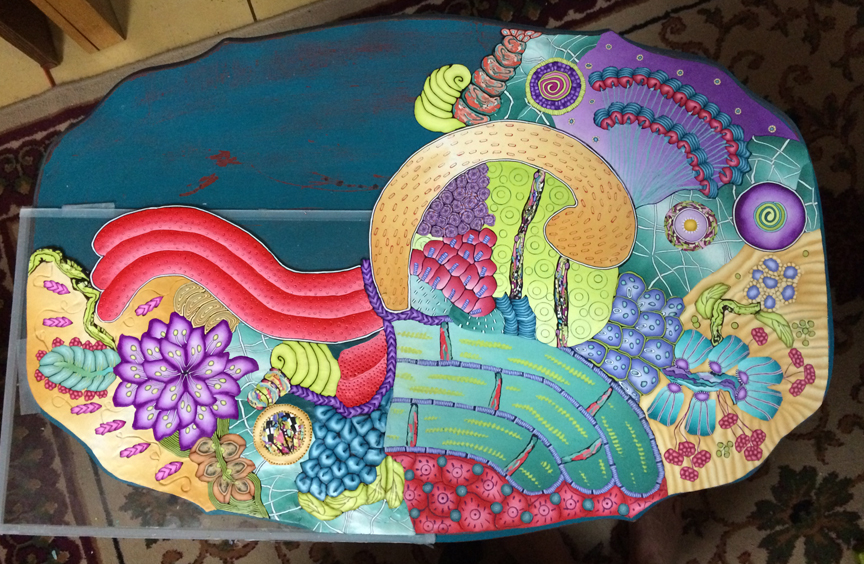
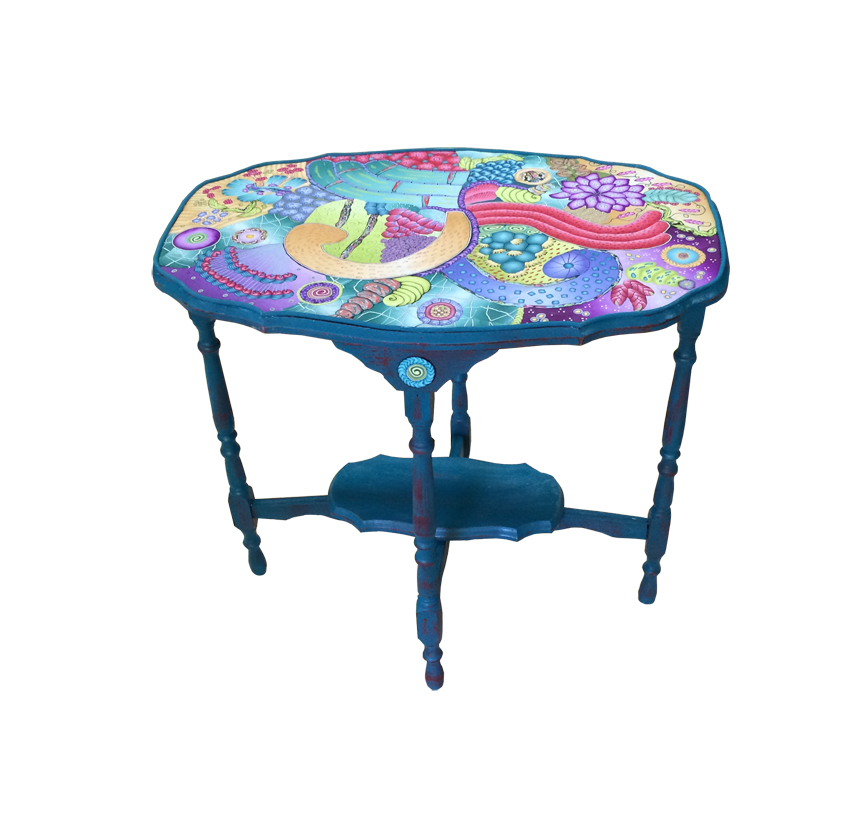
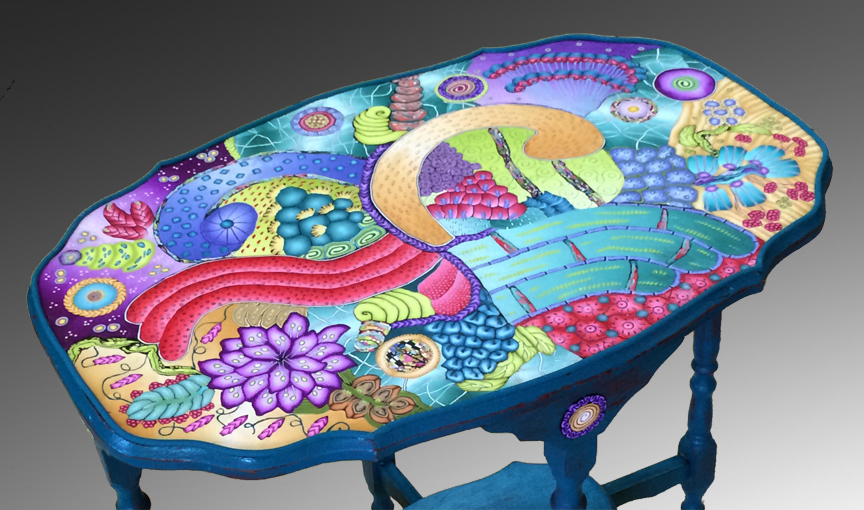
A reclaimed table finds new life in my house. It started out as a wobbly table made from solid oak but with a few years and coats of red paint under in it’s history. I brought it home and almost ave up on fixing the wobble, but fortunately my husband, who is not a wood guy, saved the day and came to the rescue for both me and the table. 

I spray painted teal over the red and then sanded a bit here and there. Let her dry and then I was ready to start. I’ve been doing large pieces to frame and hang on the wall and thought why not give furniture a try.

This is the same technique I use for my smaller pieces of wall art too, I call it cane mapping. Laying out a map and filling it with clay.

I started with a smaller table and it worked pretty well so I decided to give this larger one a go. It’s 28″ H 29″ L 18″W.

I start out by making a paper pattern of the top and draw my design on the paper. Then I place the pattern under a large piece of glass and just start laying clay.
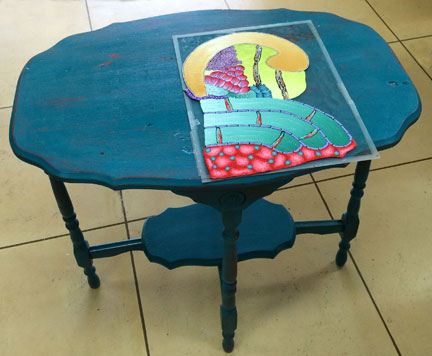
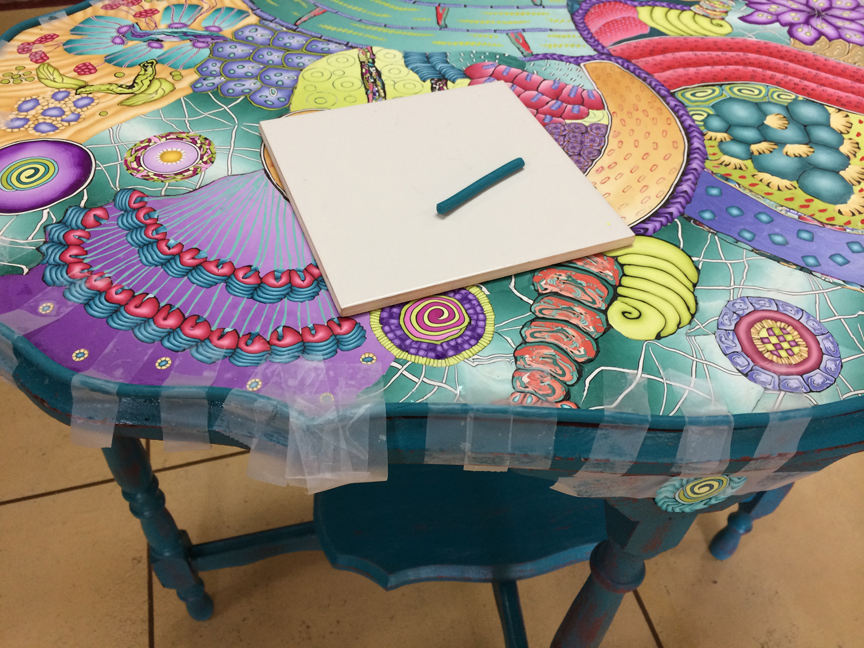
Alice Stroppel teal table polymer clay veneerOnce I have a good deal completed I bake it and then move on to the next part of the pattern. I end up with several large puzzle pieces that I then glue onto the table top. If I work on too large a piece I tend to rest my hand on on drop something on the part that was finished and have to redo parts of it, Baking in pieces helps to preserve the work I’ve already completed.

Alice Stroppel teal table polymer clay

I use Liquid Fusion clear urethane adhesive. It dries fairly quickly, but takes 24 hours to completely dry. When I was finish with all the pieces for the top, I glued them together right on the wood.

Then I exuded a matching teal round snake from the edge. I baked it in four sections in roughly the same shape as the edge of the table. I use Premo because it’s flexible and it was easy to apply. However, to make sure it stayed in place, I taped it all around and left it until morning.

Alice Stroppel teal table edge

I don’t add a finish to the top, if I could stand to do it, I might sand and buff it. But until I get myself a do-boy…well…it will just get pretty with age and develop it’s own patina. I feel this way… it’s plastic…water won’t hurt it…you can wash it with a damp rag. The only thing I will do it make sure to use a coaster for hot beverages.  I know the bracelets that I made years ago and wear often have this wonderful feel to them. So I say use it what’s the worse that can happen?

Thanks for all the wonderful words of encouragement, the likes, the shares, on Facebook and thank you in advance for any comments left here.  On to the next project!!!

Follow me on Facebook if you want. https://www.facebook.com/alice.stroppel
Alice  Stroppel polymer clay veneer.
 

Mystery Project


I’ve been having so much fun on Facebook with this project. I posted pictures of the first part of the project featuring six of my girls with the tag line, “Bet you can’t figure out what this is going to be”. So many of you had great guesses and wonderful compliments, I thank you so much for playing along because it made it that much easier for me to continue working on it until it was finished.

Alice Stroppel polymer clay table Alice Stroppel polymer clay table Alice Stroppel polymer clay table Alice Stroppel polymer clay table Alice Stroppel polymer clay table
As I continued to work and post pictures you continued to guess.

Alice Stroppel polymer clay table Alice Stroppel polymer clay table Alice Stroppel polymer clay table Alice Stroppel polymer clay table Alice Stroppel polymer clay table
It kept getting taller and taller. ……..

Alice Stroppel polymer clay table Alice Stroppel polymer clay table

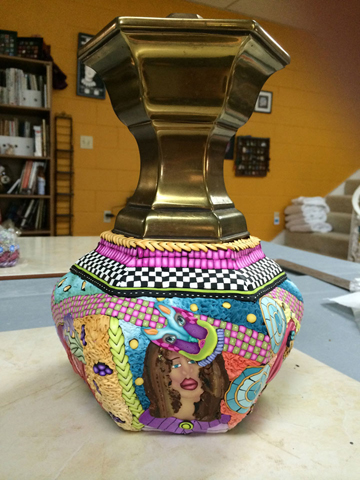
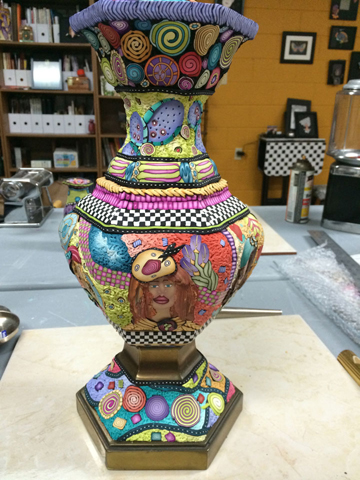
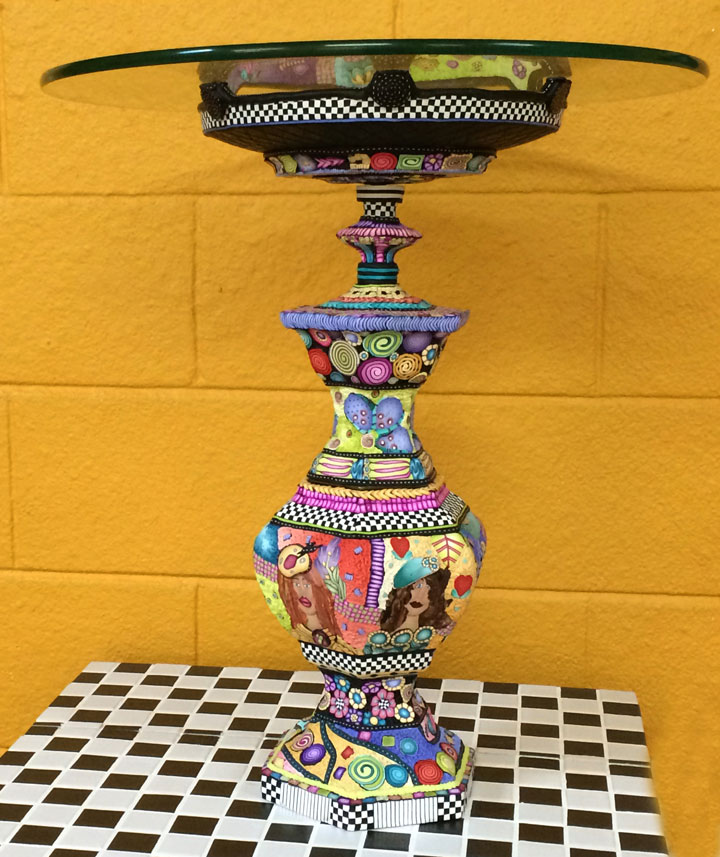
……until I finally finished it and here is the big reveal…TADA…It’s a table.

Alice Stroppel polymer clay table

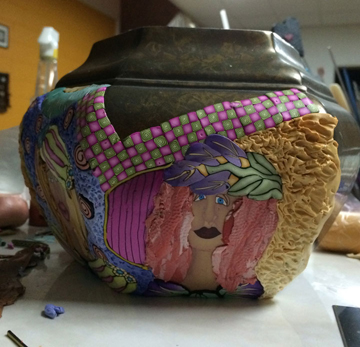
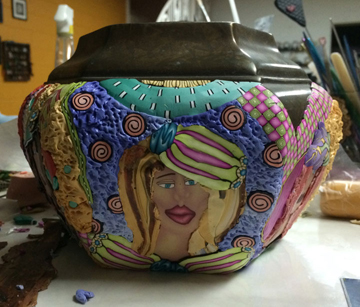
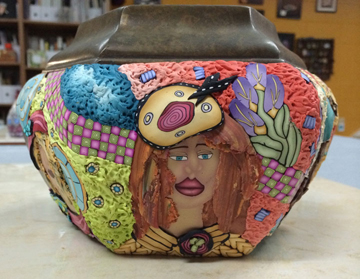
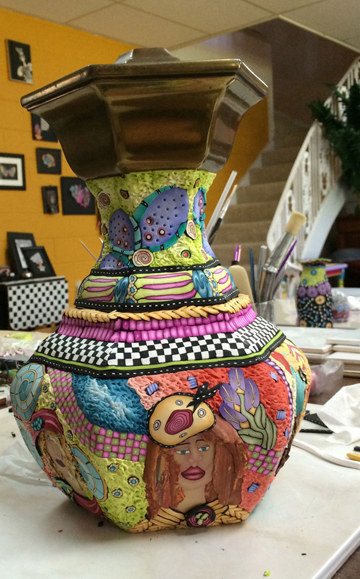
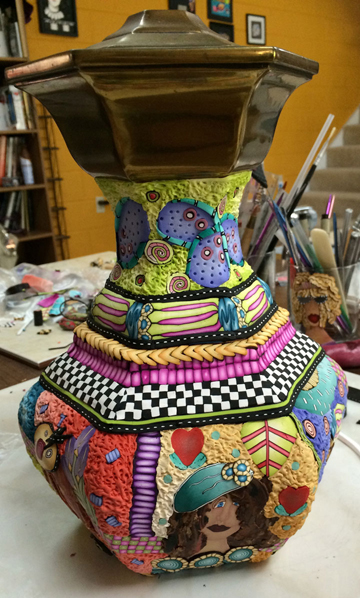
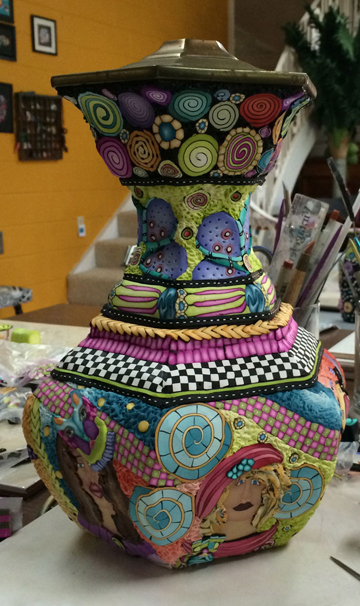
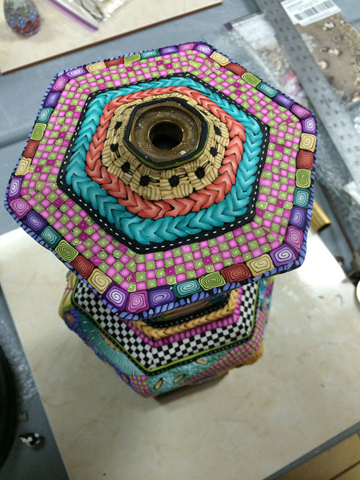
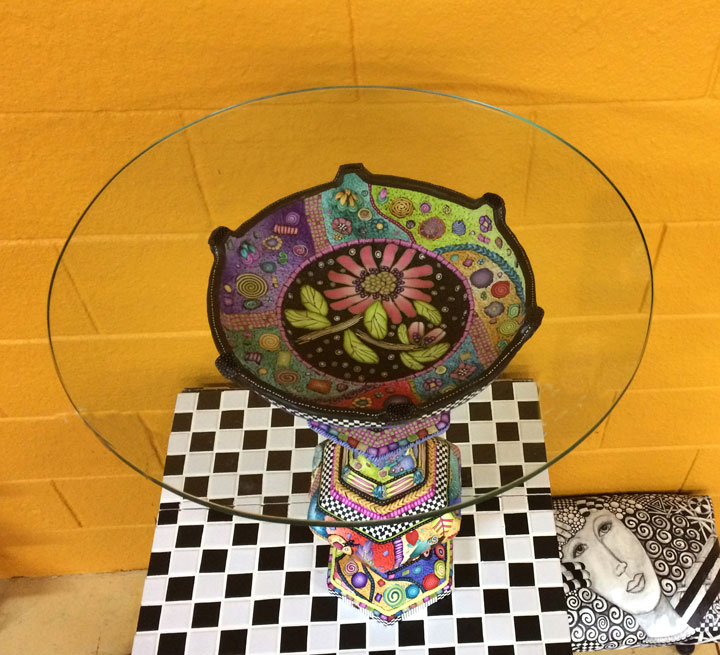
I found two base metal lamps at my local thrift  store and combined pieces from each to create this crazy table. It’s very sturdy and well weighted.  You might even classify this project a found object project.

I have a couple more lamps that I bought but they don’t come apart so I’ll see how they work out in the oven.

By the way, I bake in a full size oven that I have in my studio and it was easy to bake this table because is was in pieces. The next ones will be a challenge I think.

I cover a bit of each piece with clay and then bake it so I won’t mess up what I’ve just done. when it’s cool, I add more clay and bake again. I can do this as many times as I want and bake for as long as I want because I have calibrated my oven and I know that it is always on the correct temperature.

So what’s your next big project?

Alice Stroppel polymer clay table

Butterflies

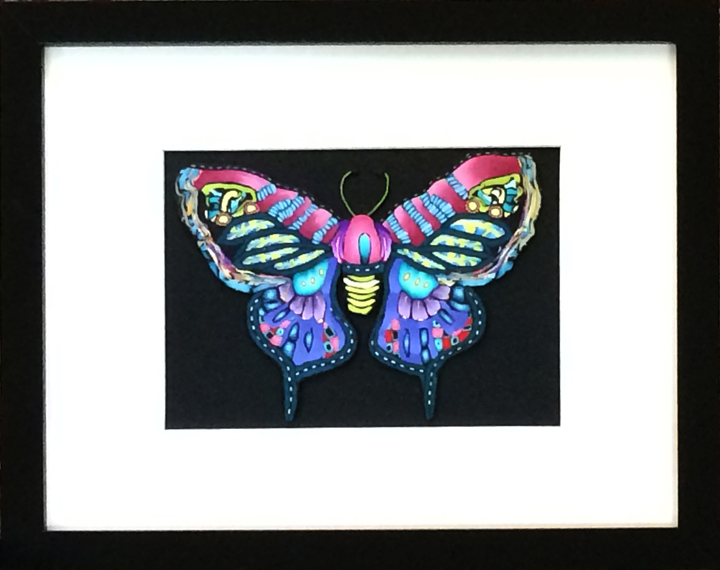
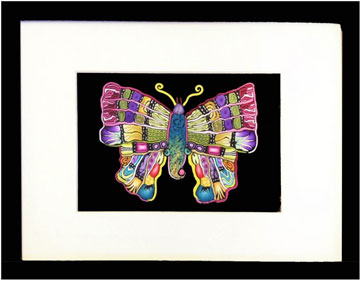
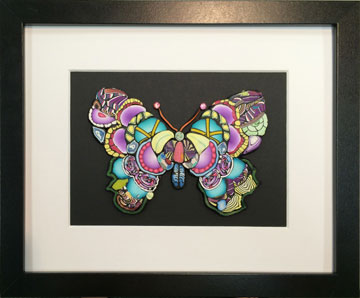
Polymer Clay Butterfly


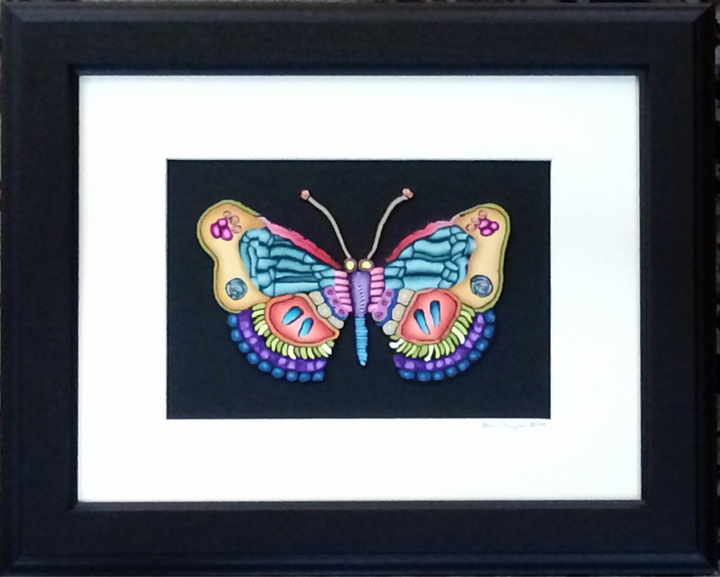
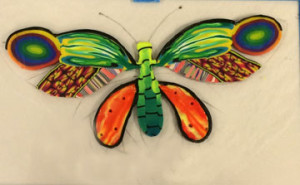
Once again, having fun with my cane stash and cane mapping.

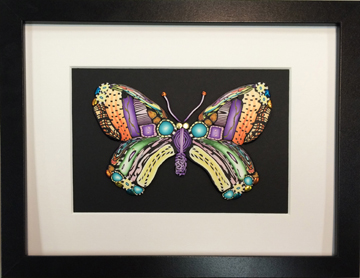
Polymer Clay Butterfly

Florida Gulf Coast Polymer Clay Guild Workshop

Florida Gulf Coast Polymer Clay Guild

Florida Gulf Coast Polymer Clay Guild

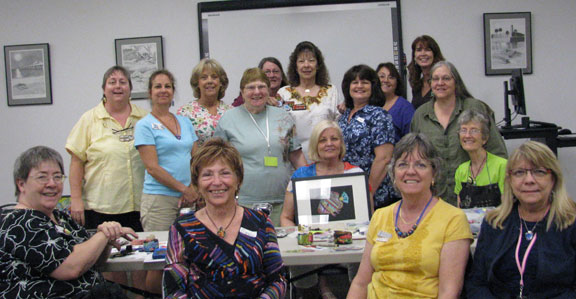
Once again I had the pleasure of showing this great group of women some of what I’ve learned about polymer clay. This is the Florida Gulf Coast Polymer Clay Guild in Palmetto with some attendees from other guilds around the state.

Thank you Sydney Carter for all your planning and thank you to everyone for the delicious potluck and continuing to want me back.

Everyone got right into my cane mapping technique and I think they all really enjoyed what they made. I know I was delighted by the work, it really makes my day to see the level of work and the fun that’s happening.

I taught this group about 6 months ago. We had a cane class and I showed everyone my crazy ways of making canes. I sent everyone home with homework. “Go and make Canes!!!”  They did with great results.

This is the follow up class that shows just one of the many things you can do with the canes you made recently, little bits of left over canes and the canes you might have had in your stash for years.

The Premo clay for this class was donated by Polyform and we were all thrilled. Now we will reveal how grateful we are for the clay and what we’ve made with it all. Many thanks to Iris Weiss and Polyform. You can also visit Polyform on Facebook

Here’s the results, I know you’ll agree that this is one talented group. ( I’m sorry I  don’t have a picture of Geri Costello’s, I’m hoping she’ll send one)

Sue Garland

Sue Garland

Sandy Grace

Sandy Grace

Judy Northrup

Judy Northrup

Carol Knapik

Carol Knapik

Christine Keyworth

Christine Keyworth

Bonnie Anderson with Alice Stroppel

Bonnie Anderson

Annette Cannariato

Annette Cannariato


WIP – almost finished

Sydney Carter

Sydney Carter

Starr Payne

Starr Payne

Jill Hennessy

Jill Hennessy

Patsy Monk

Patsy Monk

Christine Kacmarek

Christine Kacmarek


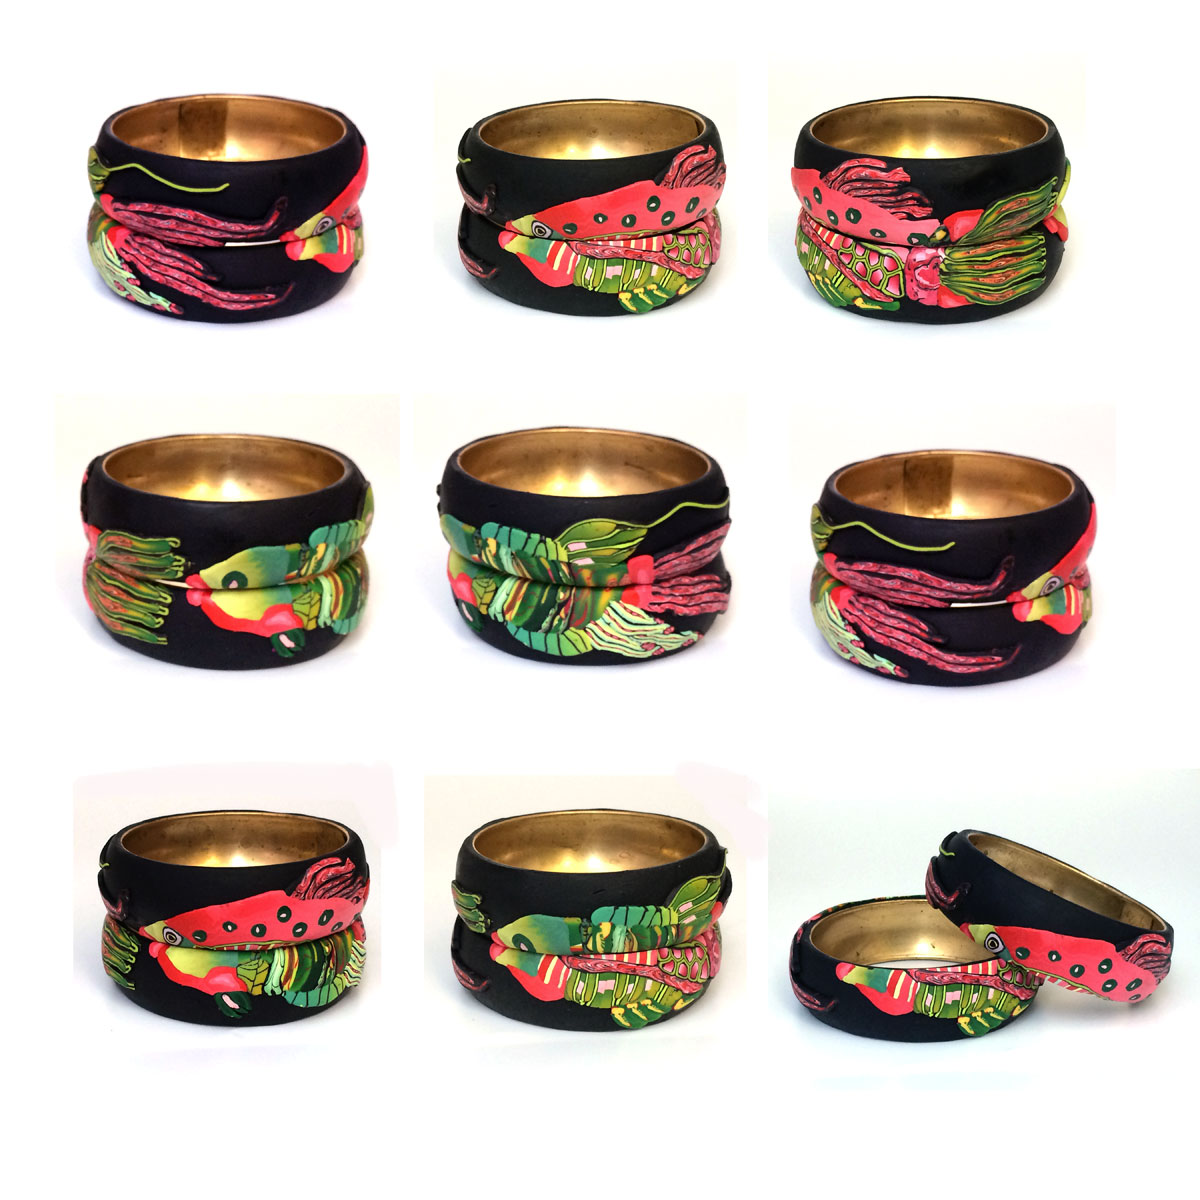
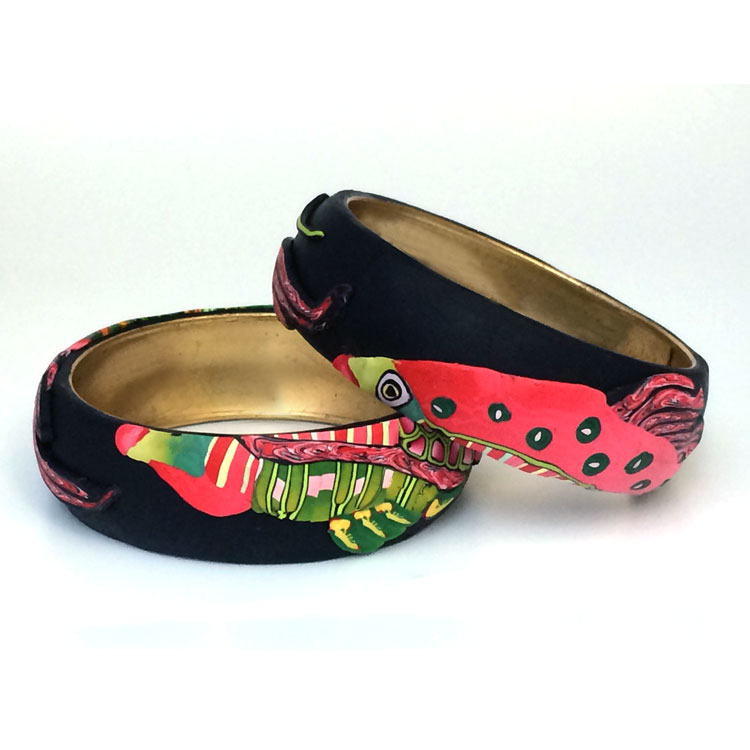
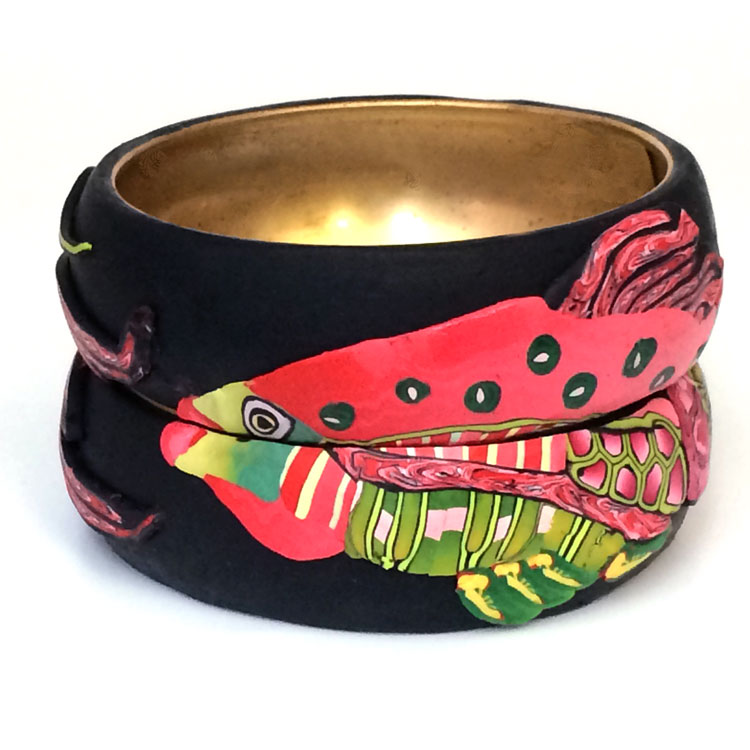
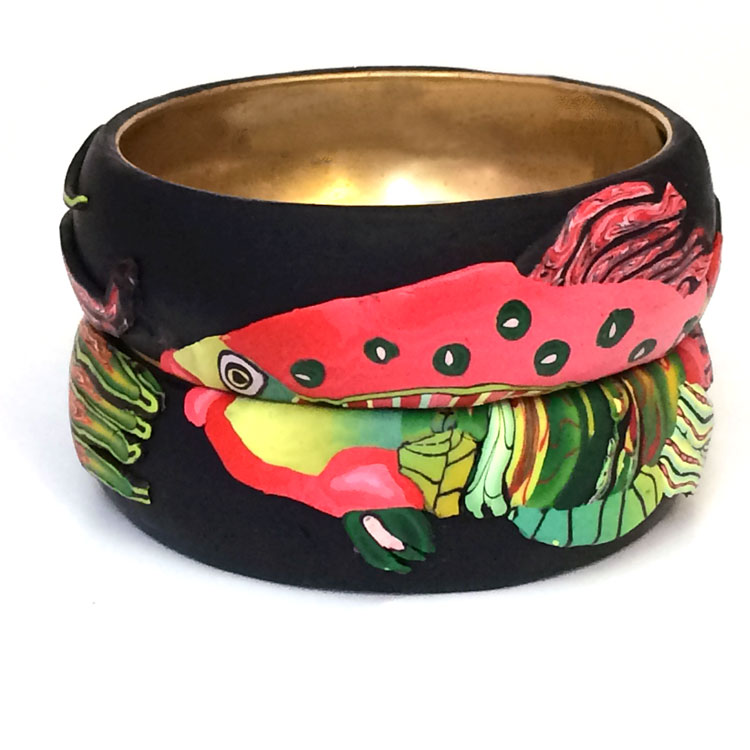
Double Trouble – Fish Bracelet

Double trouble -Alice Stroppel

I ordered some brass bangle blanks to play around with. I really like the way the bangles look even though I mostly use the cuff blanks. I like the cuffs because they fit most people even when ordering online, the bangles really have to be tried on in person to be sure.

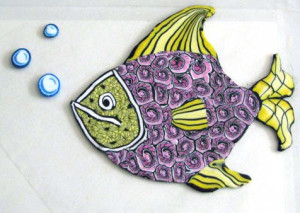
But here’s the fun part, at least to me. I moved the cane mapped fish I was working on from a flat to be framed piece to a cuff bracelet. and really liked the way it looked. Here’s it is.

 Green Fish - Alice Stroppel

So when my order for the bangles came in, (I ordered 2), I thought how cool would it be to put the fish on the two bracelets. I made two fish and cut them down the middle and placed each piece on different bangles.

Double Trouble3 Alice Stroppel

Double Trouble 1 Alice Stroppel

When the bracelet is worn the fish spin around and become a mix and match, just like those Cracker Jack prizes when the bodies, heads and feet of characters could be mixed and matched, remember? It made me laugh.

Double trouble 2 Alice StroppelNow to do it with my faces.

Green Fish Bracelet – Cane Mapping Polymer Clay

 Green Fish - Alice Stroppel

I was very happy to use several very old canes on this fish. I find him really interesting. When I’m wearing him you see the middle part with all the greens and yellows.

When I wore it today I had several compliments and one lady was very surprised, as I turned my wrist, to see it was a fish. A fun piece to wear.

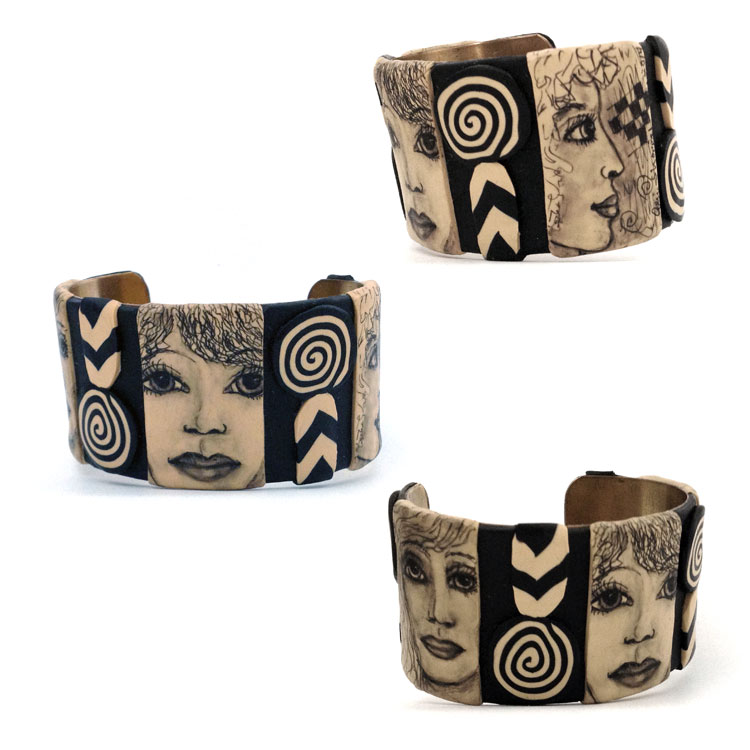
Faces on Bracelets – Pen and Ink on Polymer Clay

 pen and ink on polymer - Alice StroppelI took time out from cane mapping to finish this face bracelet. It’s pen and ink on polymer clay. I’ve had the bracelet covered and baked for  months so it was about time I finished it.

Cane Mapped Parrot Bracelet.

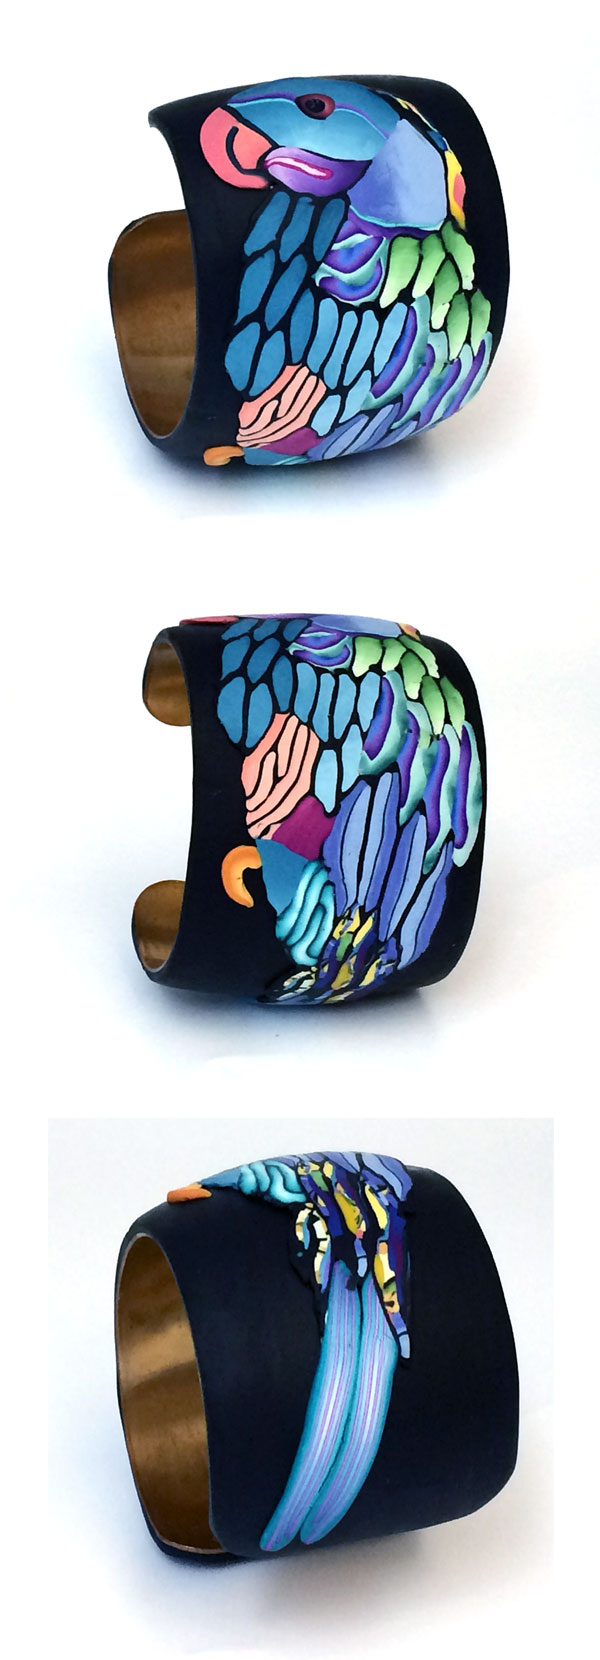
blue parrot bracelet- Alice Stroppel

While making samples and demo pieces for my cane mapping workshop in June, I realized that this parrot was just the right size to fit on a bracelet blank. Here’s the finished bracelet. Luckily I have another Parrot for the workshop.

Very Florida-ish don’t you think? Even though I’ve yet to see a parrot in my backyard.

Polymer Clay Class Prep -Cane Mapping

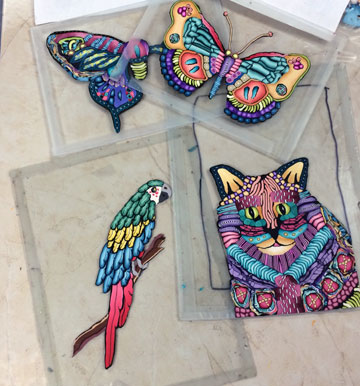
Cane Mapping  samples for workshop Alice Stroppel


I”ve been creating several pieces for samples and demos for my cane mapping workshop with the Florida Gulf Coast Polymer Clay Guild in June.

This is a follow up class to the cane workshop with FGCPCG several months ago. In that class, using Premo clay donated by Polyform, we created several canes and the group went away with homework to make lots more.

In this workshop, we will be using those canes to create pictures to frame.

These are from royalty free clipart. They are cane mapped and flat except the parrot which is more of a 3D effect.

I always look forward to spending the day with this guild, they are so much fun.

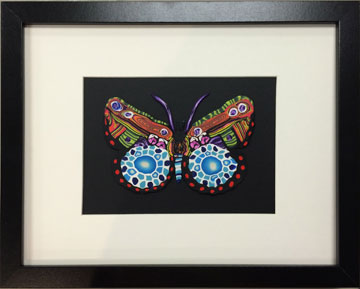
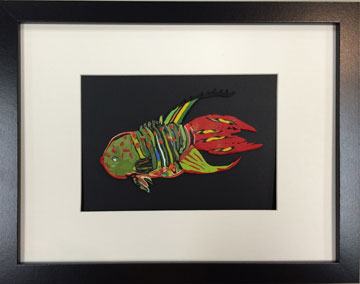
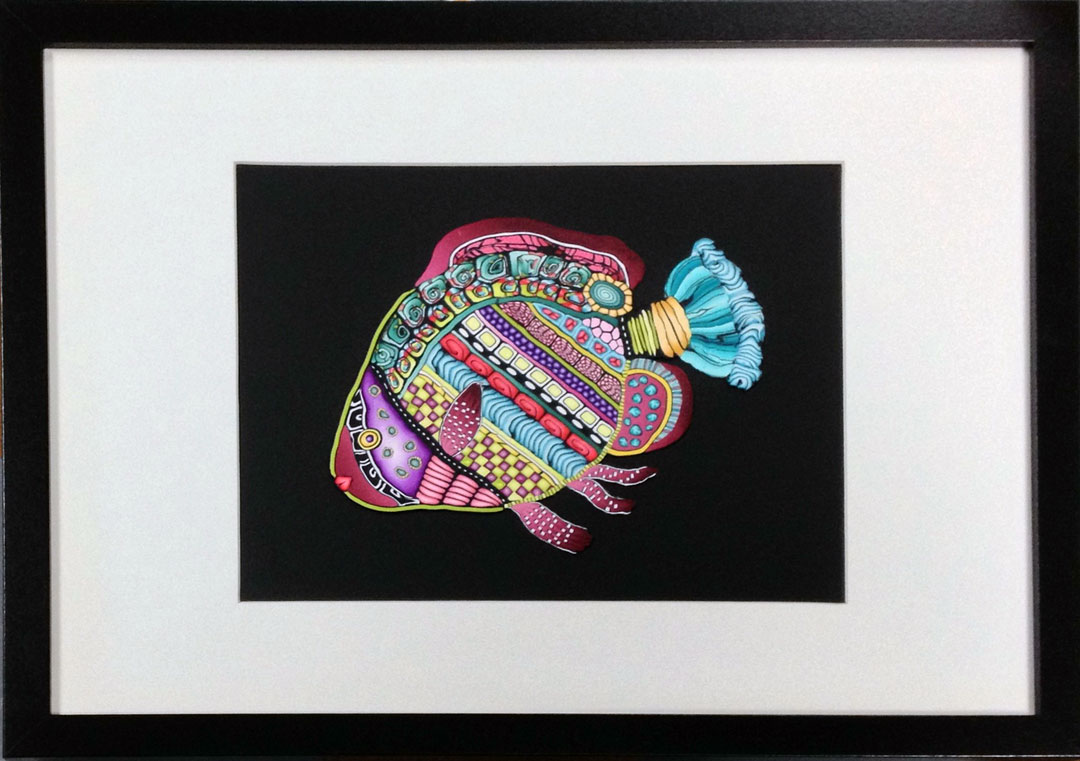
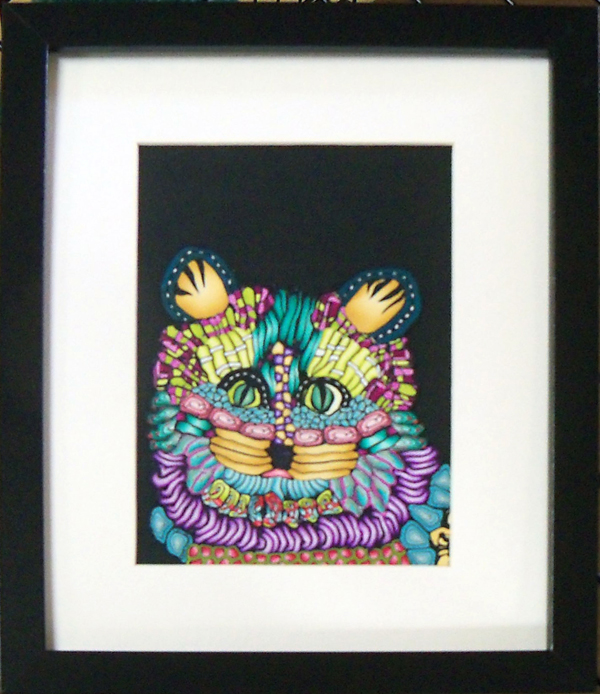
Here are a few finished and framed pieces

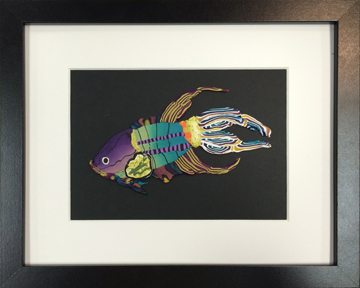
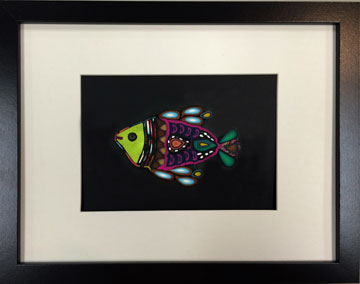
Polymer Clay FIsh -  Alice Stroppel

Cat - Cane Mapped - Alice Stroppel

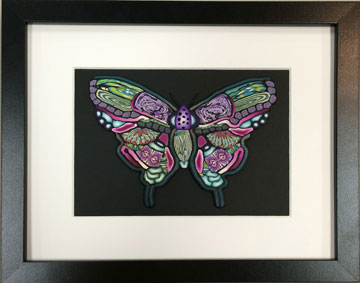
Butterfly, polymer clay- Alice Stroppel

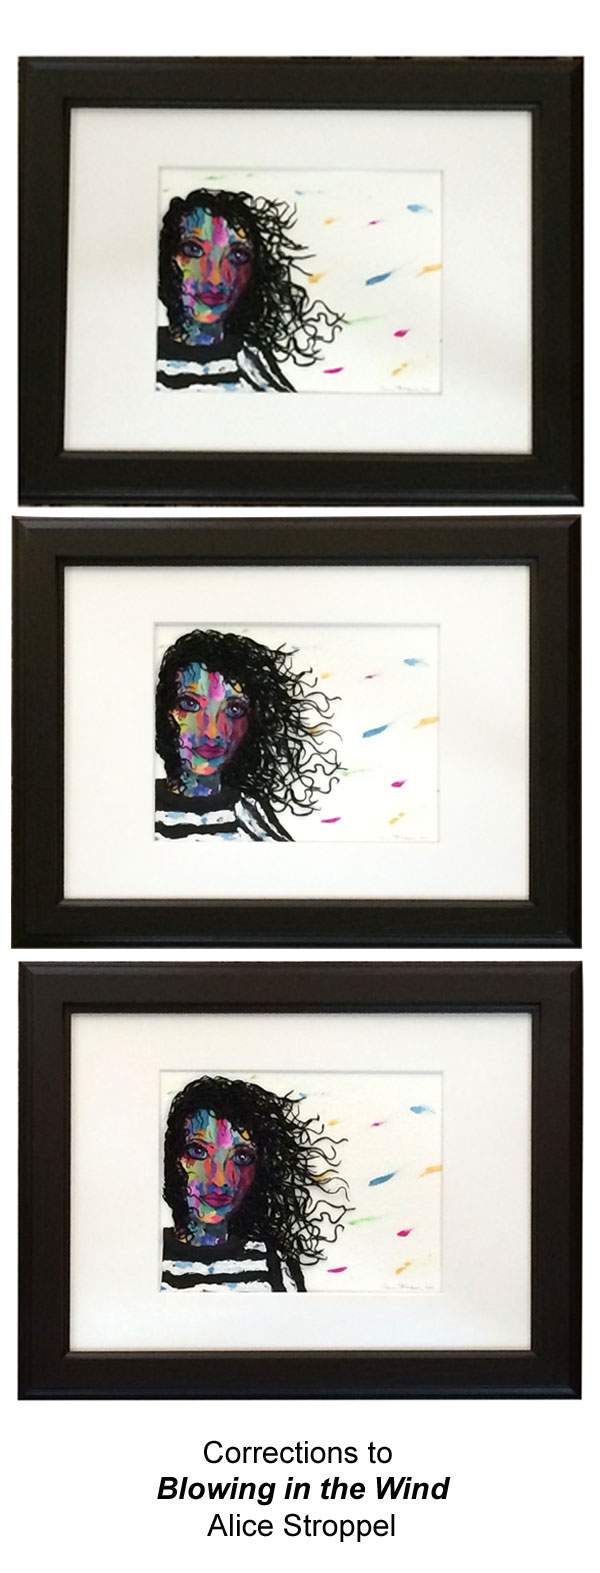
Blowing in the Wind – A Polymer Clay Painting – How Photos Can Help with Corrections


I been having fun with these polymer painted faces. This one I stopped working on late one night. I was happy with it and took a picture before stopping for the night. I had already cured it in the oven and attached it to a peace of heavy water color paper. the bits of color in the background are bits of pc not watercolor.

The first photo shows this first edition. When I saw it the next morning, I laughed because I could see right away that she was missing the top of her head. Not enough height to her hair. I was tired the night before and didn’t want to make any more hair I guess. Another reason why stepping away from a project and coming back to it or even taking a photo of it is very helpful.

I often see things in photos of a piece that I just couldn’t see when I was working on it up close. It helps to step back from the work, but sometimes taking a photo is even better.

The second photo is where I noticed that her shirt was just wrong, not enough shoulder. I guess I was too focused on the hair to notice the shirt first time around.

This is also another vote for sketching before hand, I did sketch the face, but didn’t know I wanted the shirt until I was in the middle of it all. So I work both ways, planning and as I go.

The third photo is my final try. Quite a difference I think!

I figure I’m a work in progress more than than work. As always, thanks for stopping by.

Corrections to Blowing in the Wind