There are many ways to take pictures of your Polymer Clay artwork and I’m sure you have figured out how to get the best picture. Staging is popular now, making the item shine in an environment. I’m all for it and think it really show items to the best advantage.
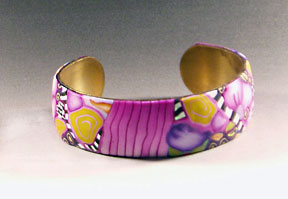
But for an easy professional looking photo, here’s a quick way to get started. I’m giving you are free pdf of a graduated background. The background goes from white at the bottom to black at the top. It doesn’t use that much ink, and can be well worth the cost of printing it. It is only 8 1/2″ x 11″ and will only work for small items.
I printed mine on card stock and have used it over and over again. Sometimes I use Photoshop to create a background like this after I have cut the item out. But sometimes, to save time, I use my gradient sheet.
If your printer won’t print on card stock, then print it on regular paper. Tape another sheet behind it when you are taking pictures to prevent the light shining though.
Down load the pdf gradient background now. Save a copy to your computer or print right away. Before you print, make sure the heads on your printer are clean, you have enough ink, and you might want to choose black ink in your printer settings.
I take my pictures on my porch in the brightest part of the day. You could set a small table outside in the shadow of your house. The key is for it to be a bright sunny day, but your item is in the shade so that there are not shadows yet plenty of light.
Tape the top (black part) of the background to the wall of your house or a box and the other end to the table. It just needs a slope so that the background goes up behind the item.
Place you item on the background, turn off you flash and take your picture. If you have a photo editing program of any kind on your computer, download your photo into it, make any adjustments and crop it.
Hope it helps those of you who have been wondering how to get started. You can always do something different as you become more experienced.







Comments