Polymer Clay Canes for Beginners

27 videos, step by step, beginner cane workshop beginner Cane Tutorial What people are saying about this tutorial. jennifer rose Just finished this first workshop on how to make canes, and I must say I learned so much. This is exactly what I have been looking for, someone who could explain cane making in a step by step that process that I could replicate. I watched the videos, went into my studio and began to create all of the canes Alice showed. I finally have results I can be proud of, and I say thank you so much for doing this workshop. My only question now is when do we get more workshops. If you are only going to take one online class let it be this workshop. Thank you Alice for your hard work, and your dedication to helping others learn the joys of polymer clay.

Online Workshops with Alice Stroppel

Catagories

Member IPCA

Member IPCA

Pen and Ink and Polymer Clay – How To

Pen and Ink Repaired

Pen and Ink Repaired

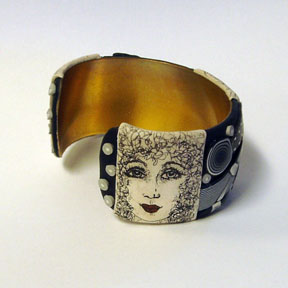
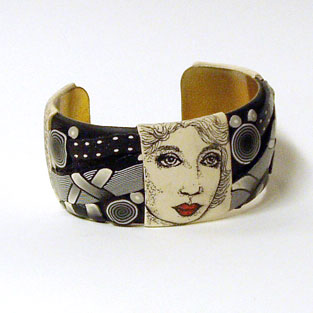
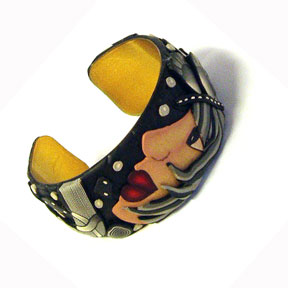
I’ve been playing around with this technique and I’d like to share with you. The picture above is the bracelet from yesterday’s post. I’ve fixed her face.

The picture below is my daddy’s prototype for a hair color box. I didn’t realize until this morning that I was copying my father. It’s signed on the bottom of the box, E. Lamar Simpson, 1950, the year I was born.

E. Lamar Simpson. 1950 prototype Hair coloring box

E. Lamar Simpson. 1950 prototype Hair coloring box

It sits on one of my book shelves in my studio. I love it when it draws my attention like it did this morning. People always ask an artist where they get their inspiration. I’d have to say, everything I have ever seen. I think it is all stored and show itself when you are ready.

My Dad did a weekly cartoon for our local paper and I’d spend time watching him as he drew.

I wasn’t thinking of this box when I drew my girls. I wasn’t looking at it, but the technique is amazingly the same.

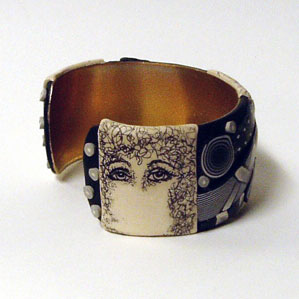
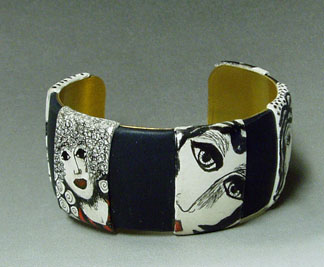
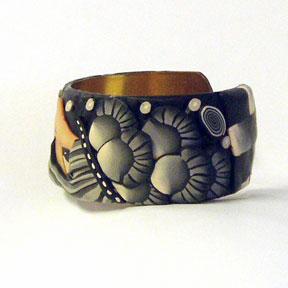
I began covering my bracelet with black clay. I layered the black with three rectangles of white equal distances apart. On the first bracelet I made, ( Can You Guess?) that was all I did. This one I added pieces of my zentangle canes.

Next step is to bake them. When they were completely cooled, I drew on the white clay. I used a black Micron Pigma pen. Size 01. For the lips I used red.

I always use this pen to sign my work and heat set it with a heat gun, being careful not to burn the clay. There was too much surface to cover with the heat gun (or maybe the truth is I just don’t have the patience) and when I wore it for a test run, the girl in the picture above had her lips smear. I sanded the bottom half of her face and redrew it with the pen.

This time I preheated the oven and put it back in for 5 or 6 minutes. That should take care of heat setting it evenly.

However, I would suggest, if you are happy with a part of a drawing, go ahead and heat set it with your heat gun. If you don’t, you run the risk of smearing it as you move on the the next section.

That’s it. It you use this technique, I’d love to see what you come up with. Leave me link in the comments.

Polymer Clay with Pen and Ink

Polymer Clay Pen and Ink

Polymer Clay Pen and Ink

This is my second polymer clay with pen and ink. The first was the other day in this post, Can You Guess? This one I combined some of my Zentangle canes with my drawings.

I finished it last night and wore it all day today. My husband and I went to visit our son in Orlando, so it was in and out of the car, out to lunch and etc. By the end of the day all was well except with the lips of one of the side girls, they had smeared. I should have taken a picture of her before I sanded her mouth off.

That sounds pretty funny actually, looks pretty funny too.

Correction

Correction

I sanded way the ink and I’ll start again. I think I simply didn’t heat it enough with my heat gun. I think the answer is to pop it back into the oven for a few minutes. That way I will be sure that everything gets heated. Then I’m going to test wear it again.

I have some other things I want to try too. Some layering techniques. I’ll post more later.

Can You Guess?

Can You Guess How?

Can You Guess How?

This is a fun one! Can you guess how I did this? Leave a comment if you know how I did it. I can tell you it was a blank canvas.

I’ve been pretty busy for the last week. Decorating the tree, buying presents, wrapping presents, putting presents under the tree. Not that there are that many presents, but it just felt like it when I was wrapping.

Everything is done, just need to clean up  my space. It’s on the bottom floor of our house and when everyone goes outside to play with the animals and cars, they have to come through my space. It is never really neat, but I feel like I have to make a small effort anyway.

I wish each and everyone of you Happy Holidays. I wish us all a wonderful celebration of life and love.

I’ll catch up with you again before the new year comes.

Lots of Polymer Clay Profile Faces

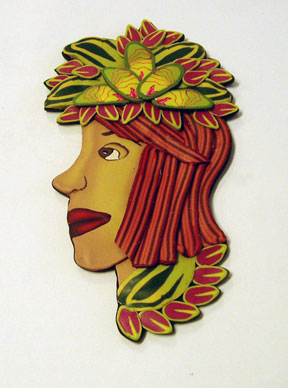
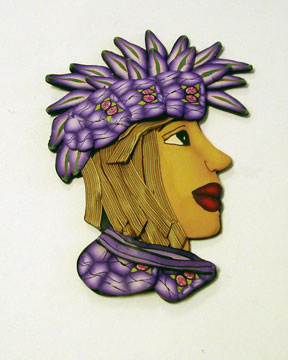
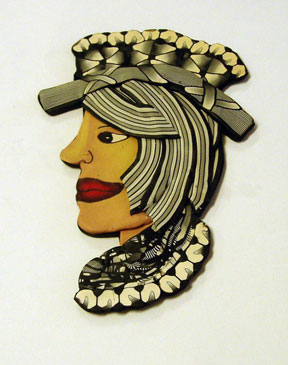
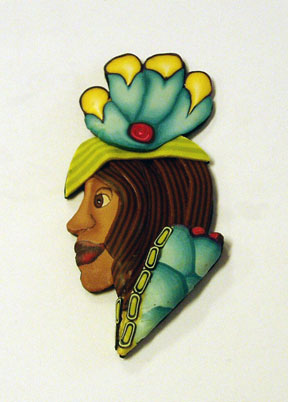
I’ve been working hard on an order for my face canes. It was rainy this weekend. Perfect for clay and creating, I really enjoyed it. Still have more to go. I just thought I’d share some here.

featherPolymer Clay Profile Face Canepurple-girlbwcollarblue

First Slice From Face Cane Used in Tutorial

First Slice of Tutorial Cane

First Slice of Tutorial Cane

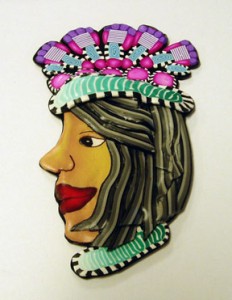
This face is the first slice I took from the cane I made during the filming of the Profile Face Cane Tutorial. I finished her hair and hat today because I have her sold. I’m doing some faces for a shop in New Orleans. How fun is that?

If you think you might want to make some face canes, look up to the left and the link will take you to my Etsy Shop where you can order your tutorial now and watch it before the day is over. It really is kinda fun.

Another Red Head

Another Red Head

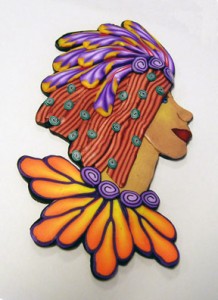
I also finished this redhead for the New Orleans Shop. She was a slice from the profile face cane I made months ago. Remember that post?

I still have the other two girls waiting too. It may take me awhile, but I usually finish things I start. Sometimes, maybe, depends. Oh shoot, I have tons of things sitting around waiting to be finished. But they will have to wait. I have an order to fill!!!

Bill Nelson and His Super Sculpey Characters

Bill Nelson's Characters

Bill Nelson's Characters

I don’t normally post  on this blog features from my other blog, The Figurative Artbeat. But because Bill Nelson is working mainly in Super Sculpey when he sculpts his fabulous characters, I just want to be sure you have a chance to see his work. Take a look at my post about him on The Figurative Artbeat.

First Sales Made for Tutorial – Profile Face Cane

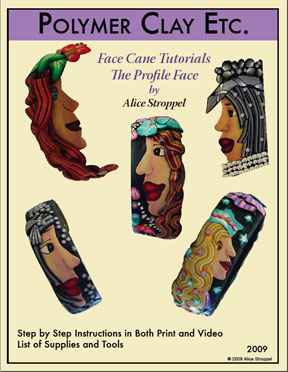
Profile Face coverThanks to all of you that ordered my first face cane tutorial. I’d love to hear from you after you watch the video and make your first cane.

The Profile Face Cane Tutorial is for sale in my Etsy Store.

Profile Face Cane Tutorial Ready for Purchase

Profile Face cover

My Profile Face Cane Tutorial is ready for you to purchase and begin to make your own fabulous faces.

The instructions include –

7 pages of detailed step by step instruction with drawings, photos and patterns.

A 40 minute video showing exactly how to do each step.

Video front cover

You can place your order through Etsy

go to my shop

http://www.etsy.com/shop/AliceStroppel

you’ll see the front cover of the Instruction Booklet listed there for sale.

You will receive an email from me within  24 hours.
(except on Thanksgiving and Christmas days.)

Thank you in advance!

Polymer Clay Bracelet Saved

Redheaded Cuff Bracelet

Redheaded Cuff Bracelet

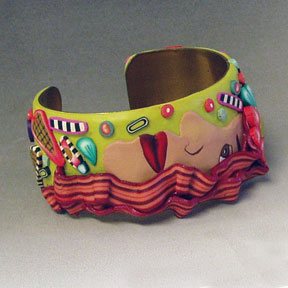
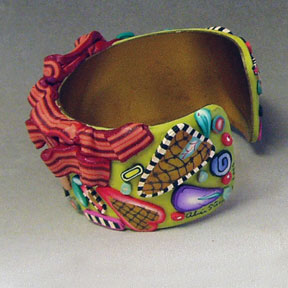
I’m posting this bracelet again today and pictures of the bracelet side because I had a problem and figured out how to fix it and wanted to share with you.

Before

Before

The center of the two heart shapes are made with a translucent clay mix. Sometimes a translucent clay will darken during curing. Sometimes it doesn’t. Go figure.

This time both centers darkened. and when I took pictures to put in my Etsy  store, I could really see how bad they looked. There were little burn spots in the translucent centers, I guess they are burn spots. But whatever they are, they weren’t nice.

I didn’t want to sell this bracelet that way, but I also didn’t want to trash it either. The rest of the bracelet was just fine.

Redheaded Bracelet side

Redheaded Bracelet side

I used my Micron Pigma pen, 01 nib, to make a grid on the hearts. I’ve used the pens for years on everything from wood to cloth. I’ve been signing my claywork with them for a long time now.

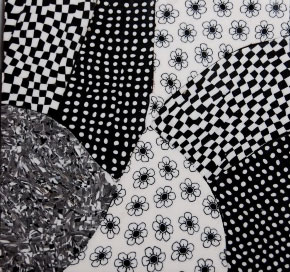
If you have been reading my posts, you’ll know I’ve been playing around with Zentangles, so I thought to use one of the patterns here.

I think it added another element to the design, it saved my bracelet and gave me a bunch of ideas for new things.

I must finish things I’ve started before starting another project based on another new idea.

I must finish things I’ve started before starting another project based on another new idea.

I must finish things I’ve started before starting another project based on another new idea.

I must finish things I’ve started before starting another project based on another new idea.

I feel like I should have a blackboard and write this 100 times.

Dora’s Zentangle Polymer Clay Picture

Dora's Zentangle picture from polymer clay

Dora's Zentangle picture from polymer clay

As promised, Dora from Dora’s Explorations posted a tutorial for her canes that make up her Zentangle picture shown above. We have both been having fun with the Zentangle canes. I love what she’s done.  View her tutorial here.

Here’s yet another cuff bracelet I made with my zentangle canes today.

The Girl and Zen

The Girl and Zen

The Girl and Zen from the side

The Girl and Zen from the side

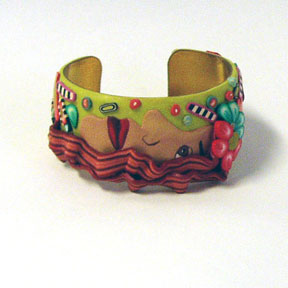
And here’s another Redheaded girl with a bright green background.

Redhead Polymer Clay Cuff Bracelet

Redhead Polymer Clay Cuff Bracelet

I know you don’t believe me, but I am almost finished with my profile face cane tutorial. It should be ready sometime next week. It’s going to be in pdf form as well as a full video showing  you step by step how to construct a profile face cane. It will be available on my Etsy site. If you are signed up for  my newsletter, you will know as soon as I have it ready. If not, stop back often or sign up for the RSS feed.

Have a wonderful week-end everyone.