Polymer Clay Canes for Beginners 27 videos, step by step, beginner cane workshop
What people are saying about this tutorial.
jennifer rose
Just finished this first workshop on how to make canes, and I must say I learned so much. This is exactly what I have been looking for, someone who could explain cane making in a step by step that process that I could replicate. I watched the videos, went into my studio and began to create all of the canes Alice showed. I finally have results I can be proud of, and I say thank you so much for doing this workshop. My only question now is when do we get more workshops. If you are only going to take one online class let it be this workshop. Thank you Alice for your hard work, and your dedication to helping others learn the joys of polymer clay.
Online Workshops with Alice Stroppel
[caption id="attachment_102" align="aligncenter" width="100" caption="Member IPCA"] [/caption]
|
I’m so happy to tell you that I have uploaded two new workshops to my online school. Scroll down to the bottom of the page and you’ll see Cane Mapping and Extrusions.
The extrusion workshop consists of thirteen videos that equal over an hour of instruction.
This workshop will show you how to make small unique canes from extruded polymer clay. You can use these canes to make everything from buttons beads and pendants to cane mapped pieces.
It’s only about the techinque used in making the canes, not the finished pieces.
It’s all part of building your cane inventory so that when you are ready to begin a project you have many canes to choose from.
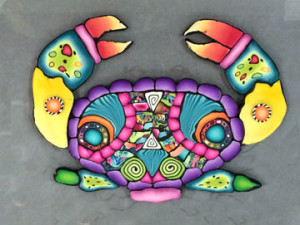
I use lots of extruded cane in my cane mapping pieces.
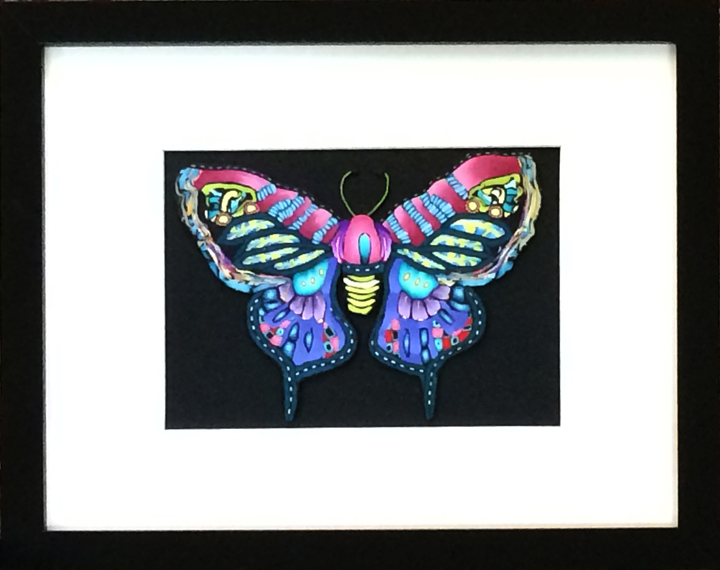
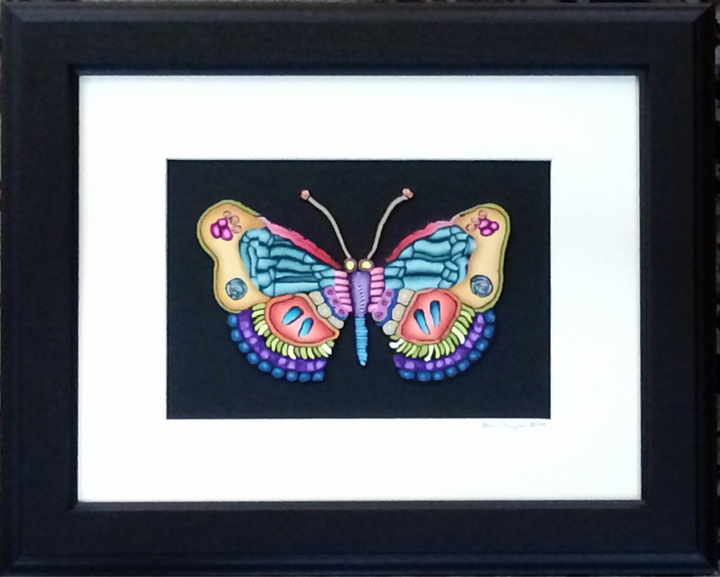
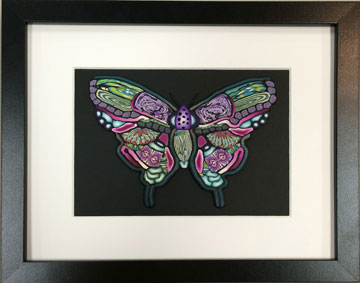
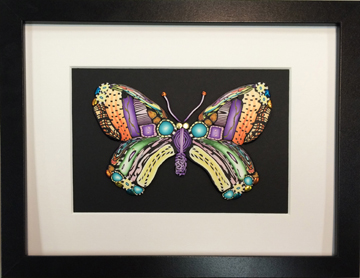
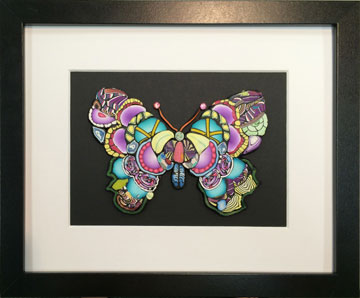
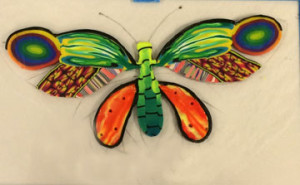
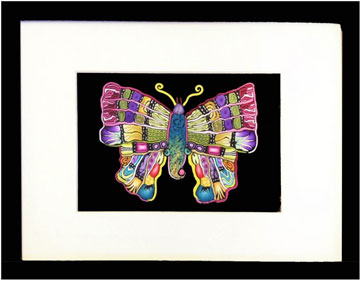
The butterfly on the left is made with both extruded canes and traditional canes. The one on the right is all extrusions.
If you love mosaics, color and polymer clay, if you love the look of complex canes but simply don’t want to create a giant complex cane, if you love one of a kind pieces, and if you have tons of left over canes, this is the can mapping workshop for you!
This is the workshop I teach at my Sebring Studio and around the country at polymer clay guilds and retreats. The difference is you can rewind and watch each step over and over if you want.
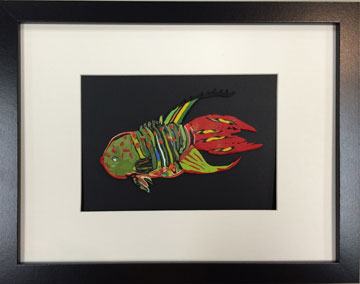
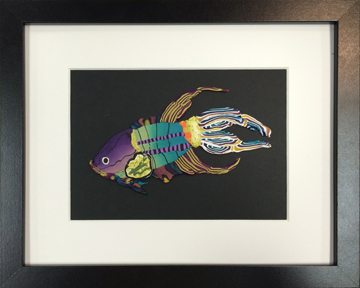
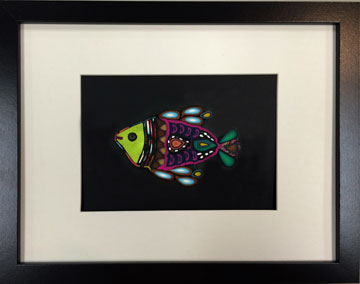
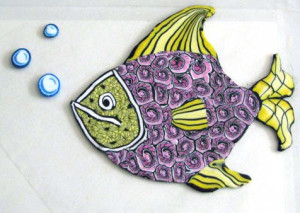
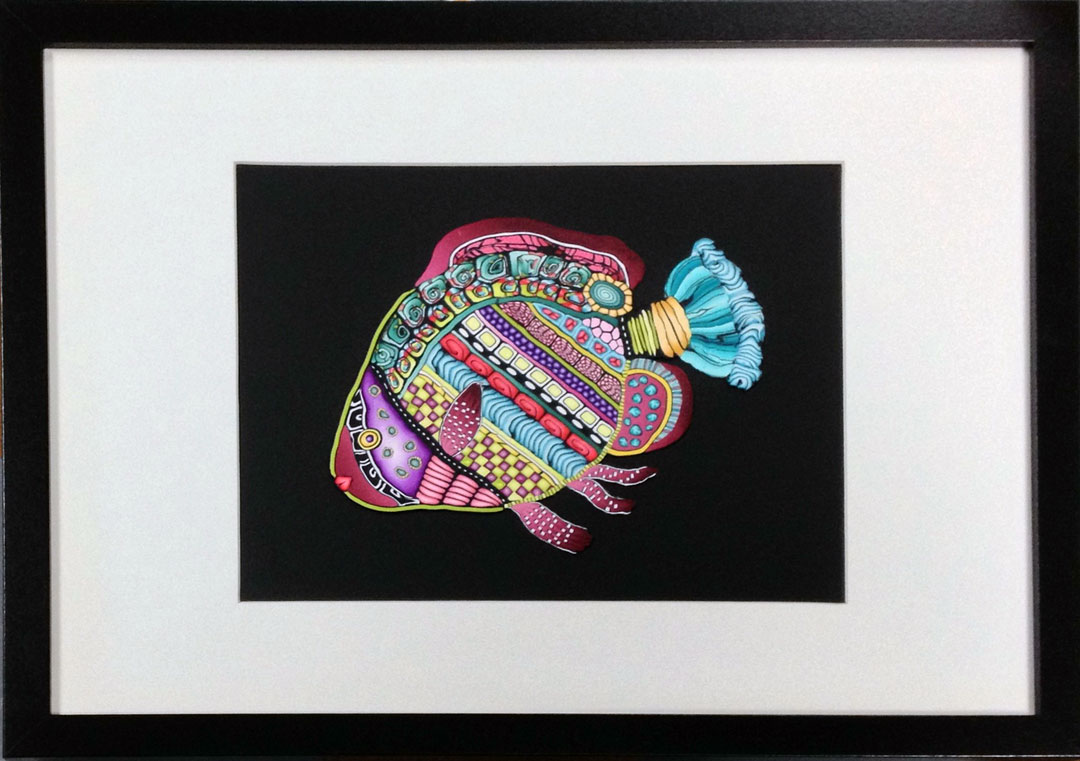
In almost 2 hours of videos you’ll learn the basics by cane mapping this fish portrait and the butterfly on the left above. I’ll show you a few unexpected canes and different slices that you can incorporate into your designs.
This is an intermediate class and having some Skinner blended canes in your stash will make your designs pop.
Thanks so much for taking a look .
I’m pretty excited about offering this new cane mapping workshop for furniture at Studio 215 In downtown Sebring, FL .
I have a full size kitchen stove that is just waiting to be filled with student’s work.
Class size is limited to 6 students, I hope you can be one of them.
Download application here
Cane Mapping Furniture
3 1/2 days
Thursday – Sunday
June 23 – 26, 2016
Limited to 6 students
$250.00
$100 deposit required”
Learn how to cane map on a large scale. We’ll be covering a small table (you provide) with colorful polymer canes.
Tables should not be larger than 20” in any direction. You should have your table completely ready to accept your artwork. Sanded, painted etc. If you are painting it yourself, don’t paint the surface where your artwork will be attached.
Bring your favorite canes and create your person piece of art-furniture.
Once you learn how to cane map for furniture, you’ll be able to apply that knowledge to large wall pieces and other items.
Day one – plan your design, make skinner blends and canes.
Day two – begin mapping your design.
Day three – Continue with your design and do final prep to your table.
Last day – Apply finished art to your table.
This is a little cart saved by my sister Sheryl. Her neighbor was throwing in out. A bit of paint and some polymer and it’s taken on a new life.
This table is special to me, it was our first telephone table in our first apartment. I won’t be teaching faces canes in this workshop, but you could bring your own.
Here’s another thrift store find. But there is no reason why you can’t can’t bring a new table.
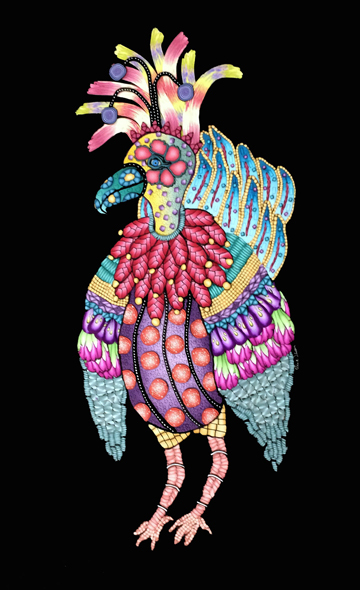
I’ve been obsessed with birds over the last few months. (I’m blaming Laura Prohater and Barb Harper, you two know why *g*) It’s all ending with this crazy bird, or maybe its just the tip of the iceberg, maybe there are more of these guys in my future.
He’s 18″ tall and I’m either going to frame him or free hang him. I’m working on a hanging solution that will allow me to hang my characters without a frame.
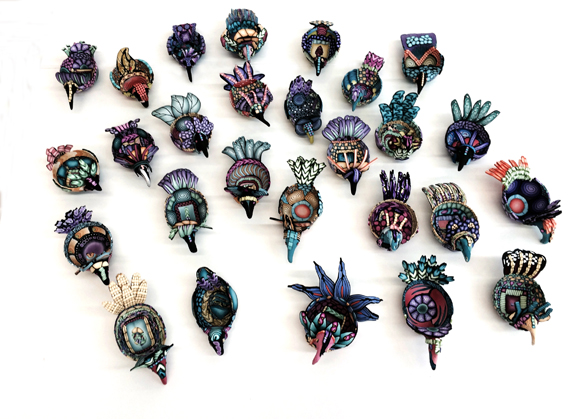
Now the real reason birds have haunted my dreams. I’ve been working on these bird bowls for an exchange I’ll be taking part in. In the beginning I thought I must have lost my mind to think I would ever finish 26 bird bowls. especially since several broke apart in the oven until I figured out you can’t take the bowl out and add more things and then bake again. I think it was late one night and I was oh so tired. But lesson learned. I really have learned so much about making bird bowls so there might be more on my table soon, or maybe even a workshop at Studio 215.
I used quite a bit of extruded canes with these birds and with my Charming Canes. Looks like I’m on an extruder kick. It fun, effective, and attractive. so what’s not to love?
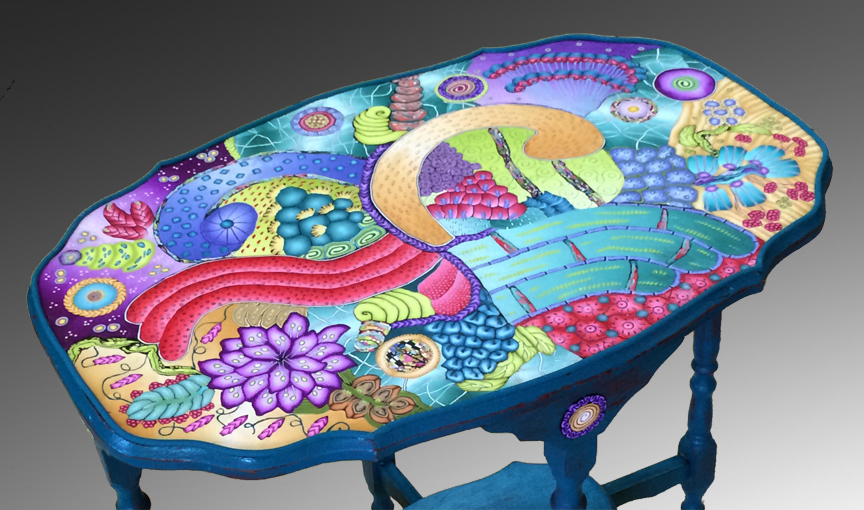
A reclaimed table finds new life in my house. It started out as a wobbly table made from solid oak but with a few years and coats of red paint under in it’s history. I brought it home and almost ave up on fixing the wobble, but fortunately my husband, who is not a wood guy, saved the day and came to the rescue for both me and the table.
I spray painted teal over the red and then sanded a bit here and there. Let her dry and then I was ready to start. I’ve been doing large pieces to frame and hang on the wall and thought why not give furniture a try.
This is the same technique I use for my smaller pieces of wall art too, I call it cane mapping. Laying out a map and filling it with clay.
I started with a smaller table and it worked pretty well so I decided to give this larger one a go. It’s 28″ H 29″ L 18″W.
I start out by making a paper pattern of the top and draw my design on the paper. Then I place the pattern under a large piece of glass and just start laying clay.
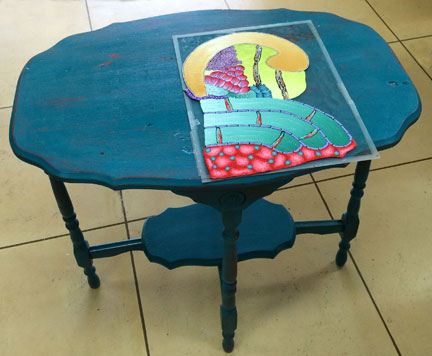
Once I have a good deal completed I bake it and then move on to the next part of the pattern. I end up with several large puzzle pieces that I then glue onto the table top. If I work on too large a piece I tend to rest my hand on on drop something on the part that was finished and have to redo parts of it, Baking in pieces helps to preserve the work I’ve already completed.
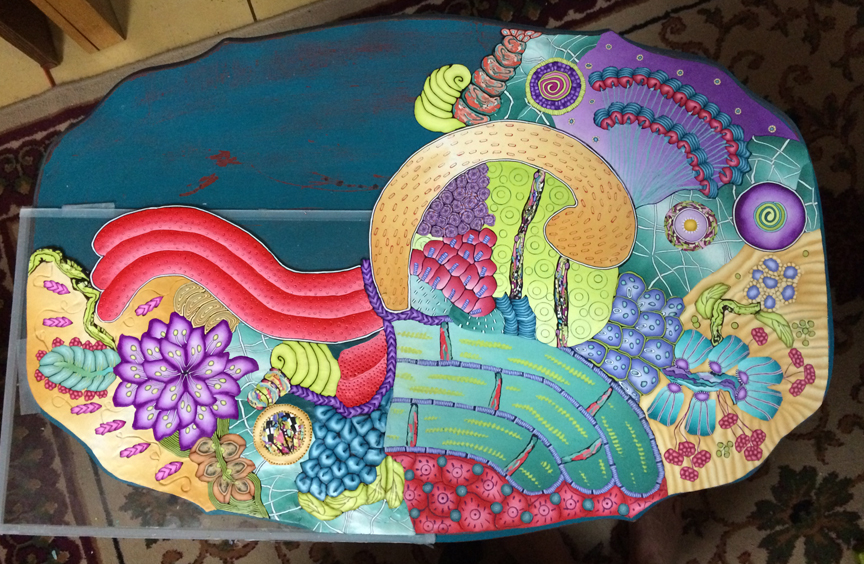
I use Liquid Fusion clear urethane adhesive. It dries fairly quickly, but takes 24 hours to completely dry. When I was finish with all the pieces for the top, I glued them together right on the wood.
Then I exuded a matching teal round snake from the edge. I baked it in four sections in roughly the same shape as the edge of the table. I use Premo because it’s flexible and it was easy to apply. However, to make sure it stayed in place, I taped it all around and left it until morning.
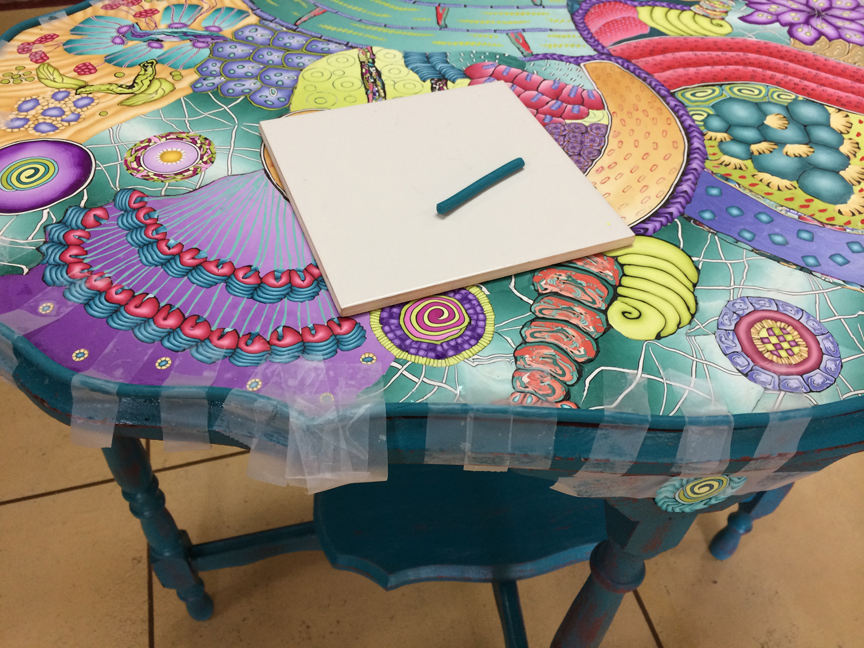
I don’t add a finish to the top, if I could stand to do it, I might sand and buff it. But until I get myself a do-boy…well…it will just get pretty with age and develop it’s own patina. I feel this way… it’s plastic…water won’t hurt it…you can wash it with a damp rag. The only thing I will do it make sure to use a coaster for hot beverages. I know the bracelets that I made years ago and wear often have this wonderful feel to them. So I say use it what’s the worse that can happen?
Thanks for all the wonderful words of encouragement, the likes, the shares, on Facebook and thank you in advance for any comments left here. On to the next project!!!
Follow me on Facebook if you want. https://www.facebook.com/alice.stroppel
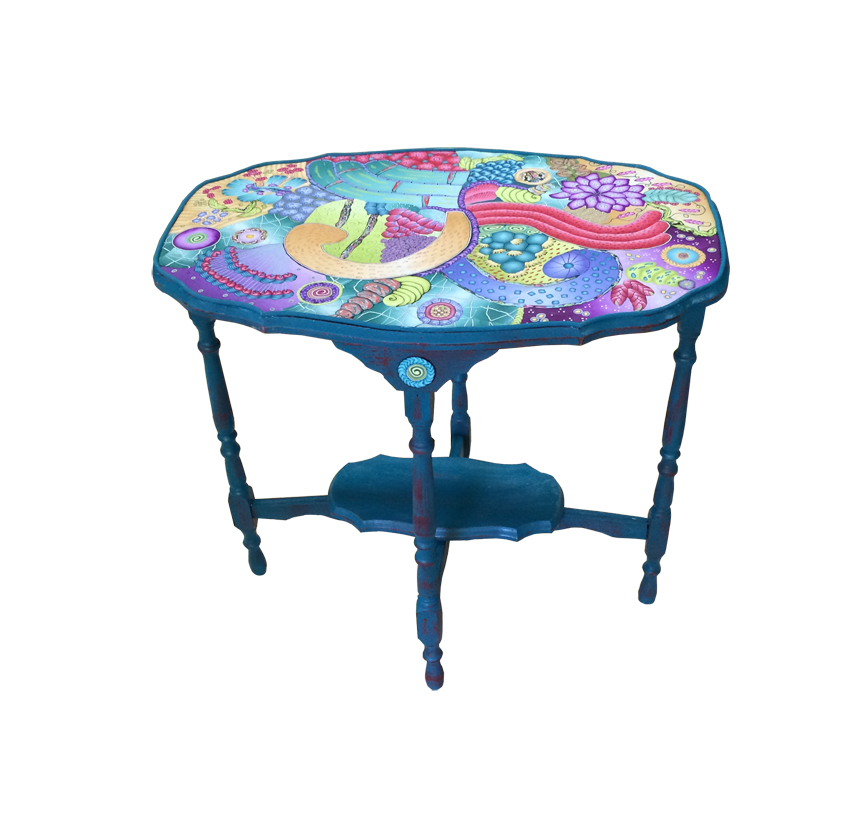
Once again, having fun with my cane stash and cane mapping.
Florida Gulf Coast Polymer Clay Guild
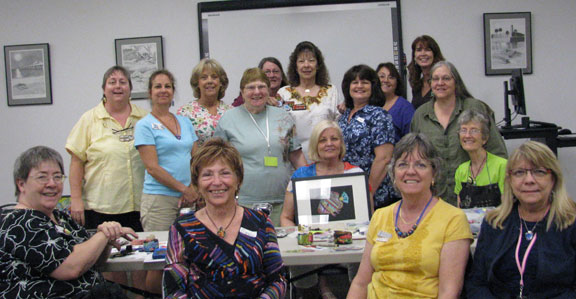
Once again I had the pleasure of showing this great group of women some of what I’ve learned about polymer clay. This is the Florida Gulf Coast Polymer Clay Guild in Palmetto with some attendees from other guilds around the state.
Thank you Sydney Carter for all your planning and thank you to everyone for the delicious potluck and continuing to want me back.
Everyone got right into my cane mapping technique and I think they all really enjoyed what they made. I know I was delighted by the work, it really makes my day to see the level of work and the fun that’s happening.
I taught this group about 6 months ago. We had a cane class and I showed everyone my crazy ways of making canes. I sent everyone home with homework. “Go and make Canes!!!” They did with great results.
This is the follow up class that shows just one of the many things you can do with the canes you made recently, little bits of left over canes and the canes you might have had in your stash for years.
The Premo clay for this class was donated by Polyform and we were all thrilled. Now we will reveal how grateful we are for the clay and what we’ve made with it all. Many thanks to Iris Weiss and Polyform. You can also visit Polyform on Facebook
Here’s the results, I know you’ll agree that this is one talented group. ( I’m sorry I don’t have a picture of Geri Costello’s, I’m hoping she’ll send one)
Sue Garland
Sandy Grace
Judy Northrup
Carol Knapik
Christine Keyworth
Bonnie Anderson
Annette Cannariato
WIP – almost finished
Sydney Carter
Starr Payne
Jill Hennessy
Patsy Monk
Christine Kacmarek
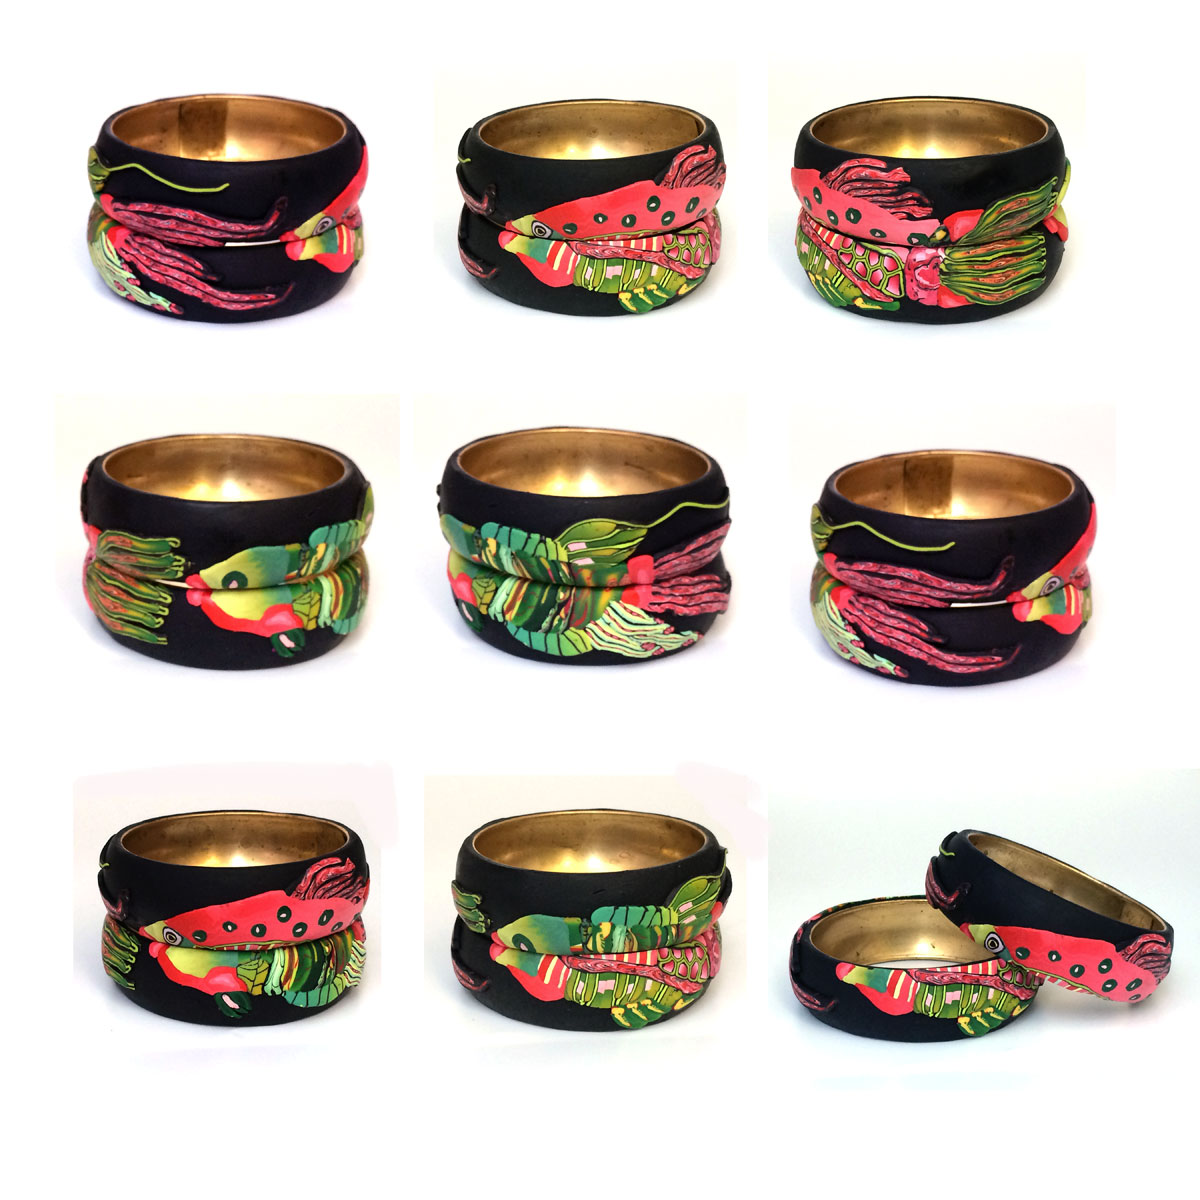
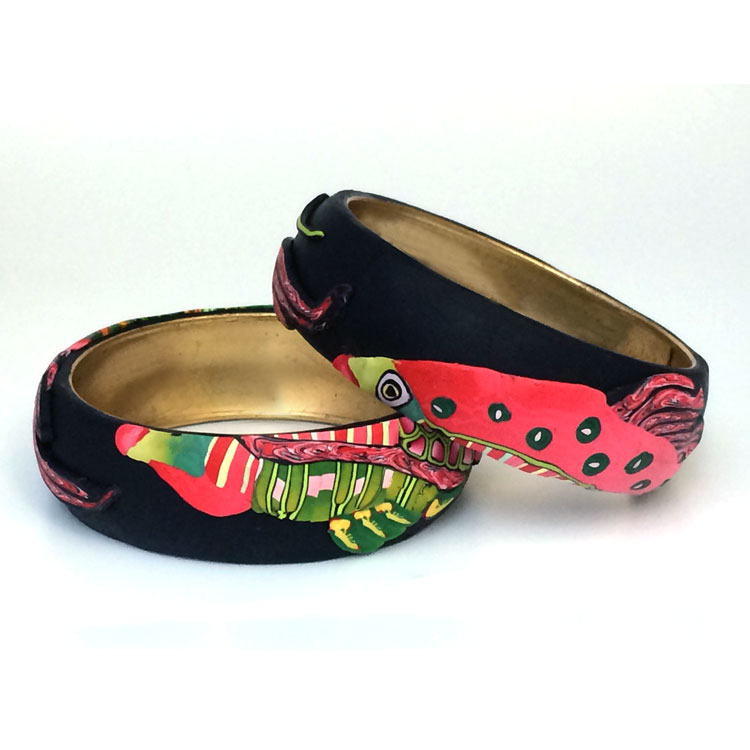
I ordered some brass bangle blanks to play around with. I really like the way the bangles look even though I mostly use the cuff blanks. I like the cuffs because they fit most people even when ordering online, the bangles really have to be tried on in person to be sure.
But here’s the fun part, at least to me. I moved the cane mapped fish I was working on from a flat to be framed piece to a cuff bracelet. and really liked the way it looked. Here’s it is.
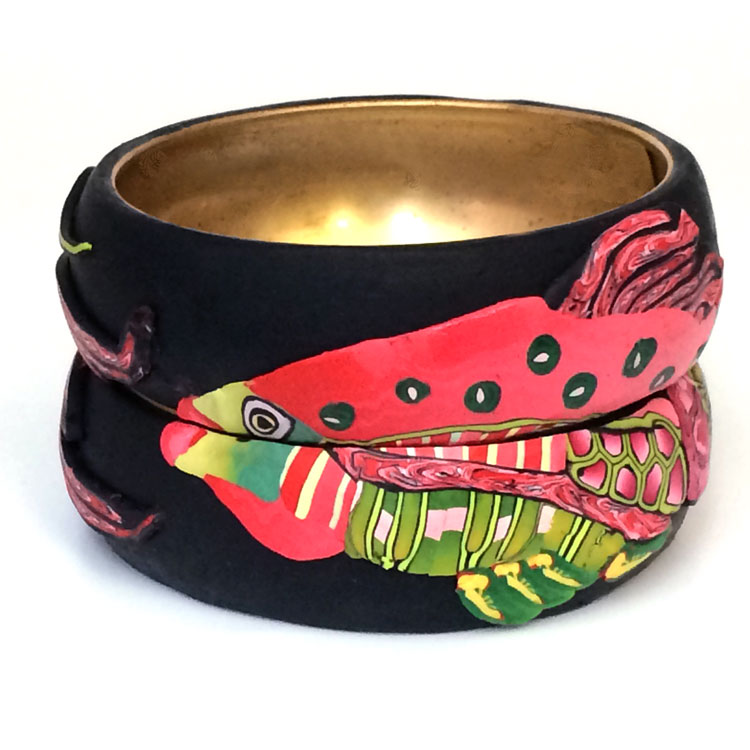
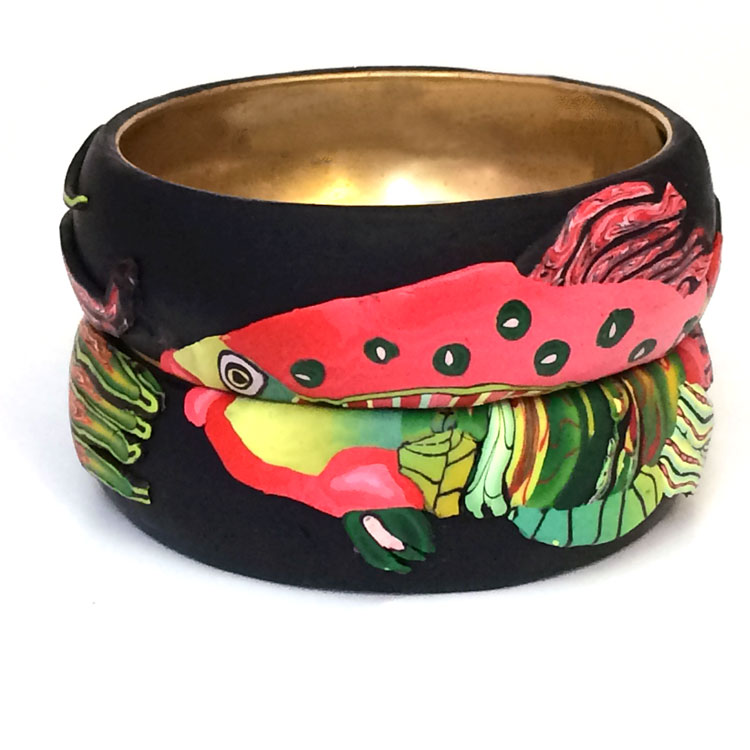
So when my order for the bangles came in, (I ordered 2), I thought how cool would it be to put the fish on the two bracelets. I made two fish and cut them down the middle and placed each piece on different bangles.
When the bracelet is worn the fish spin around and become a mix and match, just like those Cracker Jack prizes when the bodies, heads and feet of characters could be mixed and matched, remember? It made me laugh.
Now to do it with my faces.
I was very happy to use several very old canes on this fish. I find him really interesting. When I’m wearing him you see the middle part with all the greens and yellows.
When I wore it today I had several compliments and one lady was very surprised, as I turned my wrist, to see it was a fish. A fun piece to wear.
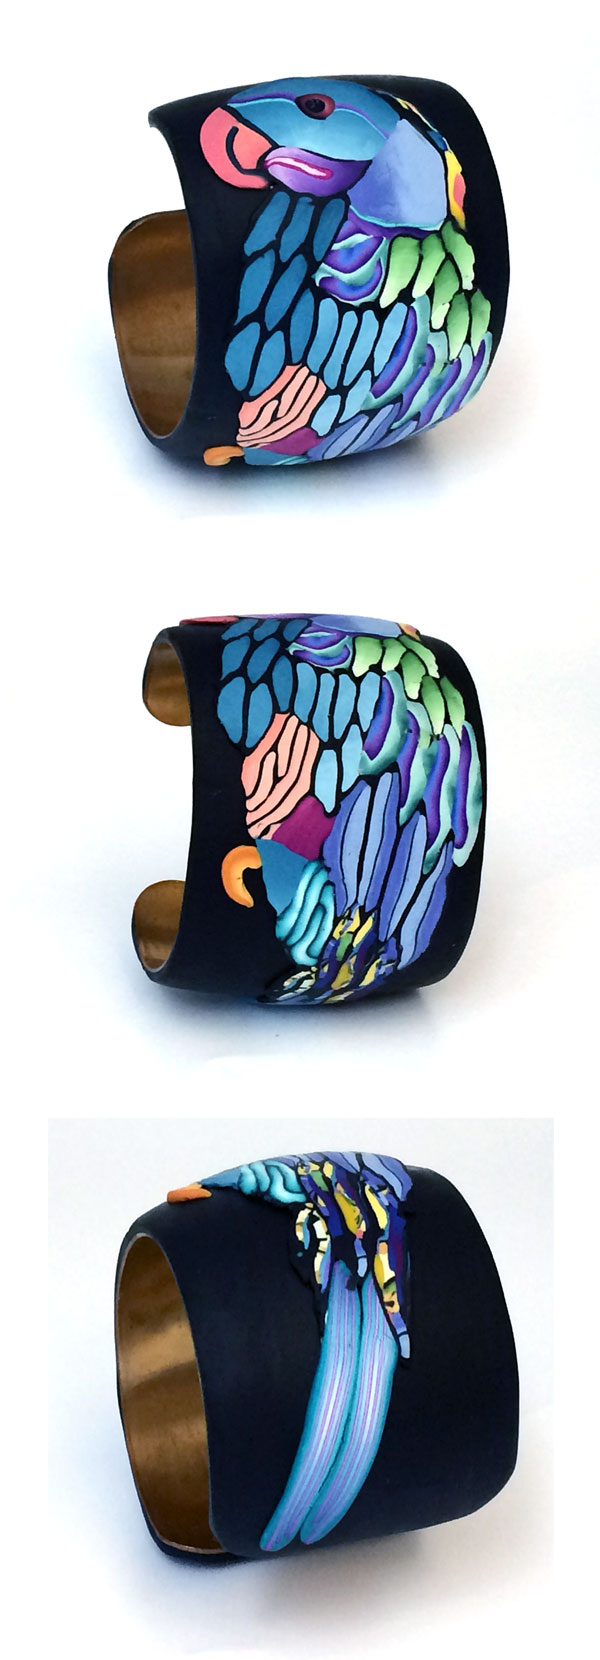
While making samples and demo pieces for my cane mapping workshop in June, I realized that this parrot was just the right size to fit on a bracelet blank. Here’s the finished bracelet. Luckily I have another Parrot for the workshop.
Very Florida-ish don’t you think? Even though I’ve yet to see a parrot in my backyard.
I”ve been creating several pieces for samples and demos for my cane mapping workshop with the Florida Gulf Coast Polymer Clay Guild in June.
This is a follow up class to the cane workshop with FGCPCG several months ago. In that class, using Premo clay donated by Polyform, we created several canes and the group went away with homework to make lots more.
In this workshop, we will be using those canes to create pictures to frame.
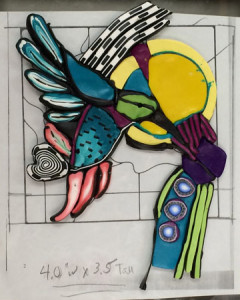
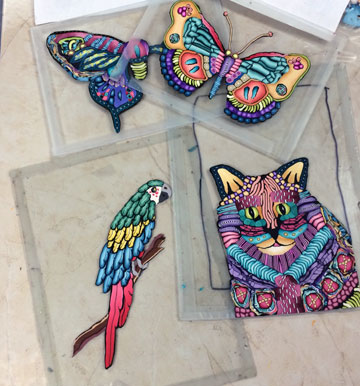
These are from royalty free clipart. They are cane mapped and flat except the parrot which is more of a 3D effect.
I always look forward to spending the day with this guild, they are so much fun.
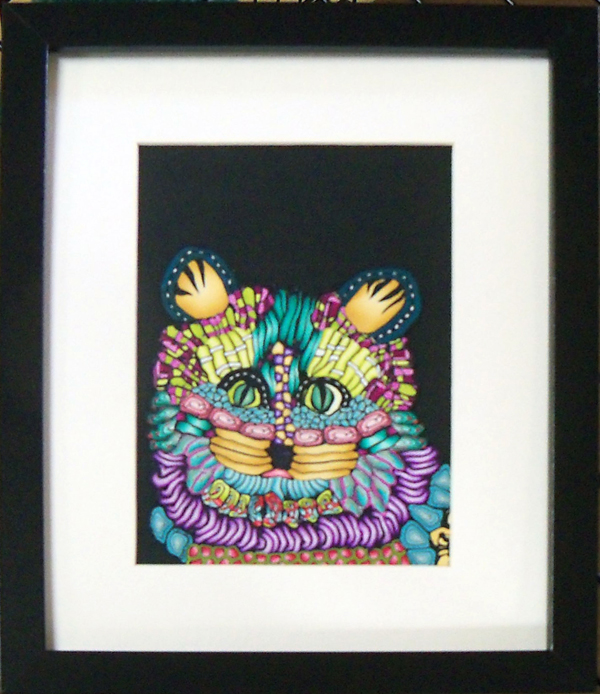
Here are a few finished and framed pieces
|
|
Comments