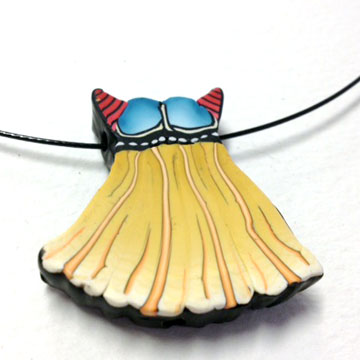
I made these fairy dress slides for an exchange that was canceled but is going to take place next year at this same time. I had them all made and needed to just put them away and I’d be set. HA! I knew I wouldn’t be able to wait a whole year to post them, I also knew that by next year there would be something else I wanted to make for the exchange.
These dresses are 1 1/2″ x 1″ and are so much fun to make, I couldn’t stop. Good use of small bits of canes, even a Stroppel Cane or two thrown in.
I almost made it though, I put them away and haven’t thought of them for several weeks. Then the other day I was cleaning out a box full of “stuff” and in the bottom of the box was a bunch of 1″ x 1″ wooden blocks. I saved the blocks thinking… as always… that I might be able to use them for something… someday. You know how that is don’t you?
Well, I know you will find this hard to believe, I was shocked, but I actually did think of something to use them for in a very timely manner and while I still knew where they were.
I have been trying for a couple of years to figure out a way to display some of my items as well as some of my swap items. I have pins and masks and inchies that are little works of art. I want to look at them, not just put them away. Some I’ve framed, the inchies were easy enough, but others posed more of a problem.
The pins and slides I have could not be glued down if I were ever going to wear them. The mini masks were all over the place as far as a flat back goes. Besides, really, each one is a fabulous little art piece.
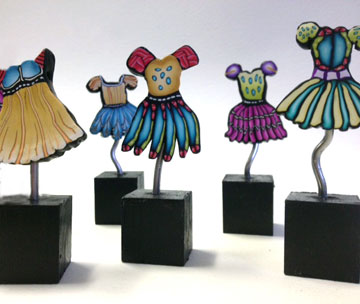
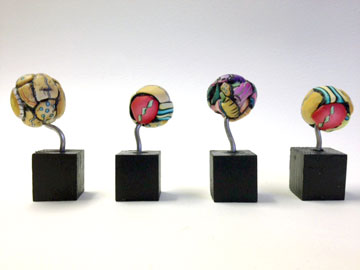
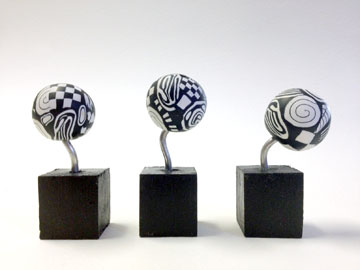
I painted the blocks black, drilled a hole in the center of the top, glued a piece of thick wire in the hole and tada…a stand for whatever. With the dresses, there is a hole drilled from side to side allowing it to “slide” onto a steal cable necklace. I simply drilled a hole in the bottom of the dress so it could now slide onto the wire in the cube. It won’t be glued so that it can be removed and “slide” back onto the necklace. I can’t tell you how happy this makes me.
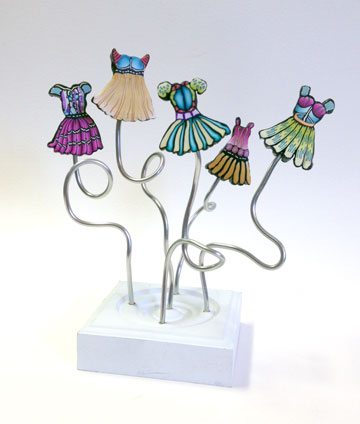
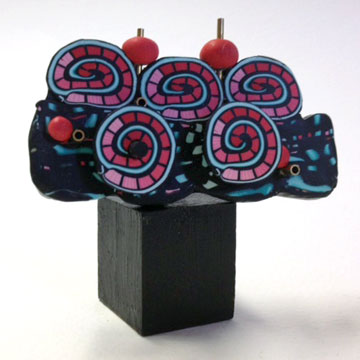
I had this white block lying around and thought it would look cool to have a grouping. So you see, this idea is limitless.
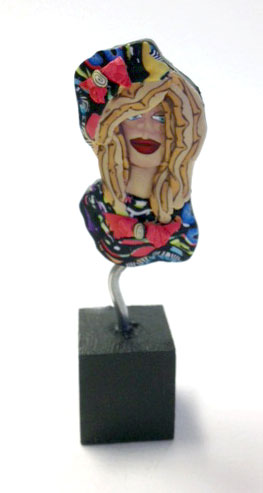
Of course I can’t stop there. I did the same thing to this Stroppel Cane sweater girl slide.
Then there are the single beads below, all of which can be worn as just a single bead or in groups.
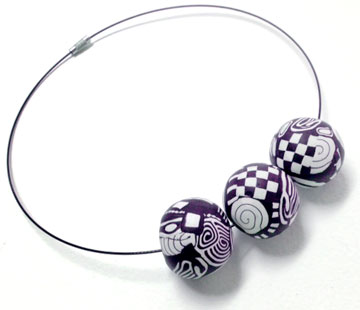
Or how about a whole set of matching beads? One minute they are mini graphic sculptures and the next you’re wearing them out to dinner.
Just slide them off the wire and slide them onto the necklace. Fun, fun for sure.
I think it’s a great way to display pins as well, just slide the closed pin back over the wire.
Okay, enough for today. My head is full of more ideas. Let me know if you do something like this, I’d love to see.



Comments