Polymer Clay Canes for Beginners

27 videos, step by step, beginner cane workshop beginner Cane Tutorial What people are saying about this tutorial. jennifer rose Just finished this first workshop on how to make canes, and I must say I learned so much. This is exactly what I have been looking for, someone who could explain cane making in a step by step that process that I could replicate. I watched the videos, went into my studio and began to create all of the canes Alice showed. I finally have results I can be proud of, and I say thank you so much for doing this workshop. My only question now is when do we get more workshops. If you are only going to take one online class let it be this workshop. Thank you Alice for your hard work, and your dedication to helping others learn the joys of polymer clay.

Online Workshops with Alice Stroppel

Catagories

[caption id="attachment_102" align="aligncenter" width="100" caption="Member IPCA"]Member IPCA[/caption]

Polymer Clay Slides

I have a slide exchange coming up and I have been experimenting with different designs. They have to be black and white with one color. The exchange is with a very talented group of polymer clay artists and I want to make something new and different. Different for me anyway.

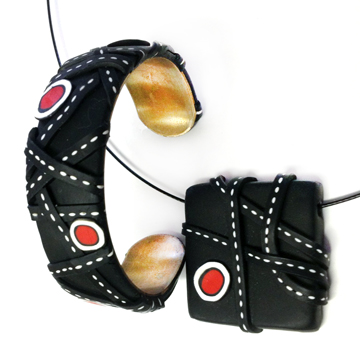
This was the first idea that I had and I made a bracelet to go with it. I saw a pendent like this except instead of my dot-dot-dot cane there were real diamonds draped around. I like this one and got several compliments when I wore it.

Black and White and Red Slide and bracelet


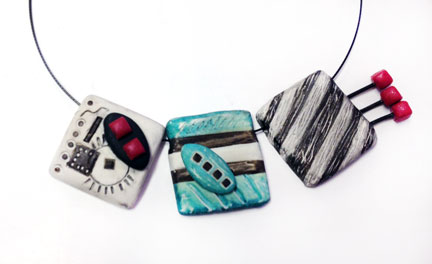
Next  I made these three, once again using my dot, dot, dot, cane in each one. I like the one in the middle the best.


three polymer clay slidesYesterday I made these hoping they look a bit like ceramic bisque.

three polymer clay slides.


And then this “just a bit crazy” one that uses… what else but the dot, dot, dot, cane again. polymer clay slide

And the experiments continue.


On the Other Hand…I Do Plan…

In yesterday’s post I talked about how I don’t plan what to hang my pendants on or from. After thinking about it overnight, I decided that statement wasn’t actually true.

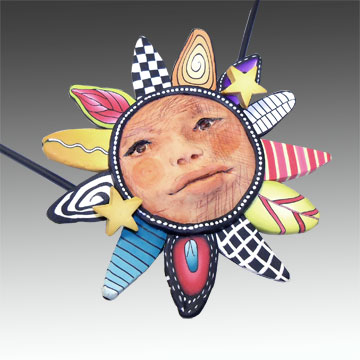
I’m always trying to come up with different ways to add a bail, invent a bail or create a different closure. The project I will be teaching at Fandango this year is a prime example. Florida Sunshine - Alice Stroppel

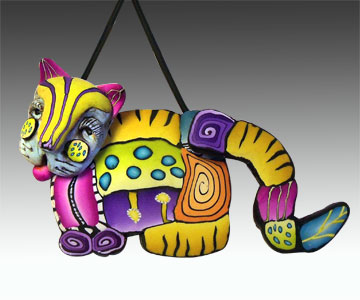
The stars are the closure. It’s an easy solution and adds a 3D element to the piece, that and the sculpted face. This cat uses the same idea with the tail and the head as closures.

Cat - Alice Stroppel - Polymer


You can use this type of closure on almost any design and I’ll show you how at Fandango  in a couple of weeks. And there is exciting news from Iris Weiss the Education Manager from Polyform Products, Polyform will be donating some blocks of Premo for my student to use in my class. Thanks Iris and Polyform.

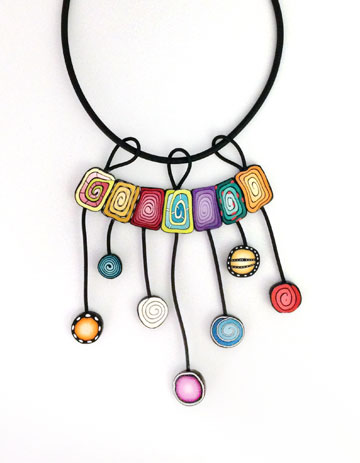
This piece that I posted a couple of days ago is another easy bail alternative. Creating something different and new is something I really enjoy.

circles-and-squares - Alice Stroppel

I love the creative process of working with polymer clay. However the jewelry making part, findings, stringing, etc, are not on my love list and barely makes my like list. And my usual joy comes from colorful, fun, jewelry. It’s when I decide to create something more sophisticated that I lack the materials on hand to be able to spontaneously finish the piece.

In contrast, I always make sure I have plenty of canes on hand when I begin creating, it’s something I preach to my students. If you have a wide selection of finished canes on hand when you sit down to create, things just flow more smoothly. Not having to stop and make all the canes that need to go into a piece make it possible to create without having to stop the flow.

That’s not to say I don’t start a piece by constructing a couple of new cane, it’s just that I know I have lots of fillers to choose from already made and waiting for me.

So you see, I do plan ahead more than I realize, just not when it involves stringing and findings. So I’m still going to take a look at why I have a block with planning when making something more than a colorful, fun pendant (other than the obvious reason of needing more tools, supplies, etc. ). I’ve accomplished it before and think I just need to get out of my own way. Sound familiar?

So in the mean time, I’ll just keep doing what I love, making fun and funky things to wear and work toward improving my major jewelry construction.

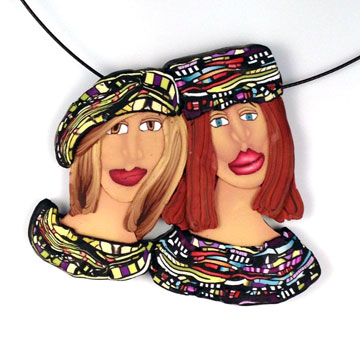
I think these Stroppel Sweater Girls look kind of like Barbara and Cher with red hair. Okay, did that make you smile? Yes? Then my job is finished for today.


Stroppel Sweater Girls


Polymer Clay Slides – Jewelry or Little Pieces of Art?

Fairy Dresses - Alice Stroppel

I made these fairy dress slides for an exchange that was canceled but is going to take place next year at this same time.  I had them all made and needed to just put them away and I’d be set. HA!  I knew I wouldn’t be able to wait a whole year to post them, I also knew that by next year there would be something else I wanted to make for the exchange.

These dresses are 1 1/2″ x 1″ and are so much fun to make, I couldn’t stop. Good use of small bits of canes, even a Stroppel Cane or two thrown in.
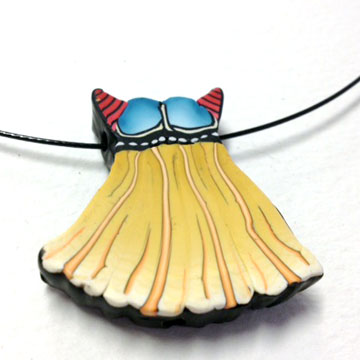
Fairy Dress Slide - Alice Stroppel

I almost made it though, I put them away and haven’t thought of them for several weeks. Then the other day I was cleaning out a box full of “stuff” and in the bottom of the box was a bunch of 1″ x 1″ wooden blocks. I saved the blocks thinking… as always… that I might be able to use them for something… someday. You know how that is don’t you?

Well, I know you will find this hard to believe, I was shocked, but I actually did think of something to use them for in a very timely manner and while I still knew where they were.
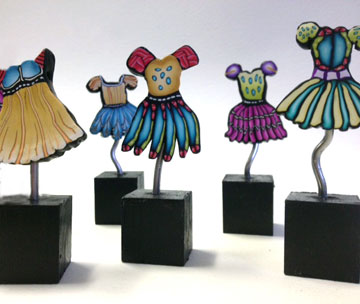
I have been trying for a couple of years to figure out a way to display some of my items as well as some of my swap items. I have pins and masks and inchies that are little works of art. I want to look at them, not just put them away.  Some I’ve framed, the inchies were easy enough, but others posed more of a problem.

The pins and slides I have could not be glued down if I were ever going to wear them. The mini masks were all over the place as far as a flat back goes. Besides, really, each one is a fabulous little art piece.

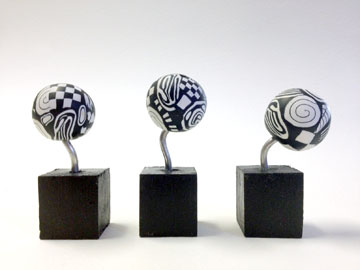
I painted the blocks black,  drilled a hole in the center of the top, glued a piece of thick wire in the hole and tada…a stand for whatever. With the dresses, there is a hole drilled from side to side allowing it to “slide” onto a steal cable necklace. I simply drilled a hole in the bottom of the dress so it could now slide onto the wire in the cube. It won’t be glued so that it can be removed and “slide” back onto the necklace. I can’t tell you how happy this makes me.

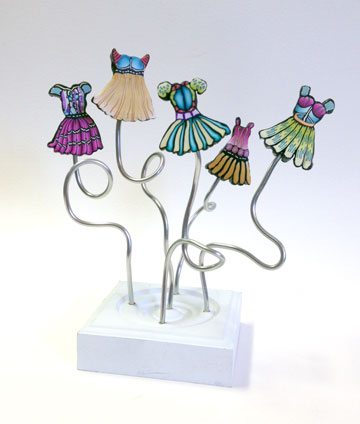
I had this white block lying around and thought it would look cool to have a grouping. So you see, this idea is limitless.
 

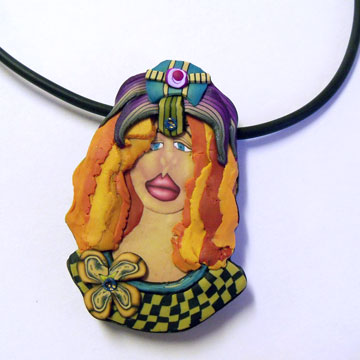
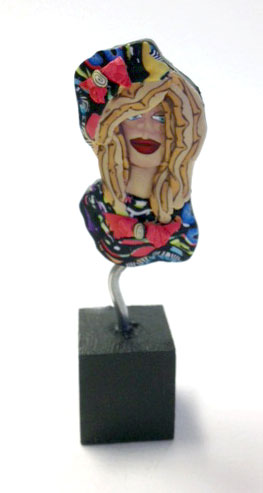
Of course I can’t stop there. I did the same thing to this Stroppel Cane sweater girl slide.


Then there are the single beads below, all of which can be worn as just a single bead or in groups.
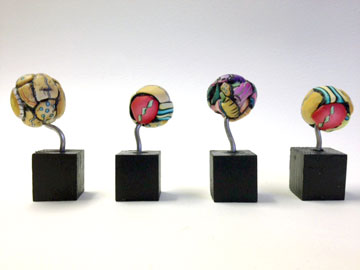


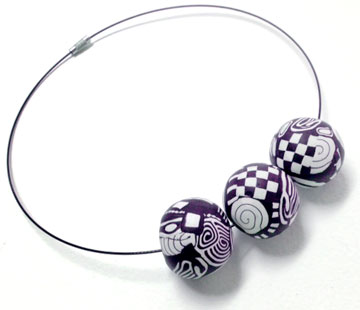
Or how about a whole set of matching beads? One minute they are mini graphic sculptures and the next you’re wearing them out to dinner.
 

Just slide them off the wire and slide them onto the necklace. Fun, fun for sure.
 

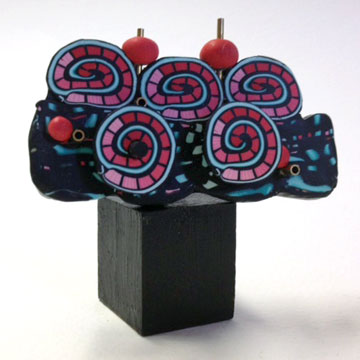
I think it’s a  great way to display pins as well, just slide the closed pin back over the wire.


Okay, enough for today. My head is full of more ideas. Let me know if you do something like this, I’d love to see.
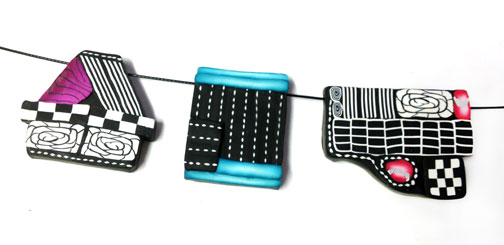
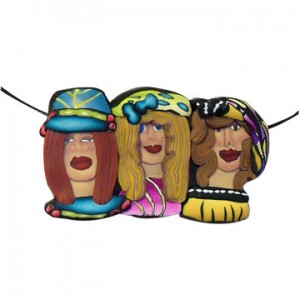
Three Girlfriend – Polymer Clay Slide

I have been taking pictures and videos of several items that I have waiting in line to go in my Etsy shop. I’ve decided that taking 5 pictures of something so that my customers can see the item from all angles is so time consuming. It’s why I put off adding things. My solution, we’ll seee how it works, is to take short little videos to show what they look like in 3d.

Polymer Clay Slides Are Dancing in My Head

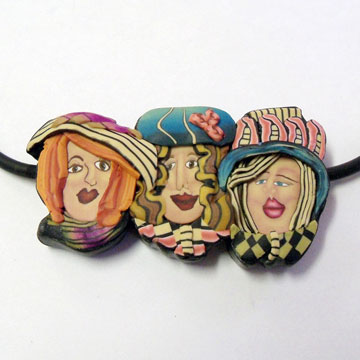
Girlfriend Polymer Clay slide

Have you ever had that “slap your forehead” moment, you know the one, the one where you say to yourself  “why didn’t I think of this sooner?”

Well that was me yesterday, here is the result……….girlfriend slides. And why not I ask you, why not slides to go with the bracelets or instead of a bracelet? I know pins are good too but I love the necklace idea.

Sorry I know it sounds bad to say you love something you just did, but hey…..I would not be playing with clay if I didn’t kind of love what I was doing right?

So I’m off now to list these plus a fish slide in my Etsy shop. Dancing girl la la la girlfriend queen da da la la \/\/\/\/\/\/\/\

3 Girlfriends polymer clay slideMore to come of these I’m telling you, just watch!

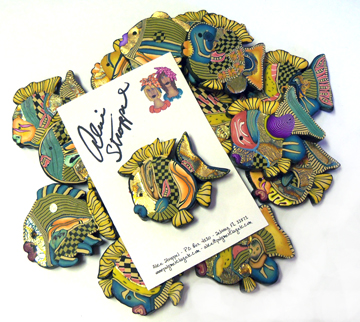
Polymer Clay Cane Mapped Fish Slides

Fish Slides

For the last few weeks I’ve been working on these fish slides for an exchange I will be taking part in. They really have been so much fun and each one is different than the next so I can’t say I was the least bit bored by the number. I still have more to go and hope to finish up in the next few days.

Even though you can’t see it, there is metal leaf on each one of these fish. I’ve recently begun to use the metal leaf with my cane mapping and have some other ideas that don’t involve fish, so stay tuned. By the way you can learn how to map out the use of your old canes by signing up for my newsletter if you haven’t already. Just fill in your name and email address in the spaces on the upper right hand side of this page. I send out a newsletter about once a month and a class up date from time to time.

Okay so I’m not telling the exact true about being bored with these fish. I can say that bored is probably not the right word anyway, I think I get tired of doing the same type of item for a long period of time and have to break it up with other projects or activities along the way. But I’m always excited to come back and make more because they make me smile. Okay so they don’t make me laugh out loud like my girls do, but they do make me smile a lot.

I usually sit down and make five in a row, get them baked and the holes drilled, then I do something else for awhile. Today I am playing around with how to package them. Most of the time in an exchange just including your card  is enough, but I wanted to do mine a bit different this time.

I’ve used cards like this before to display my pins and I think I just might use them this time as well. These are smaller than the ones I’ve used before and I like them better for these smaller pieces.

I have soft wire that I’ve run through the slide and out the back of the card, twisting it together to hold the fish in place. I use a very small hole punch to make the holes so everything looks nice and neat.

The next thing I’m going to play with today is the design of the card. I think it might need some updating, I just signed my name on the top but I don’t think I like that. You never know until you try…words I live by.