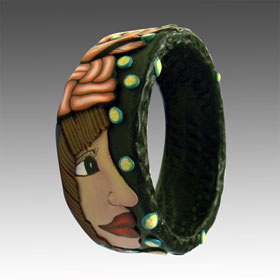
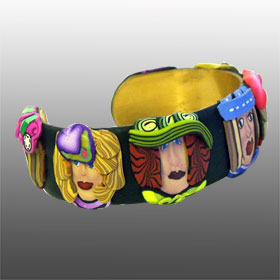
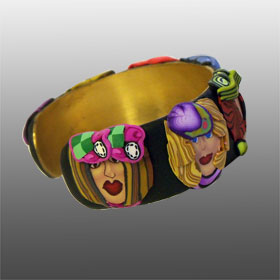
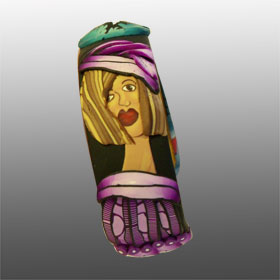
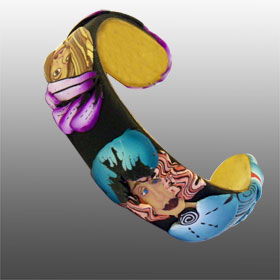
I’ve listed several items in my Etsy Shop, getting ready for Christmas Shoppers. These two bracelets were made entirely from polymer clay. The great thing about Premo clay is that the bracelet can be squeezed to allow it to slip on your wrist easier.
|
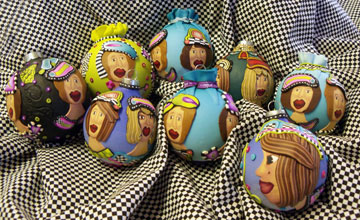
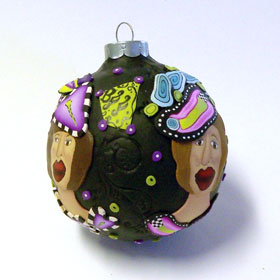
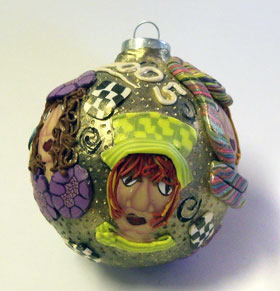
I’ve been on a roll, covering these ornaments and creating these girlfriend ornaments. By using different skinner blends for backgrounds I’m not using traditional Christmas colors for a reason. I want these ornaments to be able to be viewed and displayed at other times of the year too. We all have one of those ornament stands that will display one special ornament. Well why not add one of those to a polymer clay ornament that has a special message for the recipient. I did a google search and found them for 2.50 and up. Order an ornament from my Etsy Shop (adding a couple by the end of the day today) or create one yourself. But get started, Christmas is just around the corner. Pam Moody from The Creative Native Gallery is having her annual ornament display this year and I’m making some best girlfriend ornaments to add to the mix. Each will a have a witty saying on the back, but you’ll have to stop in The Creative Native to choose yours. I’ll be making more for my Etsy Shop and The Highlands Art League too, but I promised Pam that I would get some to her soon. Here’s an ornament I made in 2005 when I was still working on perfecting my faces. (actually, I’m still working on perfecting my faces) This one had 7 girls on it and it hangs in my studio. I thought this year was a good year to revisit these ornaments and take a look at how far I’ve come. I made this ornament to celebrate my Best Female Friends. We are still friends and it’s a great thing to have this group of fabulous women standing beside me, plus covering my back…….
This is just an aside…. one of my friends, contacts actually, on facebook wrote something that made me laugh. I don’t remember who it was, but I know she had to have been very young. She was ranting about “all these woman that are over 40, sometimes even in the 60s calling themselves “girl”. Why don’t they just grow up and realize that they will never be “girls” again.” I will always be that “girl” who is just waiting for the next cool thing to jump into my life. I wish I could be around when that young girl crosses over into the land of the “older girl” and she finds that she doesn’t grow up either.
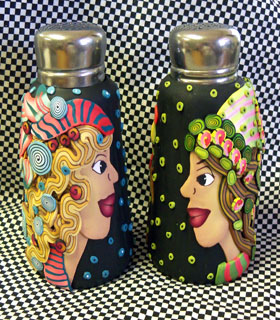
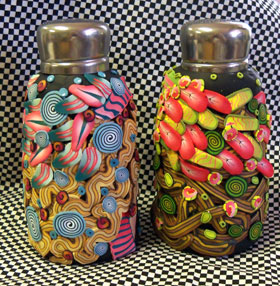
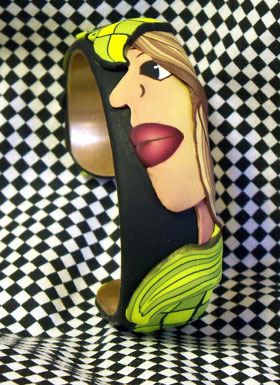
Thanks for stopping in today. Working on a couple of salt and pepper shakers for a customer. I’ll have to see which one she’ll buy. The other one will go to my Etsy shop. As always lots of fun figuring out what colors to use. Now just have to finish the second set. If you’re in the Sebring area, I’ll be giving a demo at Highlands Art League tonight from 5 until 8, stop on by…… Every one of the last group of “Girlfriend Galore” bracelets went to new homes last week. Two traveled all the way around the world to Cyprus and one went to a friend. I was thrilled. Plus another single girl sold to a high school friend. How nice is that. When friends buy things from you when you least expect it, it’s a good feeling. So these are several new bracelets I’ve made for the first friend who wants more. As soon as she takes what she wants, I’ll post the rest in my Etsy shop.
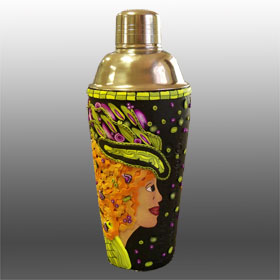
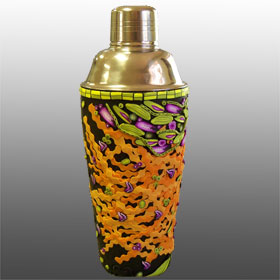
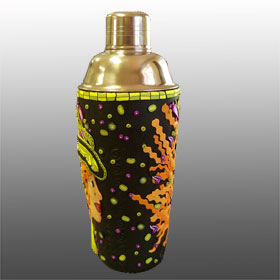
Okay, I’ve done it now, I’ve gone back to “big”. This is a full size cocktail shaker. I love making things that you can see from across the room and you say to yourself (I hope) “Wow, what is that? I love that, it’s so cool” that’s my goal I guess …………cool……… Okay may the word is interesting, or different…oh….. I think I have that one covered. Her hair goes all the way around the shaker to almost meet on the other side. I spent a month picking, peeling, slicing and freezing from 30 to 100 mangos a day. Thank goodness they are all gone and won’t be back until next year. I’ll have mangos until next summer. I made the best frozen margaritas and had them on my mind as I made my choices for this cocktail shaker. Lime green for the margarita part and a mango color for her hair. Here’s another something that I just might have to keep for myself, then again I have a friend that just might like this for her birthday. Besides, my kitchen is getting to look alot like my studio.
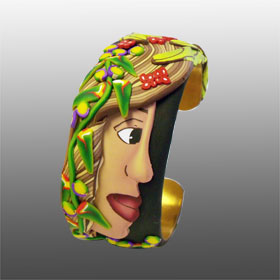
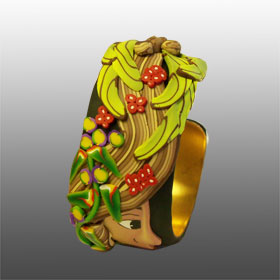
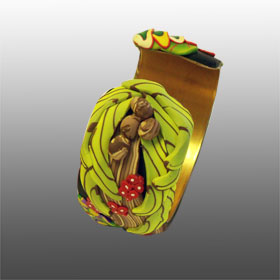
I love this one….I’m still laughing and almost hope it doesn’t sell in my Etsy Shop even though I’ve listed it there. Everytime I look at her I laugh. She has a palm tree….on her head………..I think I’m the one that’s coco nut. But I wouldn’t have it any other way. I have a great time every day. I’ve combined leaves from my Tropical Leaves Tutorial and my Profile Face Cane Tutorial plus my Hair Cane Video to create this bracelet. Fun. I’ve been working on several things today. This is just one of the bracelets I’ve finished and I’m working on a cocktail shaker. Too Funny! This girl has a flamboyant hat as always and a checker board blouse that matches the lime green checker board bracelet I posted yesterday. Over on Facebook, I had so many people talk about loving the lime green color that I thought I’d share the recipe with you. I know that I am not the first one to print this, but to tell you the truth, I have no idea where I discovered it. I do think pairing the two colors is something I did on my own years ago. Lime Green Recipe 1 part Zinc Yellow 1/16 black Yep, that’s it! That’s all there is to it, and the second color is Zinc Yellow straight out of the package. When placed next to the lime green it looks like a light lime green. Easy, breezy. Go Green! |



Comments