

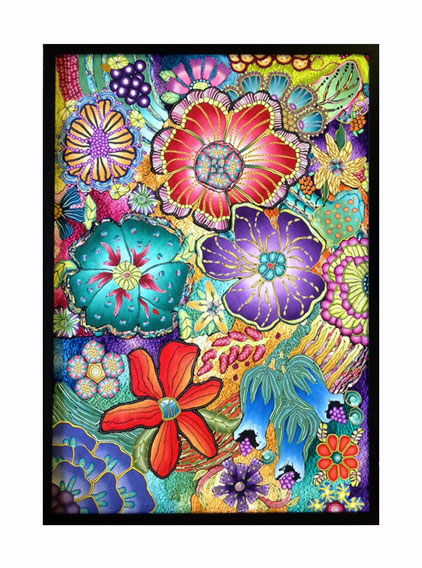
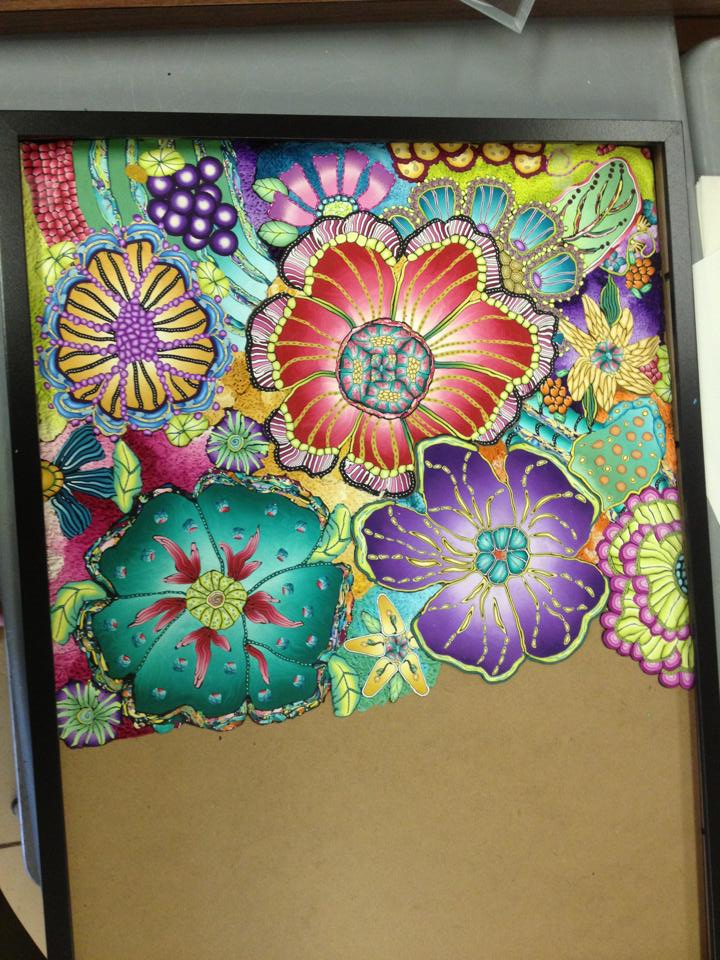
This is my newest adventure, I pushed myself to create something large and more complicated than in the past. I used my Cane Mapping technique with an added twist.
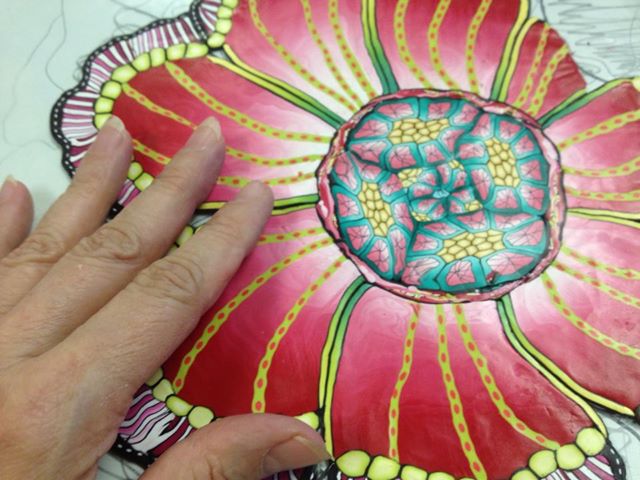
It’s a large piece, 19″ x 27″, framed it’s 20 1/2″ x 28 1/2″. I bake my polymer clay in a regular kitchen oven, but even so I had to construct it in pieces like a giant jigsaw puzzle.
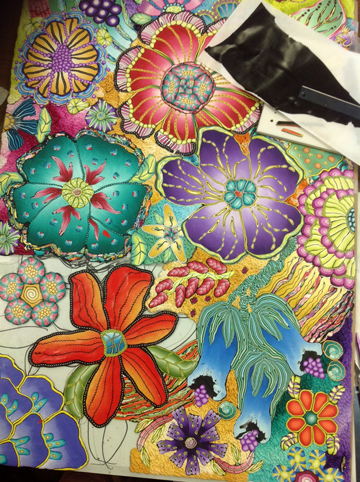
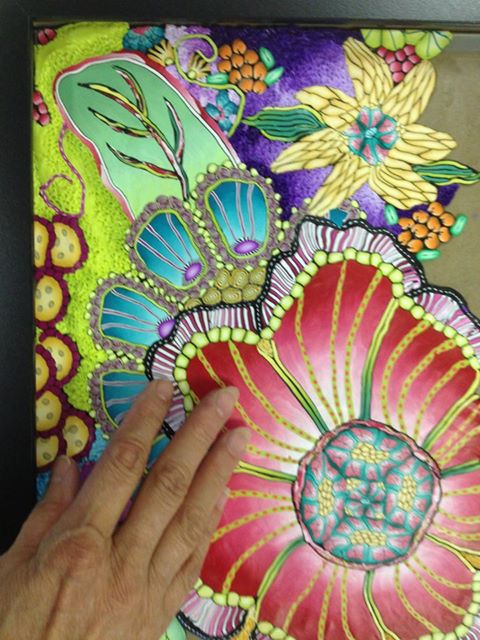
After baking a pieces, I constructed the next piece on a piece of glass and by fitting it to the last piece. I placed a roughly drawn pattern behind the glass, but as you can see by this picture, I didn’t follow it exactly.
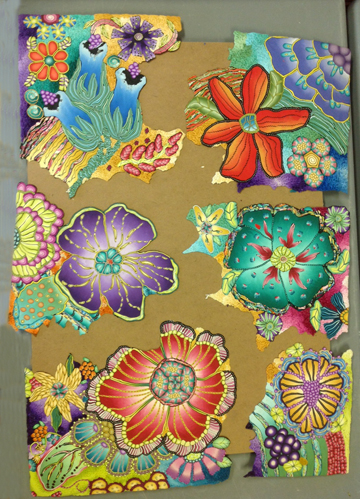
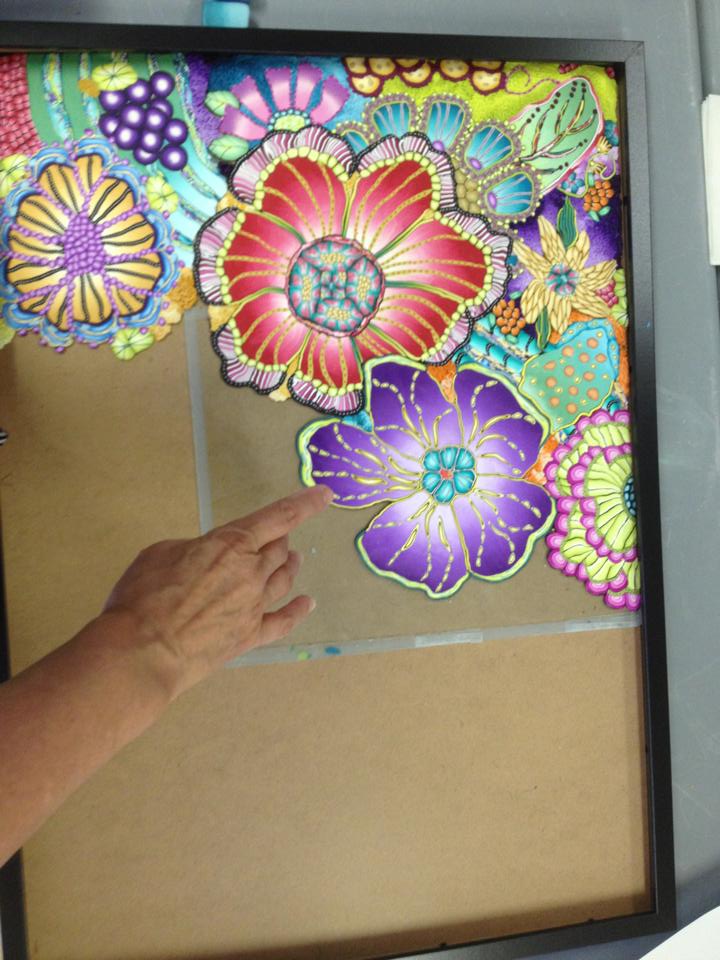
I continued this way until all were pieces were baked and then glued them to a back board. Actually this board came with a frame I bought. Here’s a look at each step as it was completed.
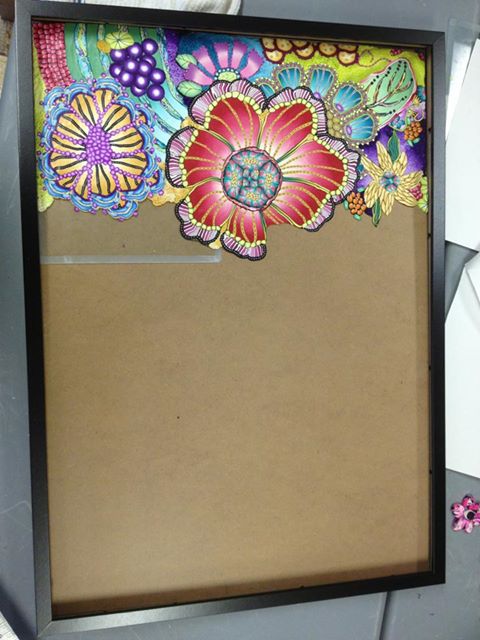
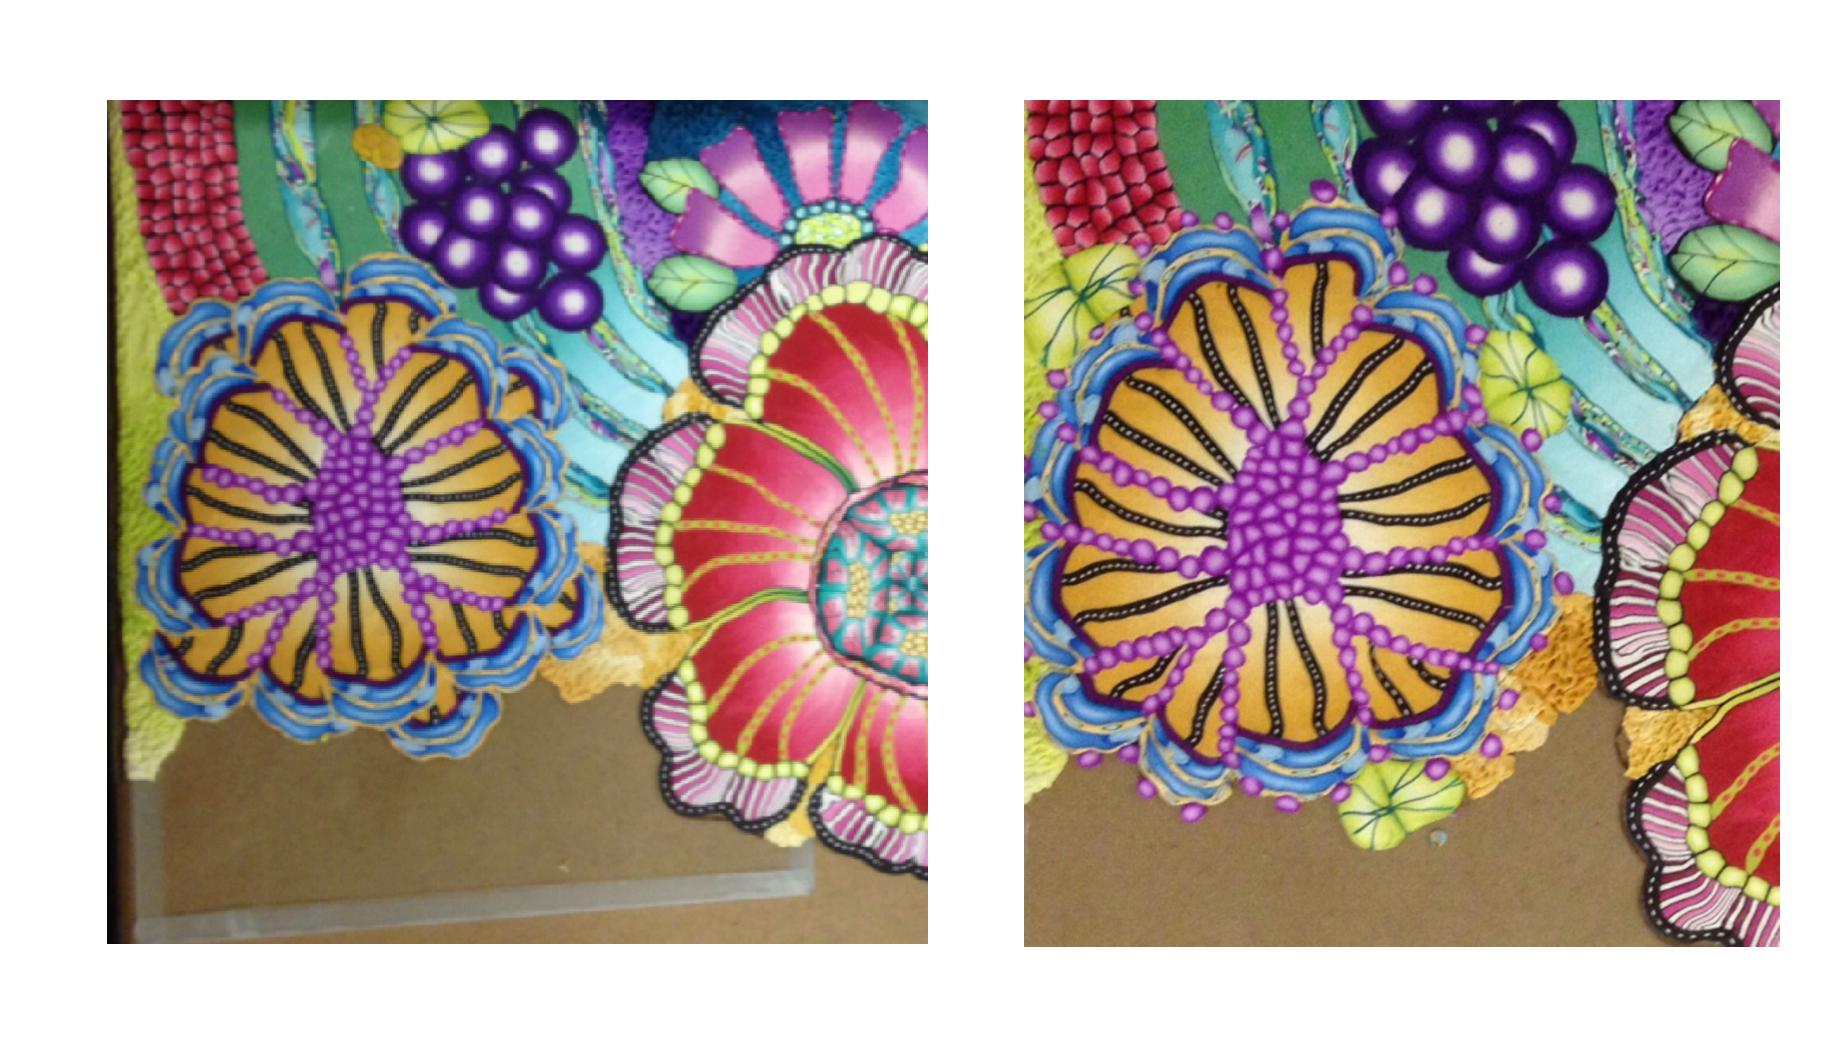
After completing and taking a picture of this step, I realized how disjointed some of the yellow flower petals looked. So before I baked it, I made some corrections.
Not completely satisfied, but knowing this was as good as it was going to get, I baked it and moved to the next section. Once again I used my and for size reference.
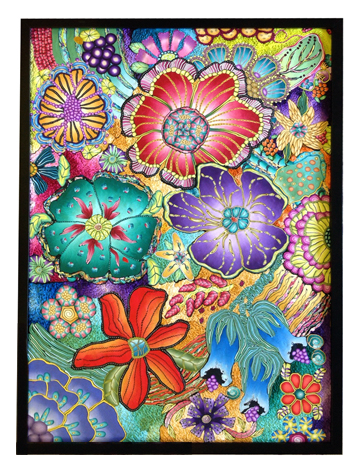
And once again the finished piece. I certainly learned a lot and look forward to making many more.


I love this Alice. Almost like an underwater garden like you see in reefs. Magical colour combinations. Looking forward to seeing your next one!
Wendy, you’re so nice to take the time to let me know you like it. I had so much fun with this. A challenge. Thanks so much.
I loved seeing this piece develop over the past weeks on FB and really loved reading about the construction, since it all was/is a mystery to me. Will this piece go to another home? It’s really lovely and I hope it gets to be seen by lots of people.
Thank you Phyllis, it’s been a great challenge and just so much fun to do. I’m glad you like it. I’m hanging it on my wall today.
Wonderful work…..can’t wait to see it in person in September.
Incredible Alice – just out of curiosity, why did you have to bake it in pieces when you have a large oven? Do large pieces tend to crack? Thanks so much for sharing the experience – can’t wait to see it!
Thanks Linda, I’m looking forward to Sept too..
Sydney, it is way too big for even my oven. But working in 11 x 14 chunks make it easier to handle and besides it was the largest size glass I had that would fit in the oven…use what you have I say..lol
Mainly though, that size is all I wanted to work with at one time. When the clay is baked, you can’t mess is up, while it’s uncured, well you always risk destroying part of it while you work on the rest. Safer this way.
[…] Track her progress (here's the Flickr version) and see how she assembled the piece on her blog. Alice uses a process she calls cane mapping to combine lots of cane slices into a cohesive painting. […]
Wow Alice! It is amazing!!! Think I’ve never seen such a thing like that!
In french we say:” I’m keeping my mouth open” 😉
Amarena, What a great thing to say…I have to remember that one. “I’m keeping my mouth open” Love it.
I’m really glad you like it, thank you.
It’s amazing! I love these colours, thank you for offering us so beautiful designs, I’m a great fan of your work, Alice!
Thanks so much for the compliment, I’m so happy you like it.
Thank you for including information on your process! I just saw this on FB today and asked about it, then found this post 🙂 . Beautiful!
Happy to share Nancy, thanks for the kind words.
Such amazing work!! What brand/variety of polymer clay do you use for the wall art? Thank you!
Joy, sorry for the delay in answering. I use Premo for my work.