Polymer Clay Canes for Beginners

27 videos, step by step, beginner cane workshop beginner Cane Tutorial What people are saying about this tutorial. jennifer rose Just finished this first workshop on how to make canes, and I must say I learned so much. This is exactly what I have been looking for, someone who could explain cane making in a step by step that process that I could replicate. I watched the videos, went into my studio and began to create all of the canes Alice showed. I finally have results I can be proud of, and I say thank you so much for doing this workshop. My only question now is when do we get more workshops. If you are only going to take one online class let it be this workshop. Thank you Alice for your hard work, and your dedication to helping others learn the joys of polymer clay.

Online Workshops with Alice Stroppel

Catagories

Member IPCA

Member IPCA

Stopping by Marie Gibbons’ evb studio in Denver


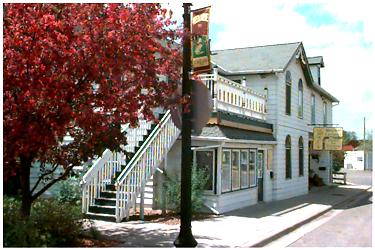
When I was in Denver last month with Artybecca, we stopped by Marie Gibbons’ evb studio early in the morning on our way into town from our two day stay with Ann Kruglak in her absolutely gorgeous home in Boulder.   Marie wasn’t there, it was still early, but after a quick phone call, she invited us back the next night to visit with her Mud Club women. What a fun group and what a great idea. They meet regularly and get to enjoy each others company while expressing themselves in clay. You gotta love it.

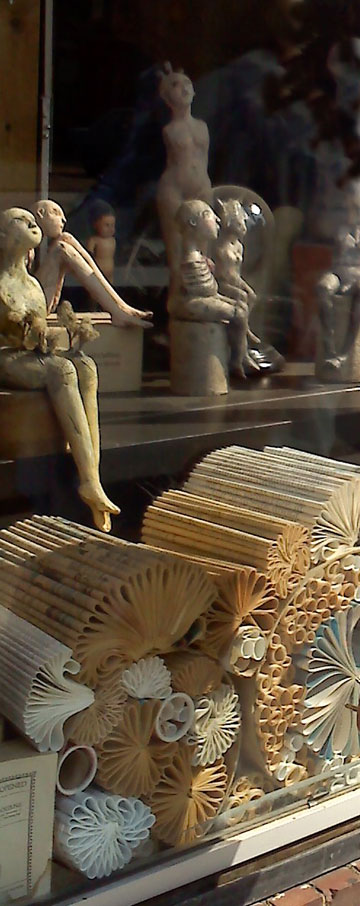
We wanted to get a picture of her fabulous window. She always has something inventive and so cool in her window, not only her work but other simple, time consuming, but simply spectacular ideas for her windows. You should see what she’s doing with cardboard toilet paper rolls.

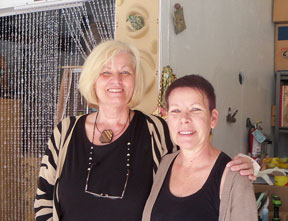
Isn’t this the greatest picture? Thanks Rebecca for the picture and being a great traveling buddy. I think I might have to frame this one, it’s so artistic. The picture above you guys….. not the one of me below.


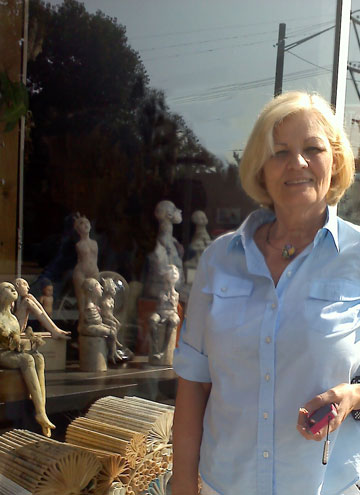
Rebecca got this picture of me in front of the window but we both failed to take a picture that night. I do that all the time, get too busy talking and looking that I don’t take pictures.


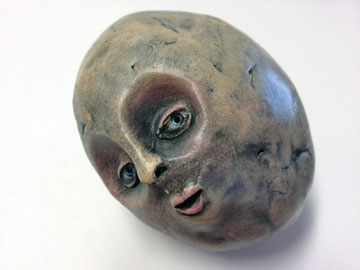
I did get to buy this head rattle from Marie while we were there. I think it’s so funny and enjoy him laying around on my desk.


Marie Gibbons - head rattle

Here’s a picture from last year when Meisha and I stopped in to visit in 2011, it’s turning into an annual thing.  I am thinking about a class with Marie when I go to Denver next year. If you’re ever in Denver, you should stop by the studio and enjoy.

I’ll be on the road again and teaching in Jordan, MN at Maureen Carlson’s Center For Creative Arts. If you’re close by, come on a take a class, we always have fun. Give Maureen a call at 952-492-3260

I’m teaching at Maureen Carlson’s Center For Creative Arts – Come on Over

Come over ….or up …….or down to Maureen Carlson’s Center for Creative Arts in Jordan, MN. Join me at Maureen’s for three full days of fun filled classes, take one class or all three, spend the night or just come for the day.

Check out the dormitory rooms at the Center. How could we not have fun? Just like at school except everything you do here is fun, even the homework. Watch this video and see how peaceful it is at Maureen’s.

Isn’t this the coolest thing you can think of to actually own? Your very own shop where you have a fabulous studio to create in, you can teach classes and week long workshops, have guest instructors visit and on top of that students get to sleep upstairs. Slumber party!! Retreat time for sure.

Well this is exactly what Maureen Carlson has and I’m lucky enough to be a guest instructor on September 21 – 23 2012. I’ll tell you more about the three classes I’m going to teach in a minute.

I have been a fan of Maureen and her work for years. One of the first polymer clay books I bought was her book Family and Friends in Polymer Clay.  Then I watched her on the Carol Duval show and loved her more.

When I finally was able to concentrate on polymer clay alone, I started two blogs, this one and The Figurative Artbeat. Maureen was kind enough to allow me to do an post on her and her fabulous work. It was the first time I actually contacted Maureen and then we met at Fandango that year were she was demonstrating her new face bead molds, she is just as fun and warm and inspiring in person. We’ve been friends ever since.

I’ve have wanted to visit her Center for Creative Arts for years, so this year is it. If you’re a fan of Maureen’s and want to experience the fun of her center, come on and explore it with me, we’ll have the best time, I know we will. Plus I’ll be sharing some of my favorite techniques, tips and ideas with you.

Now… I’ll be teaching three of my favorite things. Profile Face Canes, Cane Mapping/Contouring, and Pen and Ink. Each class is filled with as much information as I can fit into one day. August 21st is the reserve – by date for all three classes so be sure to follow the links below and let Maureen know you want a reservation.

Sept. 21 – The Profile Face Cane – reserve your spot here

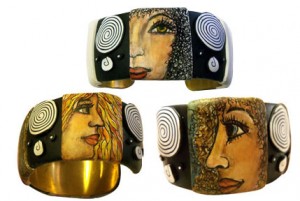
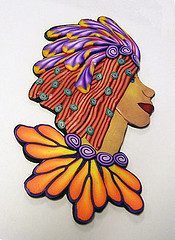
Making this profile cane is surprisingly easy and we’ll spend some time making hair canes too. We can make bracelets, pins, or slides. I promise you we’ll giggle. Plus you’ll get a pdf file and a video link for later reference.
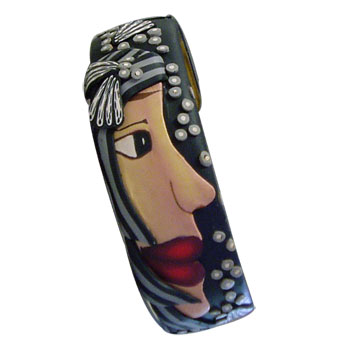
You can make pins from your face canes, put them on vessels or glass vases.
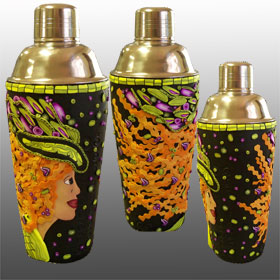
Or a cocktail shaker, how funny is that. Here’s three side of the same shaker.
Sept. 22 – Cane Mapping/Contouring – reserve your place here

This class is super fun and so far everyone that has taken this class with me has produced some wonderful pieces and had many “ah ha” moments. It’s a class about opening your mind to the possibilities that await you with all those canes you love to make.
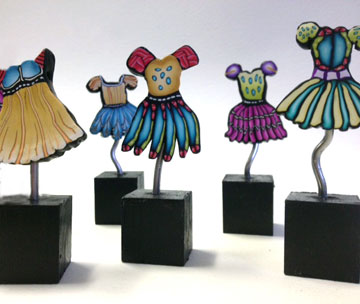
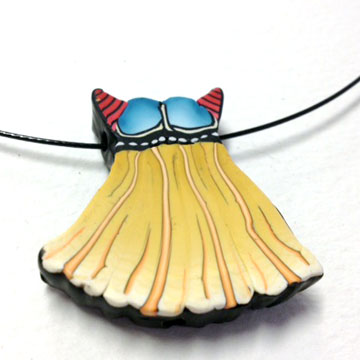
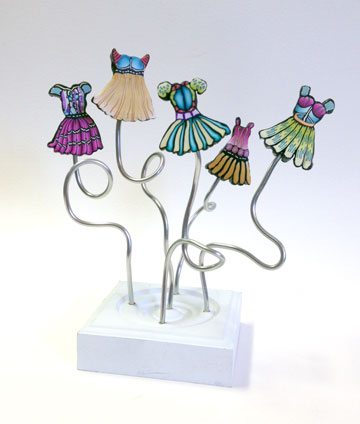
 These fairy dresses were made using my cane mapping technique, so was the design on the necklace below. Tracery tied for second place with the judges and won first place members choice in the IPCA’s Progress and Possibilities 2011. I’ll even show you how to display some of your work when you’re not wearing it. The fairy dresses above are actually pendants.
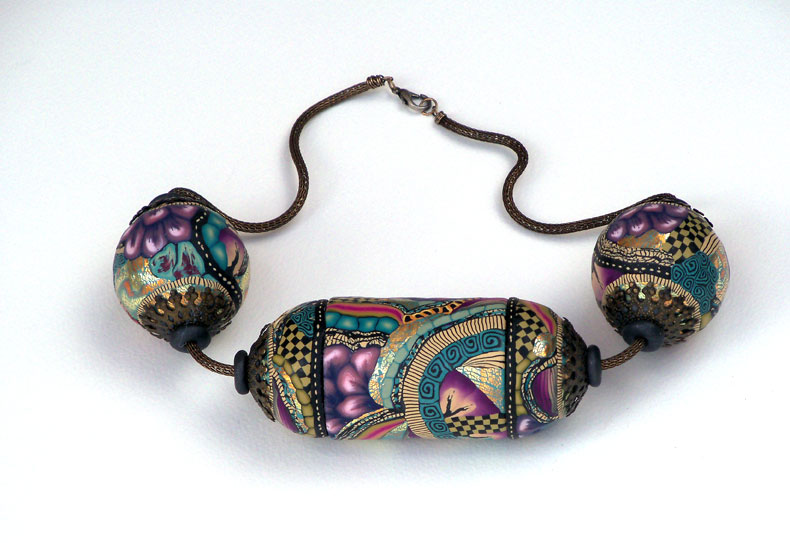
Tracery - Alice Stroppel

As you can see it’s a technique that can be used in many ways, big and small. Be sure to bring lots of your old canes, plus we can make some new ones.

Sept 23 – Pen and Ink on Polymer Clay – reserve you table here – With this class you’ll receive a pdf of face patterns and a link to a video for future reference.
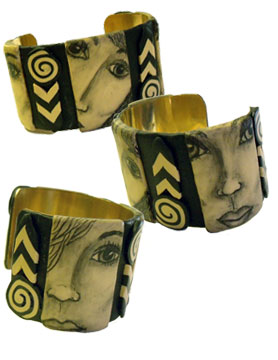
Now this class is a blast. Again…you can use this technique on polymer clay bracelets, pendants, buttons, plaques, canvas, or whatever you can think of.
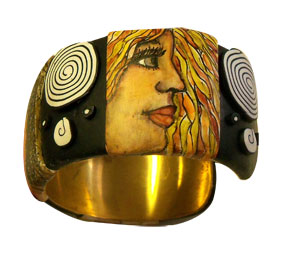
You can use just black and white or you can go full color. You don’t have to do a face, you can do simple graphics and produce fabulous pieces.

I created this cat and mouse pendant for a friends, fun I think.
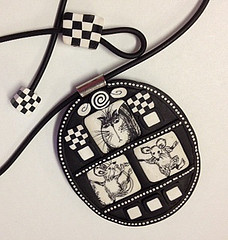
This one is a favorite too. I’ll demonstrate how to construct these windows for your drawings and how to cover a bracelet.
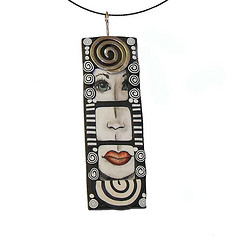
There are endless ways to use this pen and ink technique, your imagination will run wild. And you won’t be able to leave until we’ve all made a Stroppel Cane.

So do not delay, Maureen and I would love to see you there.  Reserve-by date of August 21st. 
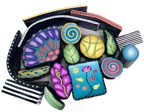
 

Polymer Clay Slides – Jewelry or Little Pieces of Art?

Fairy Dresses - Alice Stroppel

I made these fairy dress slides for an exchange that was canceled but is going to take place next year at this same time.  I had them all made and needed to just put them away and I’d be set. HA!  I knew I wouldn’t be able to wait a whole year to post them, I also knew that by next year there would be something else I wanted to make for the exchange.

These dresses are 1 1/2″ x 1″ and are so much fun to make, I couldn’t stop. Good use of small bits of canes, even a Stroppel Cane or two thrown in.

Fairy Dress Slide - Alice Stroppel

I almost made it though, I put them away and haven’t thought of them for several weeks. Then the other day I was cleaning out a box full of “stuff” and in the bottom of the box was a bunch of 1″ x 1″ wooden blocks. I saved the blocks thinking… as always… that I might be able to use them for something… someday. You know how that is don’t you?

Well, I know you will find this hard to believe, I was shocked, but I actually did think of something to use them for in a very timely manner and while I still knew where they were.

I have been trying for a couple of years to figure out a way to display some of my items as well as some of my swap items. I have pins and masks and inchies that are little works of art. I want to look at them, not just put them away.  Some I’ve framed, the inchies were easy enough, but others posed more of a problem.

The pins and slides I have could not be glued down if I were ever going to wear them. The mini masks were all over the place as far as a flat back goes. Besides, really, each one is a fabulous little art piece.

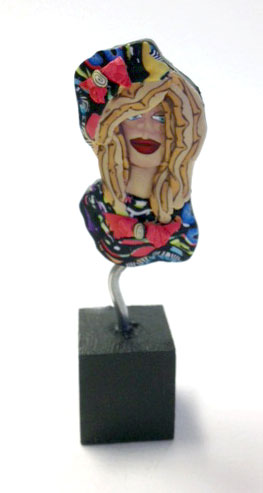
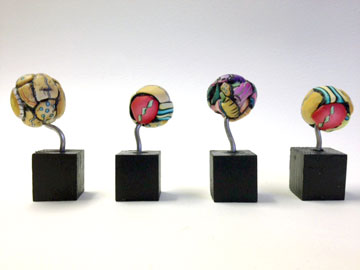
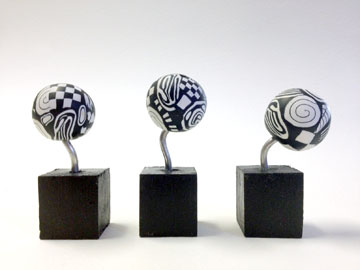
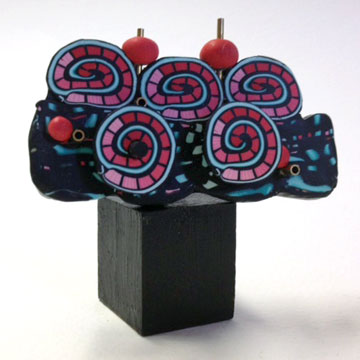
I painted the blocks black,  drilled a hole in the center of the top, glued a piece of thick wire in the hole and tada…a stand for whatever. With the dresses, there is a hole drilled from side to side allowing it to “slide” onto a steal cable necklace. I simply drilled a hole in the bottom of the dress so it could now slide onto the wire in the cube. It won’t be glued so that it can be removed and “slide” back onto the necklace. I can’t tell you how happy this makes me.

I had this white block lying around and thought it would look cool to have a grouping. So you see, this idea is limitless.


Of course I can’t stop there. I did the same thing to this Stroppel Cane sweater girl slide.


Then there are the single beads below, all of which can be worn as just a single bead or in groups.


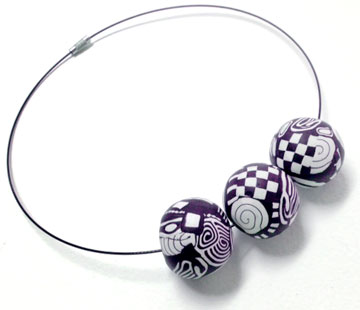
Or how about a whole set of matching beads? One minute they are mini graphic sculptures and the next you’re wearing them out to dinner.


Just slide them off the wire and slide them onto the necklace. Fun, fun for sure.


I think it’s a  great way to display pins as well, just slide the closed pin back over the wire.


Okay, enough for today. My head is full of more ideas. Let me know if you do something like this, I’d love to see.

Do You Believe in Magic?

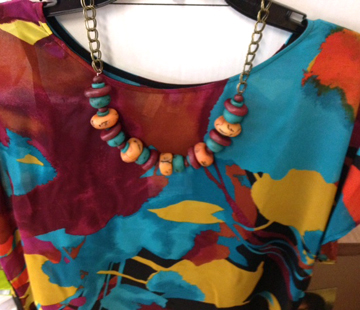
I made these beads several months ago when I was experimenting with amber colors. Last week I bought this blouse to go with a skirt I already had. It’s to wear to my nephew’s wedding this month in Brooklyn.  When I got home I brought the blouse into my studio so I could mix some colors in polymer to go with it.

I remembered this necklace and I was floored by the match. Magic happens!


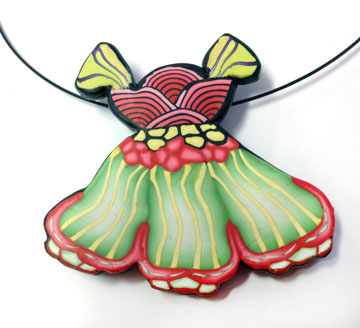
Fairy Dresses Oh My

Here’s a fun project I did a couple of weeks ago. I had to do a whole bunch of something for a trade and that led me to this fairy dress. Another one of my off the track wanderings. Can’t show my “whole bunch” yet, have to wait, if I can.

It’s another example of a slide using my contouring technique.


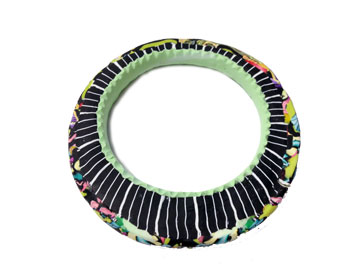
Ultralight Again – A New Bracelet

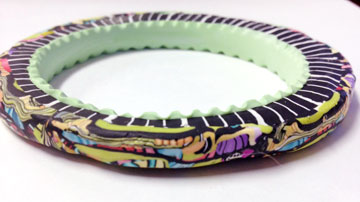
I have been inspired from several sources, but that’s nothing new, the difference is this time I decided to act right away and now send it to my “someday” list. Besides, I’m in a experimental mood.
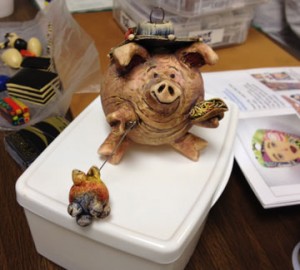
When I received my beautiful set of Shisha bracelets made by talented women of Samunnat Nepal ( you should order a set  🙂 I loved the way they looked. The pattern was tiny and it just laid gently around the face of the bracelet.
Then yesterday on Ornamental Elements, Laurie Prophater posted about Joseph Gatto and his topographic “Environmental” bracelets. The design featured had lots of wonderful color just around the edge. Of course I was making a  Stroppel Cane from scraps from the project I was working on. It’s in the oven now, show you tomorrow. And even though it’s a bit different than what I had envisioned, I really enjoyed myself. I also have Laurie to thank for getting me started on this type of bracelet month ago.
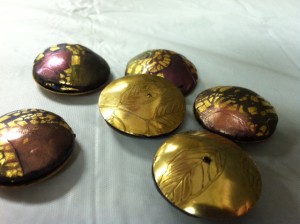
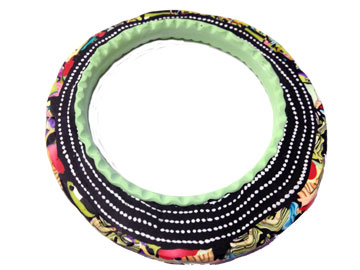
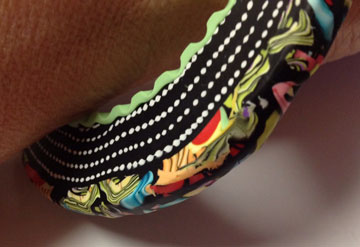
The core is made with Ultralight, I’ve been experimenting with it a lot lately. And naturally I couldn’t leave the inside alone.

Over the last year I’ve been making bracelets with sculpted, contoured edges. I still have something like that in mind for these but for now I am happy with this one. Plus it’s the first time I used Ultralight as the core and it really worked out well.


The colors on this one remind me of a 1940 quilt or at least fabric from that time. No I wasn’t around then……but I’ve seen pictures.


Orlando Clay Fandango – Video – The Instructors and Demo Queens

I can’t believe I’ve been home from Fandango for a week already. I have lots to share with you.

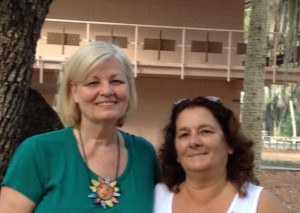
First I want to thank all the volunteers that help make Orlando Clay Fandango the success that it always is. Eva, Charlene, Nancy, Mary, Kem, Linda, Rose Anne, Nita and Tanya. I know I’ve left out dozens and I apologize. Please let me know and I’ll add to the list.

I know I’ve met some wonderful people because of Fandango and experienced some ah ha moments in clay.

Sherry McKinney and I hit the road and arrived at Lake Yale on Thursday and from then on it was nonstop until we headed home on Monday. Sherry and I are the only constant polymer clayers we know in Sebring.

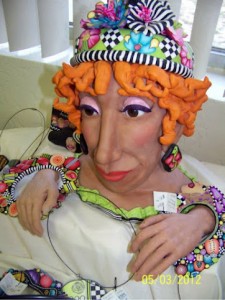
I set up my display in the Boutique and everyone had a good laugh about my redheaded friend. But I think the hands got more comments.

I was one of the demonstrators this year and I was busy showing how I use pen and ink on polymer clay. The bracelet below is a sample of what I shared and was my donation for the raffle. I’m thrilled that Linda Easton won.

Here are some of the results of the three full day of classes with some incredible instructors. Because I don’t know the names of all the clayers that created the pieces below, I took the easy way out and didn’t name anyone. If you see your work, please add your name in the comments section. There is a method to it, I’ll get you to comment maybe. hehe.

Barbara McGuire’s classes

Doreen Kassel’s classes

Meredith Arnold’s classes

Linda Hess’s demo

Susan Clark was also demonstrating this year but had to leave early and missed our video.
And last but not least, this video I made featuring the Instructors and Demonstrators for 2012.

Thanks again to everyone at Orlando Clay Fandango 2012 I have it from the source that you can still save $25.00 if you sign up for next year’s Fandango by the end of May and they will be announcing who the instructors will be in the next few days. So keep checking their website for updates.

Orlando Clay Fandango

And then we had to say goodbye, but it was wonderful to see friends again.