Polymer Clay Canes for Beginners

27 videos, step by step, beginner cane workshop beginner Cane Tutorial What people are saying about this tutorial. jennifer rose Just finished this first workshop on how to make canes, and I must say I learned so much. This is exactly what I have been looking for, someone who could explain cane making in a step by step that process that I could replicate. I watched the videos, went into my studio and began to create all of the canes Alice showed. I finally have results I can be proud of, and I say thank you so much for doing this workshop. My only question now is when do we get more workshops. If you are only going to take one online class let it be this workshop. Thank you Alice for your hard work, and your dedication to helping others learn the joys of polymer clay.

Online Workshops with Alice Stroppel

Catagories

[caption id="attachment_102" align="aligncenter" width="100" caption="Member IPCA"]Member IPCA[/caption]

Polymer Clay Class Prep -Cane Mapping

Cane Mapping  samples for workshop Alice Stroppel


I”ve been creating several pieces for samples and demos for my cane mapping workshop with the Florida Gulf Coast Polymer Clay Guild in June.

This is a follow up class to the cane workshop with FGCPCG several months ago. In that class, using Premo clay donated by Polyform, we created several canes and the group went away with homework to make lots more.

In this workshop, we will be using those canes to create pictures to frame.

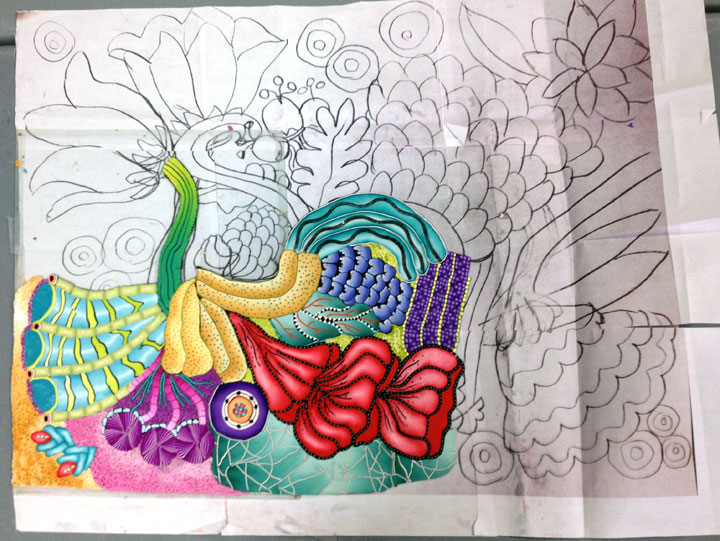
These are from royalty free clipart. They are cane mapped and flat except the parrot which is more of a 3D effect.

I always look forward to spending the day with this guild, they are so much fun.

Here are a few finished and framed pieces

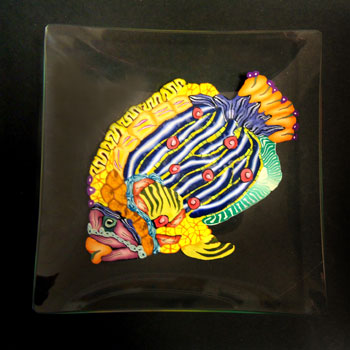
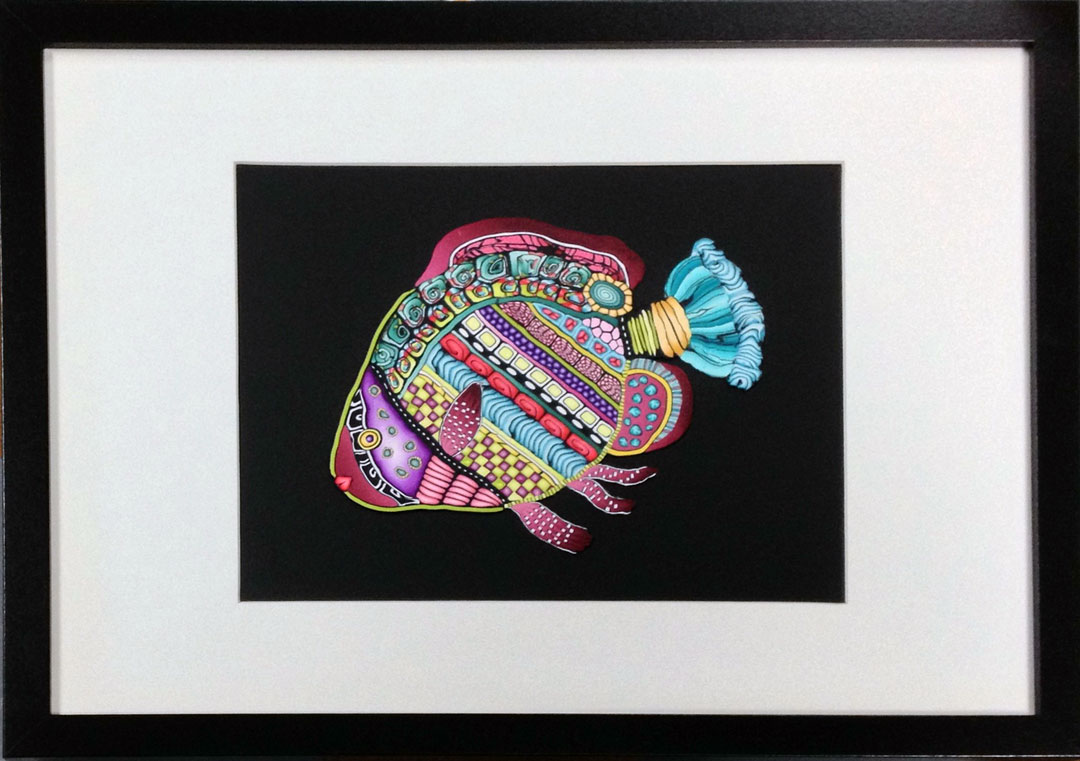
Polymer Clay FIsh -  Alice Stroppel

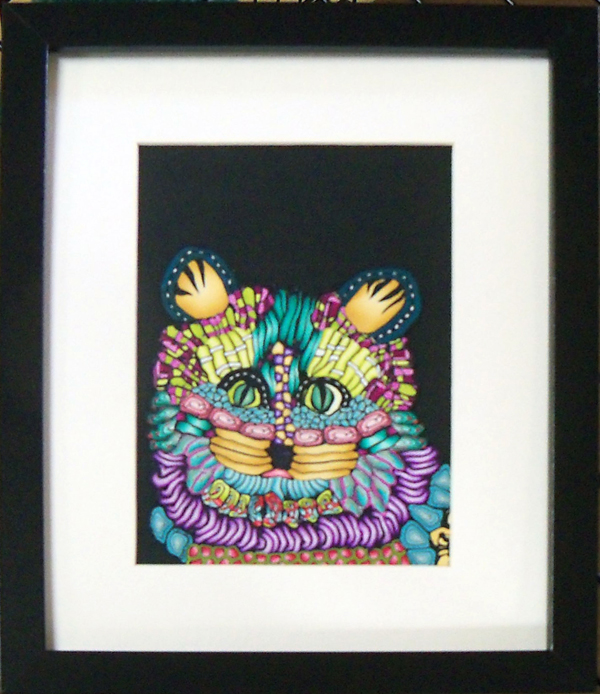
Cat - Cane Mapped - Alice Stroppel

Butterfly, polymer clay- Alice Stroppel

Blowing in the Wind – A Polymer Clay Painting – How Photos Can Help with Corrections


I been having fun with these polymer painted faces. This one I stopped working on late one night. I was happy with it and took a picture before stopping for the night. I had already cured it in the oven and attached it to a peace of heavy water color paper. the bits of color in the background are bits of pc not watercolor.

The first photo shows this first edition. When I saw it the next morning, I laughed because I could see right away that she was missing the top of her head. Not enough height to her hair. I was tired the night before and didn’t want to make any more hair I guess. Another reason why stepping away from a project and coming back to it or even taking a photo of it is very helpful.

I often see things in photos of a piece that I just couldn’t see when I was working on it up close. It helps to step back from the work, but sometimes taking a photo is even better.

The second photo is where I noticed that her shirt was just wrong, not enough shoulder. I guess I was too focused on the hair to notice the shirt first time around.

This is also another vote for sketching before hand, I did sketch the face, but didn’t know I wanted the shirt until I was in the middle of it all. So I work both ways, planning and as I go.

The third photo is my final try. Quite a difference I think!

I figure I’m a work in progress more than than work. As always, thanks for stopping by.

Corrections to Blowing in the Wind

Abstract Faces


I’ve been working on a series of abstract faces using just polymer clay. It’s fun and kind of exciting to be venturing out into a different but same direction.

 Face - Alice Stroppel

Another face, this time using polymer as if it were very thick paint. Face - polymer clay


3Doodler Meets Polymer Clay


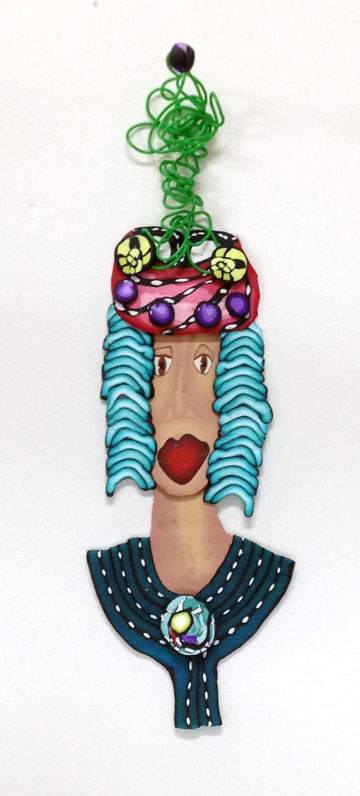
Blue Haired Woman

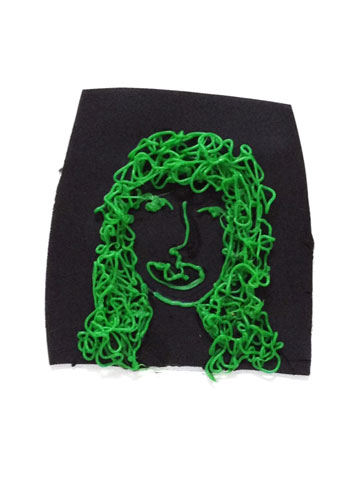
I’ve been experimenting with my newest Kickstarter find, the 3Doodler. When I first backed this project way back in the middle of 2013 I couldn’t wait to get my hands on it. I had dreams of ways to incorporate the instant plastic with my polymer clay designs. The 3Doodler is now in the MoMA store. Very cool!

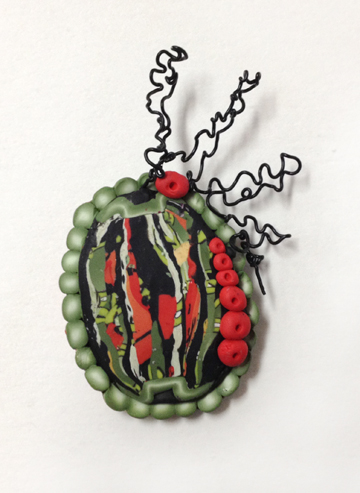
BTW, see the blue hair made from the cane in the tutorial I just made in my last post using the Czextruder. I’ve used the same cane only in purple on the pin below.

Purple Pin


I had to wait until December to get my 3Doodler. I played around with it a bit and realize that I would have to spend a little time trying to master it. I’m still trying, but I think there is some interesting applications here. I’ve found that I am able to apply it to the raw polymer and then bake it as long as I support the 3Doodler plastic with Polyfill.

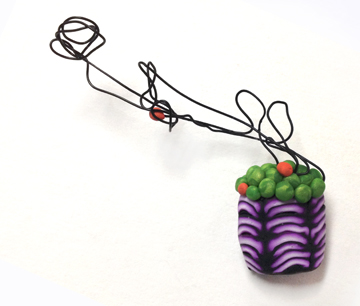
Green Pin


This pin combines the 3Doodle squiggles and my Stroppel Cane. (see video on the right hand side of this page)

It is surprisingly durable, hard to break, you have to cut it with scissors. Until I get a better control over the pen I’ll be happy with how it adds fun to the pieces I usually make.

Interesting don’t you think? You see here my first attempt at control, hehe. I know, get to work Alice.


girl


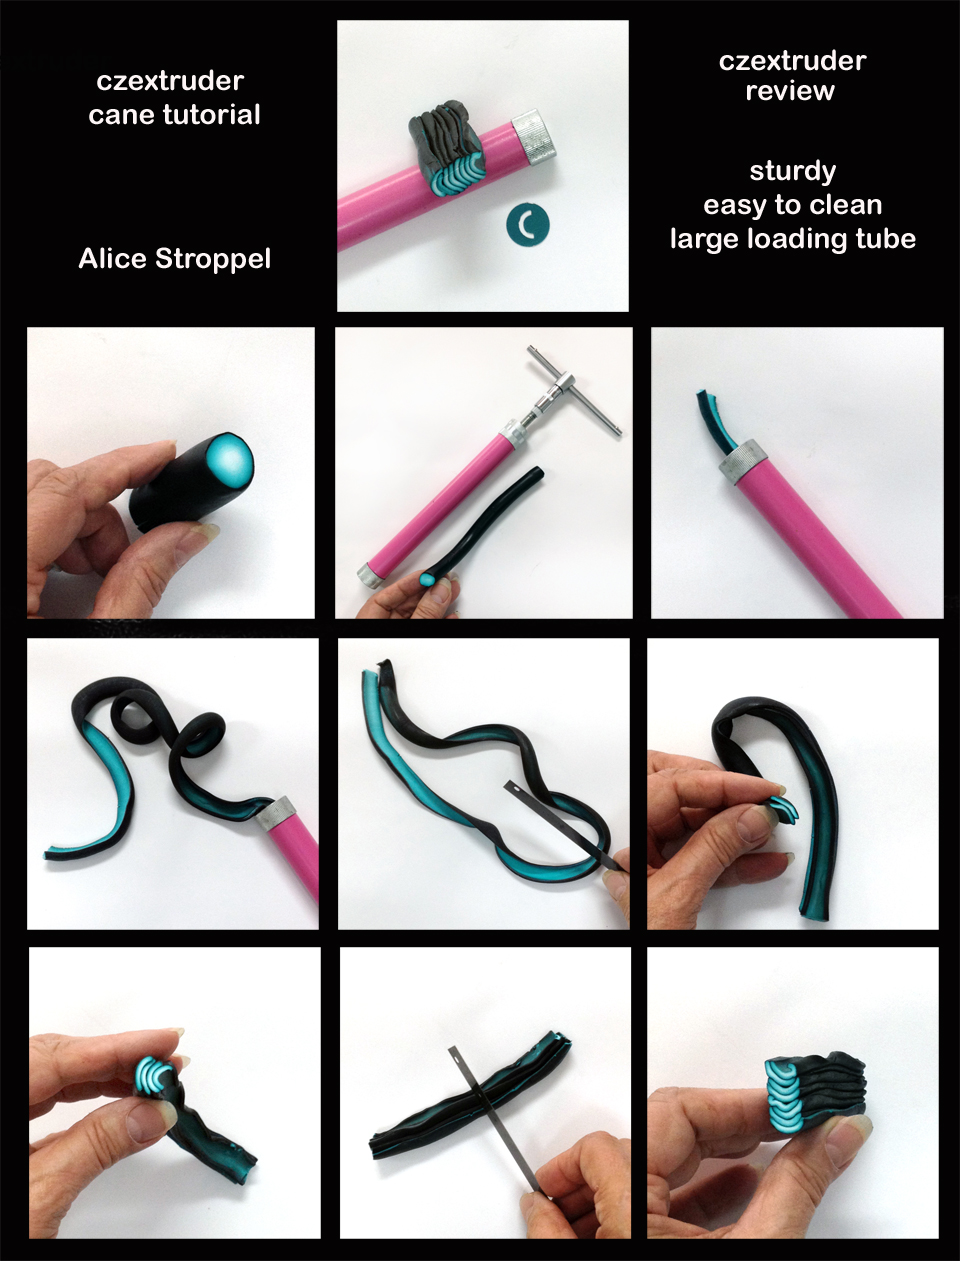
Czextruder Mini Review and Tutorial

Czextruder cane tute

I have been using the Czextruder from Lucy Clay for several months now and promised to give a quick review. I’ve been making a few different canes with a couple of the disk and really enjoy using this quirky little canes in my cane mapping. So I thought I’d combine the review with a short tutorial.

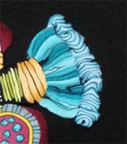
You can see this cane used on the wispy ends of the tail on this fish and across the middle.

Polymer Clay FIsh -  Alice Stroppel

If you’ll notice, I don’t care if the curvy parts are lined up perfectly, actually, I want the cane to go this way and that, more organic.

Fish Tail close up

I find the extruder to be very well constructed and it as a large loading tube which I like. It holds more clay than other extruders I’ve used. It’s easy to clean.

The part I find difficult is the loading. The plug is not attached to the plunger and that makes it harder to reinsert, but worth it in the end.

I like that the disks from other extruders and disk makers will fit this extruder. I believe Cynthia Tinapple’s disks fit as well.

Over all I find it an asset to my polymer clay tool box.

You can order yours from Lucy Clay or if you live in the United States Kimberly Idalski represents the company here.

Cat Cane Mapping

Cat - Cane Mapped - Alice Stroppel


I’ve made so many fish with my cane mapping technique that I decided that it was time to do another cat. The first one I made into a bracelet. This one is in a frame and ready to be sent to the fun folks at the Orlando Area Polymer Clay Guild to be auctioned off at Orlando Clay Fandango.

I’m hoping that this picture is clear. I’ve been holding off posting anything much because I’m in the middle of cataract surgery, one eye down and one to go. It it truly a miracle I think. I was having so much trouble seeing and can’t wait for the end results. But right now things are a bit blurry.

But as soon as my new lens at set, watch out. Who knows what I’ll be able to see now. hehe.


Work in Progress – Flowers

AliceStroppel WIPI’m working on another  large flower polymer clay cane mapped painting.  21″ x 27″! Having fun as always.


Stroppel #2 and Polymer Clay Cane Mapped Fish

Polymer Clay FIsh -  Alice Stroppel

Yesterday a friend of mine who is fish crazy, in a good way, asked me a couple of questions about my fish and if I had any for sale. Not for her, but for something else. The truth is I really don’t. the ones I have I use as demos in my cane mapping class, I have hanging on my walls or have given away.

I started this fish with just part of the tail when my friend Chrissie Baker was here in my studio. I wanted to show her how I did my big wall pieces.

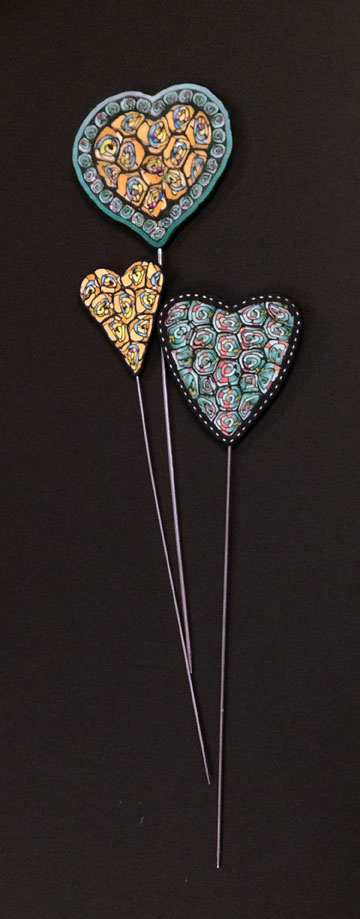
So when I came to the studio this morning and was beginning to clean up my work table after my Stroppel Cane #2 video. I actually started cleaning the day before but got side tracked making hearts plant stakes out of the Stroppel #2’s that may for the film. Can’t throw them away of course…see.

Polymer clay Heart Sticks - Alice Stroppel

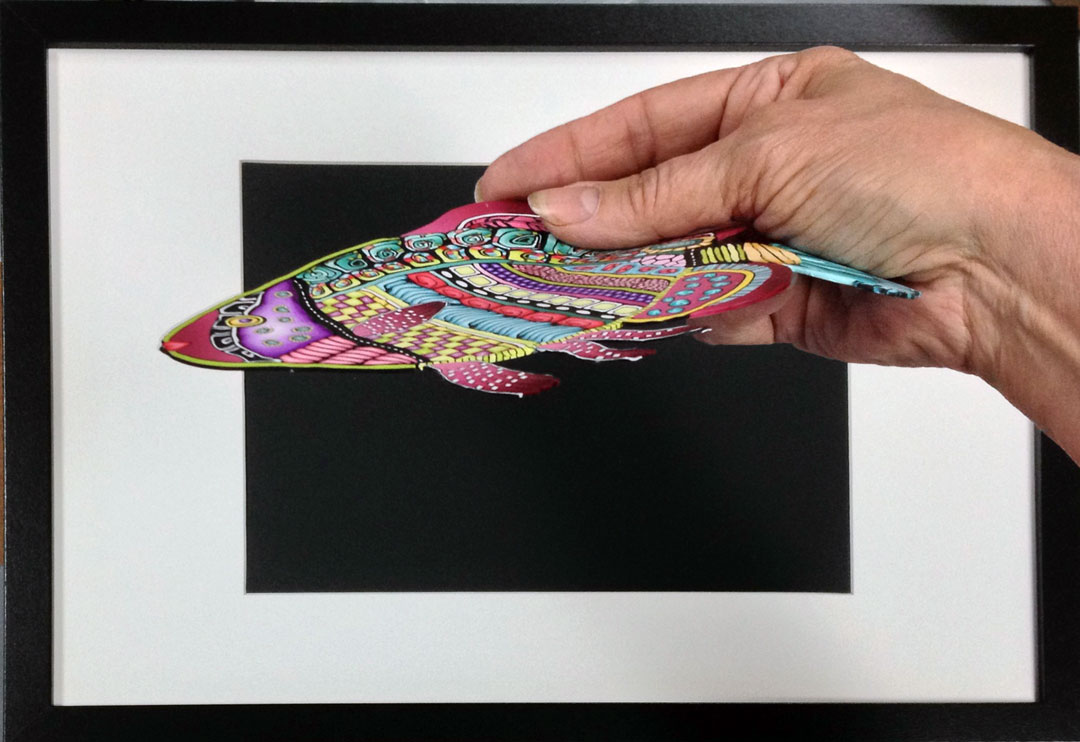
Sorry, back to the fish. before I put all my canes away, I decided to use some of them to finish the fish. What fun it was, really lost myself in it. But what I wanted to show you was how thin these designs are and how easy they are to frame.  So now I can say I have one for sale at least.

Oh and you can see how I used some more of my Stroppel cane #2 across the back of the fish. (first photo)

Polymer Clay Fish - Alice Stroppel

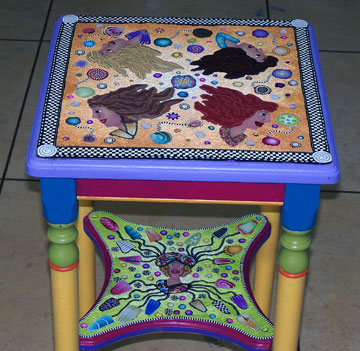
I call this technique cane mapping and it’s how I’ve done my large wall piece and this table.

polymer clay table top - Alice Stroppel

If you are near Palmetto, I’m teaching a one day cane mapping workshop on June 7th. You must have lots of pre-made canes to bring with you. We won’t have time in class to make many if any. Skinner blends work best for me. Message me on Facebook, or leave a comment here.

Stroppel Cane #2 – another way to use your polymer clay scraps


Stroppel cane #2

Here’s a short video  showing you how I make a Stroppel Cane #2. Have Fun!!! Rescue those scraps!!!

I’m excited once again to share something I just discovered. Another way to use your polymer clay scraps. So Cool! I’m calling it Stroppel cane #2. Or Stroppel #2.

It’s fun and easy just like the first one, which you can watch by clicking on the video to your right.

Stroppel Cane #2


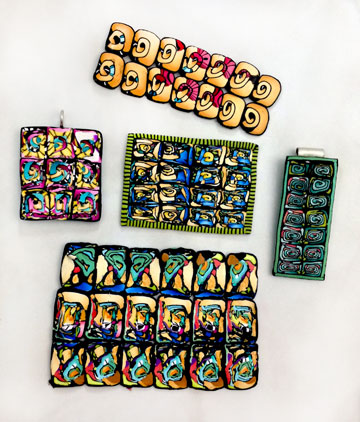
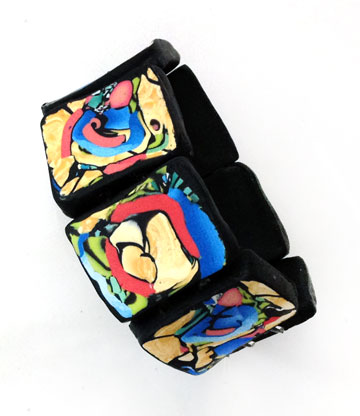
You can make this cane tiny like the one in the picture above or large enough for a bracelet.

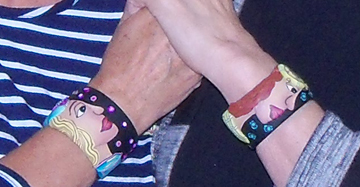
Stoppel Cane #2 bracelet

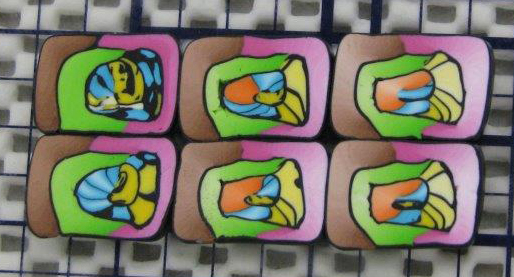
I shared my discovery with the Florida Gulf Coast Polymer Clay Guild and these slices are from Sydney Carter’s first Stroppel #2. Love it.

Sydney Carter Stroppel Cane #2


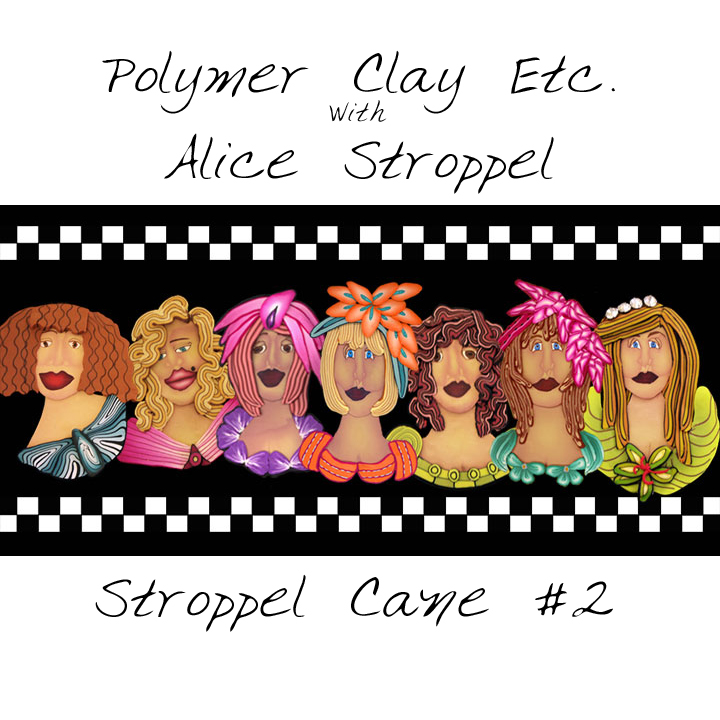
Note: I’m having a bit of trouble keeping up with technology so I can’t get the video to embed here. so just click on the picture of my girls below and they will take you to my new Youtube channel. And that’s another story. Have fun!

Stroppel Cane #2

Polymer Clay Cane Workshop with FGCPCG

FGCPCG2014

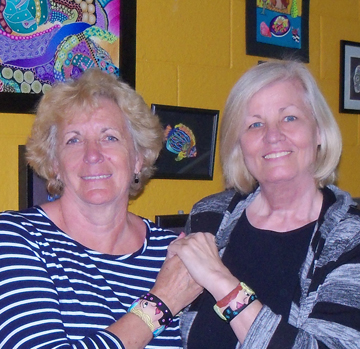
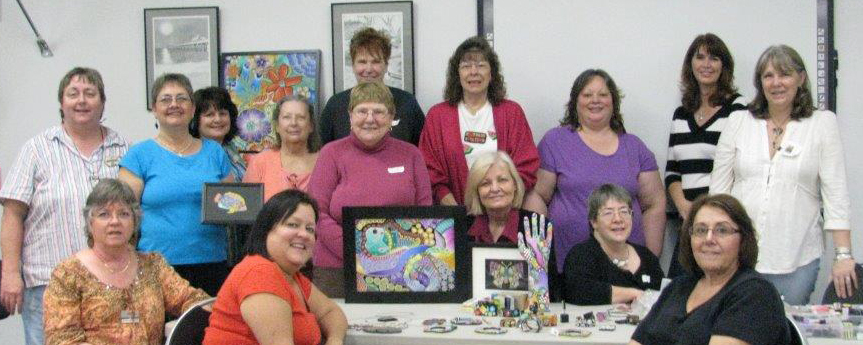
Thank you Kim and Sydney for the photo. The always fun group at Florida Gulf Coast Polymer Clay, thank you all for having me.

Well everyone’s smiling, that’s always a good thing I think. I know I had a great time and was so excited to see the canes everyone made. The exciting thing is that there is going to be a part two to this workshop.

I’m going back in June and we’ll explore how to turn all those canes into wall art, objects and more. So everyone has homework hehehe.

I also shared my new Stroppel Cane #2 with this group. It’s a little different and fun. I’m going to film it today and post it tomorrow so you can play with your scraps tomorrow if you like the way it comes out.
Alice Stroppel cane workshop

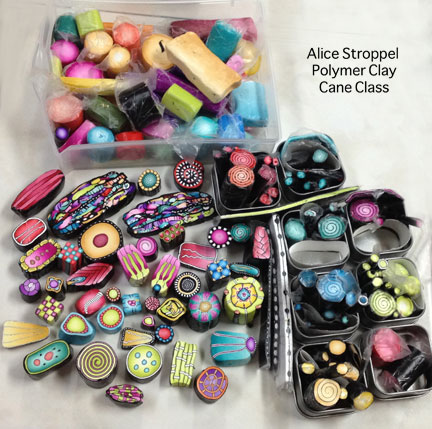
Here’s a picture of some of the Premo blends and the canes we worked on in this workshop. I have to send a big shout out to Iris Weiss and Polyform. they generously donated all the Premo clay for this workshop. Everyone went home with clay to “do their homework”. Thank you so very much Polyform and Iris.

I’ve always used Premo polymer clay. I wasn’t interested in putting forth the effort to condition the harder clays and I was so invested in Premo by the time the others came out with a softer clay that I just never switched. I love many of the Premo colors. I make my face canes with Premo and they are more complicated for sure, so Premo works for me with my more complex canes.


My approach to caning is a bit different than the norm. I don’t worry too much about everything being perfect, I don’t mind if my canes are a bit wonky so my caning style may make some want to look away.

Some caners are producing more than just a few pieces for sale. Either in their online shops, in galleries, at festival, or they are wholesaling to stores. Others are doing precise design work and have refined their caning skills.

I don’t sell that many finished pieces, so I never make very large canes. There a several more reason why my canes tend to be small to tiny. I don’t want to surround them with translucent, I don’t want to have to reduce then very much and I want to create a new design each time I make something from the canes.

Example: I could have made a large cane for this cat bracelet but I used lots of smaller canes. There will never be another one exactly like this one, I like that. I call my process  Cane Mapping but you could say it was like mosaic work without the grout.
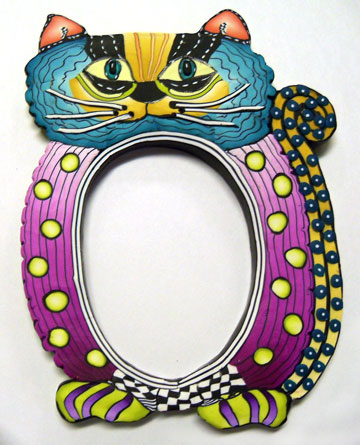
Cheshire Cat's Cousin


This fish is made the same way

Fish MosaicAs are all my wall pieces.

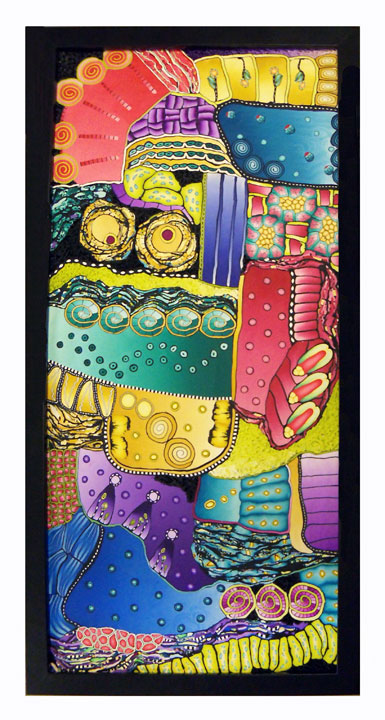
Explorations - Alice Stroppel

Explorations – Alice Stroppel

I have a very laid back approach to cane making. there truly are NO mistakes with my canes. It kind of takes the stress off of building canes, at least it does for me.

The artists that can be exact and create those fabulous intricate designs have my complete admiration, their work is stunning, I just can’t do it so I don’t try.

There are lots of you out there that are just like me, I know it. You want to cane but are afraid, you don’t want to waste all that clay, it makes you nervous to even think about it, you don’t think you’re good at it.

By starting with a bit of freedom attached to you caning, you can learn without stress and then later if you want to evolve, move on, learn to make the more complex canes. Or stay here with me, it’s all good.
Online right now is a great group on Facebook led by Rian Sanderse called 52 Weekly Cane Projects. It’s a fantastic way to practice canes with any pressure and it’s free. It’s a pretty wonderful thing Rian is doing for the pc community.  This last week she featured my Stroppel Cane and Ronit Golan’s scrap cane. go join, you’ll have fun.
If you or  your group is interested in taking my canes and/or cane mapping workshop/s please leave me a message on the comment page or on Facebook. I’d love to come met you all if I could.