Polymer Clay Canes for Beginners

27 videos, step by step, beginner cane workshop beginner Cane Tutorial What people are saying about this tutorial. jennifer rose Just finished this first workshop on how to make canes, and I must say I learned so much. This is exactly what I have been looking for, someone who could explain cane making in a step by step that process that I could replicate. I watched the videos, went into my studio and began to create all of the canes Alice showed. I finally have results I can be proud of, and I say thank you so much for doing this workshop. My only question now is when do we get more workshops. If you are only going to take one online class let it be this workshop. Thank you Alice for your hard work, and your dedication to helping others learn the joys of polymer clay.

Online Workshops with Alice Stroppel

Catagories

[caption id="attachment_102" align="aligncenter" width="100" caption="Member IPCA"]Member IPCA[/caption]

The South East Florida Polymer Clay Guild

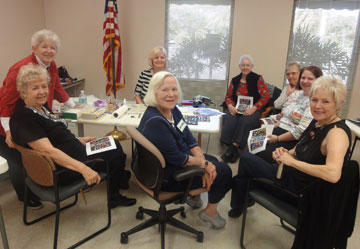
Thanks to Pamela Carman, I’m looking forward to next week-end! I’ll be spending two days with the South East Florida Polymer Clay Guild. One day of Pen and Ink on polymer clay and one day of  Contours in Clay.

Pen and Ink on polymer is very interesting and everyone can experience exciting results no matter what your drawing talent.


Pen and Ink Class

Pen and Ink Class


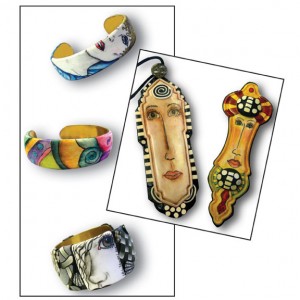
And this bracelet class.


This week, I’ll prepare lots of Skinner Blends…thank you Judith Skinner.. and get ready to play with some great clayers down south.  Look out South Florida….I”m on my way.


Florida Sunshine – A New Closure

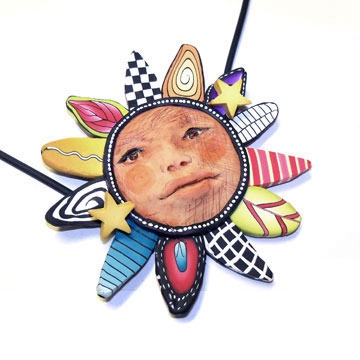
Sometimes things appear when you aren’t expecting them. Well, I guess that isn’t entirely true. I wanted to create something new to teach that could incorporate several skills and still have my love of whimsey and pops of color. So I was kind of hoping something would come to me.

I’ve been busy getting ready for my trip to GA to teach at  Creative Journey Studios and to have a few things to add to my inventory there when this sunshine piece popped into my mind. I worked on another sun a couple of weeks ago and had thought about teaching that, but it’s complicated and I wanted something I could teach in a day.

The closure on this necklace was a bonus thought that came to me. I was impressed with the closure that Melaine West came up with using magnets. I was having trouble with the closure on my appleman and Jan Montarsi aka Jembox, suggested I use magnets. I haven’t gotten around to playing with them yet and was happy to be able to share in Melaine’s solution on how to use the magnets. She has saved me hours of testing and I think it is so generous of her to share her method. Thanks Melaine, your work is simply stunning.

I thought I might use Melaine’s idea somehow in this necklace that I envisioned, but I hadn’t ordered any magnets so another idea pushed that one right out of my head.

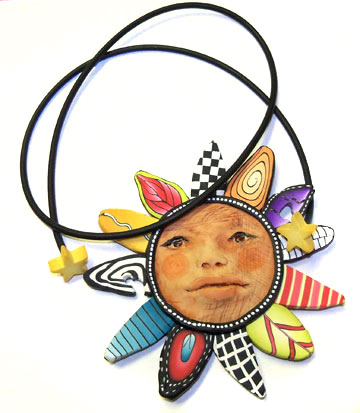
Here’s my answer when you don’t have magnets, not as sophisticated as Melaine’s but this is a different kind of necklace……. cut a channel for your necklace cord to slide into, drill a hole in the back of a small accent piece made from pc and glue in your cord. Easy!

Now, I’d love to teach this class for your guild or group. Complete with a bit of easy to master sculpting… yes you can…..some fun cane work…teaching you to jump out of that box…….(I’ll be working on some new and different canes to include) plus some contouring work. I had so much fun making it that I know it will be a fun class.

Anyway, I’m happy with this guy and wanted to share my new closure with you and show you a bit about how my crazy mind works…jumping from one thing to the next until something just has to spill out.

How one project can lead to another and other artists can spark an idea that ends with an finished product that is my own is an amazing thing and something I hope I never stop doing.

I gather inspiration from everyone and everything, I hope you do too.

Polymer Clay Cane Fun at Beads F.O.B.

We had a really wonderful time at Beads F.O.B. last weekend, it was a two day canefest. We all made lots of cane components for a complex cane and to use on our bracelets and pendants.

Some of the classmates decided they might not want to wear one of the crazy new bracelets I showed in the last post and opted to make a cuff or a pendant instead.

The class was about the caning experince and the mission was acomplished. My only regret is that I didn’t get pictures of each piece of work. It seems it always happens that way a the end of class, there is always just too much going on. But some great pieces were made and fun had by all I think.

A special thank you to Marty and Karen at Beads F.O.B. for everything. And to Edgar for taking the shot of us that you see up above. Only Sarah is missing from this shot.

Now on to preparing for my scuplting class next month. Now I’m really excited about this class, can’t wait!

New Polymer Clay Cane Class at Beads F. O. B.

I’ve been blending colors and making tons of Skinner blends for my up coming class at Beads F.O.B. in Sarasota, FL. I had such a good time the last time I was there giving a class and I’m delighted to be going back. I’ll be there not this weekend, but next weekend, Saturday and Sunday, Jan. 14th and 15th. If you’re in the area, I hope you’ll come join us. And if your not in the area, I hope you get out of the cold and take a trip to FL.  Call Beads F.O.B. to sign up and reserve a spot. 941-921-0871

The class will be about canes, canes, canes, and how to make this shaped bracelet. You’ll love this bracelet, I get a million compliments when I wear mine. As a bonus, we’ll be looking at color mixing as well.

I am going to expand on the canes I’ll be teaching and this class is for new and relatively new caners. I have been collecting inspirational photos for years and will be spending the next week constructing canes.

Just tapping into the world of geometrics provides a unlimited amount of ideas for canes.

Looking at colorful graphics is enough to get my brain spinning. It doesn’t mean that once I sit down to actually make a new cane that it will end up looking anything like these. Photos of all kinds are just a jumping off point for me, with color, shape and shading.

Just do a google search for say…..circles. click on the “image” link at the top lefthand side of the page and tada…….all the inspiration for circles you could ask for. You can to the same for any shape, color or subject. Just don’t get lost and forget about your clay.

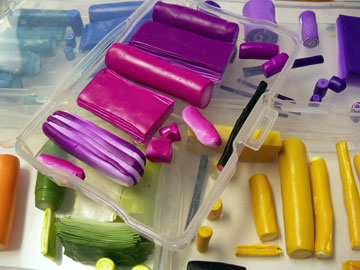
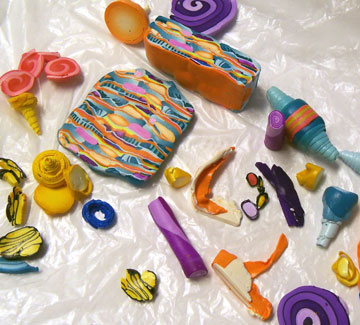
Of course I can’t make Skinner blends without making scraps and scraps always lead to a Stroppel cane. I make this one with orange and blue as my separator colors and the rest of the scraps are just waiting their turn. Naturally, we’ll be making Stroppel canes in this class too.

Come on…join me in beautiful Sarasota, I’ll love to meet you.

Sculpting – What’s Halloween Got To Do With It?

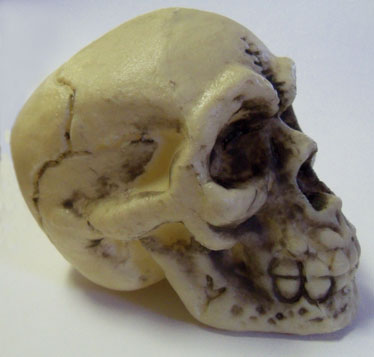
Halloween Skull

You might be wondering if you are in the right place. This happy girlfriend place has not gone over to the dark side, not in the least. This is the time of year to get out there are buy yourself a skull to use as a guide when you are building a foil base for your polymer clay heads.

I’m teaching a sculpting class after the first of the year and I have a very large skull I bought years ago that has the bones showing on one side and with the skin covering the bones on the other side. But it was not cheap, so for my class I’m suggesting that they buy an inexpensive plastic skull for my class and to have for future reference. This skull is about 4″ x 4″. Or you could go large and buy a scarier big one.

Next thing is to always be on the look out for anatomy books at garage sales or used book stores. I have some really fabulous books I’ve picked up along the way and  they help me a great deal.

So if you want to try your hand at sculpting some day, get out there before the serious Halloween party animals and get yourself a plastic skull.

Polymer Clay Cane Workshop at Beads F.O.B. in Sarasota, FL

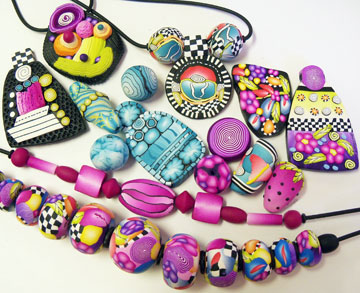
beads and pendants

I’ve been spending some time developing a class for beginners, beginner caners that is. I know so many clayer that haven’t made a cane or weren’t very successful at caning and just gave up. I also know many people that are interested in learning more about polymer clay, but don’t know where to start.

Marty Montague and Karen Johnsnon from Beads, F.O.B. in Sarasota, FL attended my pen and ink class last month and saw some of my colorful beads and asked if I would teach a caning class in Sarasota. Polymer clay is the perfect compliment to beads of all kinds. Creating a focal bead from polymer and pairing it with other elements gives the beaded an even greater ownership of a piece. I’ll be truly excited to see what the beaders from Marty’s shop will create after this workshop

I’ll be teaching the two day workshop on Aug. 20th and 21st. Learn more in my class section, or download this pdf for all the information. To register for this workshop call Beads, F.O.B. at 941-921-0871.

These are a few of the samples I’ve been making from to basic Skinner blends that I will be teaching in this workshop. Each new caner will walk away with enough canes to make hundreds of different pieces and because it’s a two day workshop, there will be time to create lots of beads or pendants before we all go home.

Come on a join me, we’re going to have a blast.

Polymer Clay Cane Mapping Class at Alice’s Studio

Orange Cane Mapping fish

The next class in my studio will this month, July 30, 2011. We’ll be using up your old canes and creating some very cool fish.

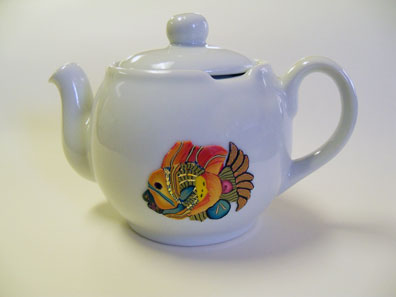
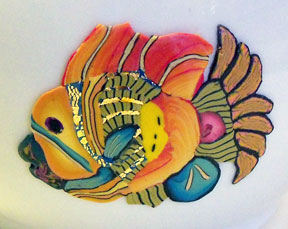
I’m using fish as the subject, but you could cane map almost anything. I’ll be showing you a couple of other cane mapped items in the next few days. The photo above shows one crazy fantasy fish that I applied to this cute little tea pot. Fun! Here’s a close up. It’s only about 3″ square.

Orange Fantasy close up

The Class is $55.00 and that will include lunch and Foam core for mounting your finished fish and cording or pin back to finish your small fish. Plus…I’ll add a bit of metal foil to add the pop need to create a fantasy fish.

Click here for all the information. Hope to see you here,

Alice

Fun with Faces!

Pen and Ink on Polymer Clay class - June 2011

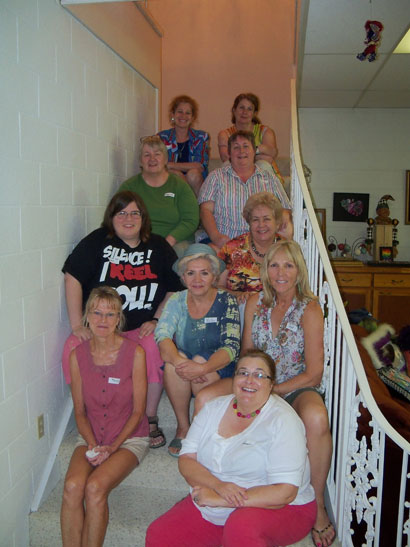
Carole, Ellyn, Charlene, Sydney, Tyra, Marty, Terri, Vicky, Pat, Karen

It was a hot day in Central Florida, but we had enough fun to make up for it. This was a great group  of woman who created some fabulous work. I’m always inspired by the diversity of the pieces. Even though we all start at the same place we end up with such different creations, it’s a joy to witness.

Most of these shape were created with Barbara McGuire’s Antique Door Plate stamps. You can purchase them from me, just leave a comment on this post if you’re interested.

Here are the works of art in the order of the stairs ….. pendants first.
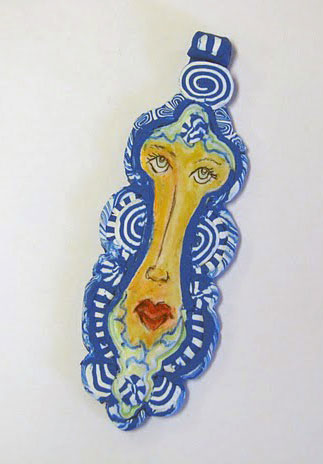
Carole

Carole

Carole wanted a blue surround and made quick work of putting together blue canes for her soulful girl. Love her eyes.
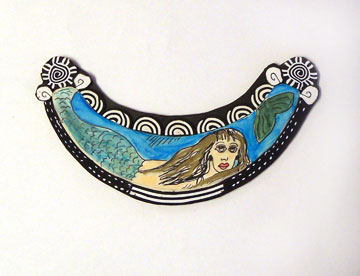
Ellyn

Ellyn

Ellyn and I are on the same wave length, I love mermaids and this one is going to be such fun to wear.
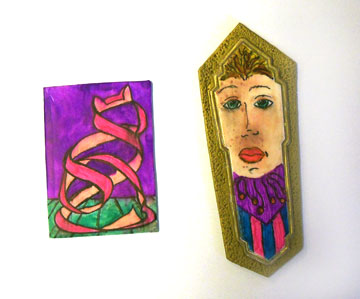
Charlene

Charlene

Charlene freehanded this cool ribbon cat and step away from the rest of the group with a gold surround for her face. Charlene is President of the Orlando Area Polymer Clay Guild that sponsors the Fandango retreat. You should think about attending next year.
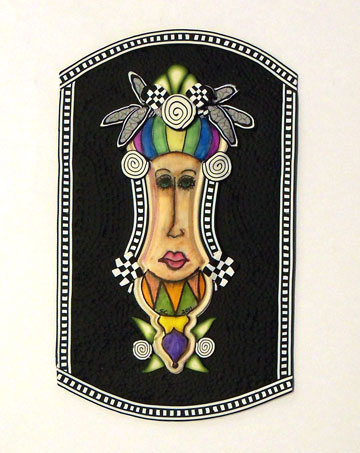
Sydney

Sydney

Okay, so Sydney just kept adding until hers is now too big to wear and is going to grace the front of a journal. A mixture of canes and ink and markers, can you tell which is which? Can’t wait to see the finished piece.  Sydney is involved in the Florida Gulf coast Polymer Clay Guild, if you live in that area you should check it out.
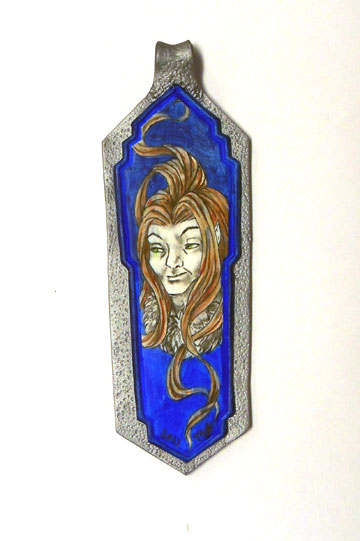
Tyra

Tyra

Tyra created her own drawing of this interesting mythical character and we were all impressed. Lots of wonderful detail.
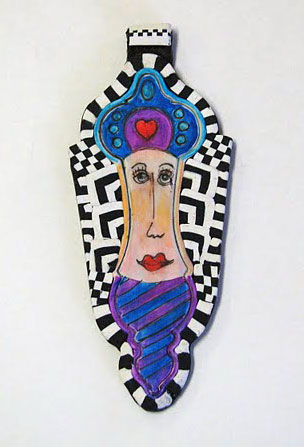
Marty

Marty

Marty kept saying she couldn’t draw and didn’t like her pendant at first, but by the end of the class she walked out with it around her neck. I think she was mistaken about the drawing part.

Marty is owner of Beads, F.O.B., Inc. in Sarasota. If you’re over that way stop in and tell her and Karen I said hi.

I don’t have a pendant picture for Terri. Terri, if you have a picture send it to me….. please.
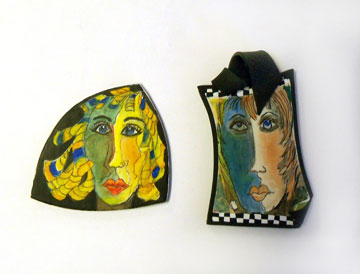
Vicky

Vicky

Vicky created these fabulous faces on her own shapes. I just love the colors and her imagination. Vicky has a website with more of her beautiful work displayed.
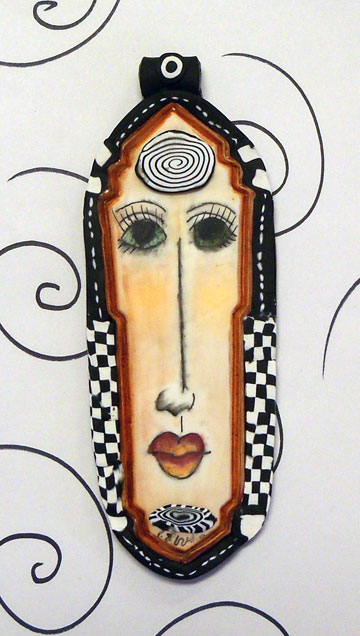
Pat

Pat

Pat outlined her face in red, a great accent against the black. Fun! Love those lips.
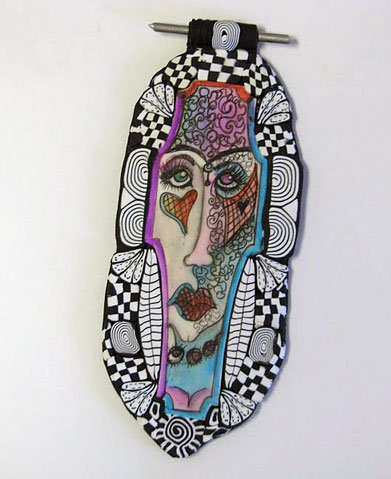
Karen

Karen

Now Karen’s face is right up my alley too. It’s strange and funky, and yes very cool, I love that.
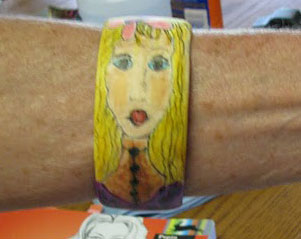
Terri

Terri

Terri created this sweet girl and used her imagination to cover a mistake in coloring. I know she’s going to love wearing this bracelet.
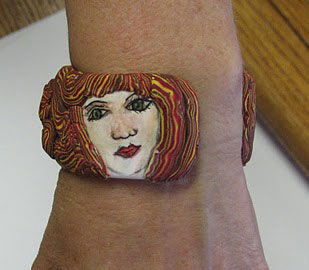
Carole

Carole

Carole combined the pen and ink with a hair cane to come up with this unique bracelet. There is three different faces, it’s really cool.
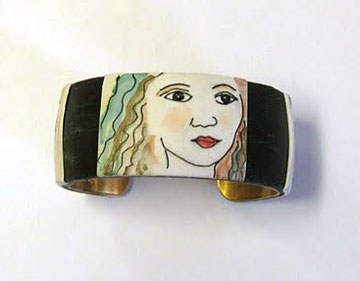
Ellyn

Ellyn

Ellyn has three faces on her bracelet as well. I love the softness of this face and the coloring of the hair. She emailed me the next day saying she wore it home and it made her smile. YES!!! that’s my goal, so mission accomplished.

Ellyn works at the Vero Beach Museum of Art, check out what they have to offer.

Not everyone finished their bracelets in class but will finished them at home I hope. Send me pictures everyone.

Thanks to Sydney for taking pictures of everyone work, I had to borrow some of hers. She also has an album she created. Take a look.
Preparing for Pen and Ink on Polymer Clay Class

polymer clay blanks for pen and ink

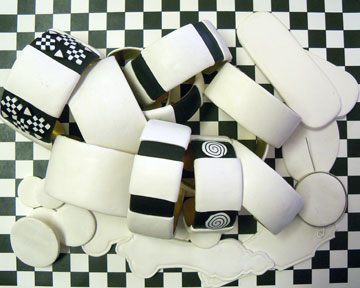
I have my work cut out for me for the next few days, I’m going to lay out the steps for my class on pen and ink on polymer clay.  I have been busy making blanks from white pc in all different shapes as well as covering bracelet blanks with white.  The more I do the better I like it and the more ideas jump into my head.
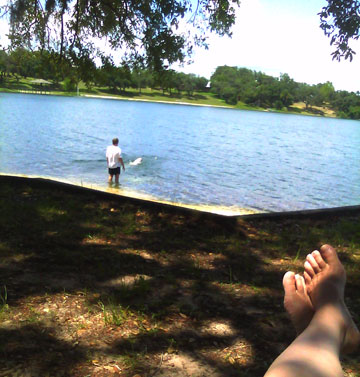
I haven’t been so busy that I haven’t had time to enjoy the lake and our beautiful oak trees. I love swimming and playing with our dog, but I love sitting and watching my guys play too.

Down by the lake

Pen and Ink on Polymer Clay

Face Pendant

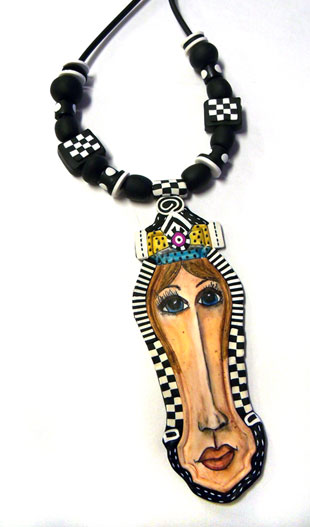
I’ve been working on finishing up the face pendants I created at Fandango. This is the first one and I’ve mixed black and white canes with the pen and ink face. I also made black and white beads and strung the whole thing on black Buna Cord.

This is like one of the projects planned for my up coming class on the 25th of June here in my studio. We’re going to make a pen and ink bracelet first, then spend the rest of the class working on the necklace.

The class is full, but I will be posting another one for July 16th, so if you think you might be interested, mark your calendars.