Polymer Clay Canes for Beginners 27 videos, step by step, beginner cane workshop

What people are saying about this tutorial.
jennifer rose
Just finished this first workshop on how to make canes, and I must say I learned so much. This is exactly what I have been looking for, someone who could explain cane making in a step by step that process that I could replicate. I watched the videos, went into my studio and began to create all of the canes Alice showed. I finally have results I can be proud of, and I say thank you so much for doing this workshop. My only question now is when do we get more workshops. If you are only going to take one online class let it be this workshop. Thank you Alice for your hard work, and your dedication to helping others learn the joys of polymer clay.
Online Workshops with Alice Stroppel
[caption id="attachment_102" align="aligncenter" width="100" caption="Member IPCA"]  [/caption]
|
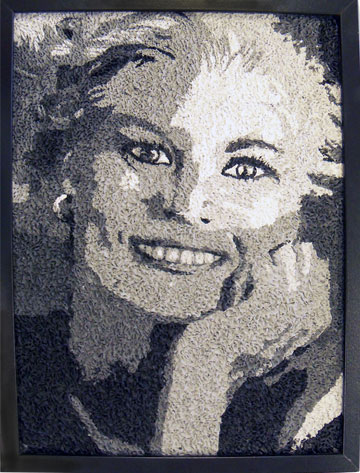
So here I am with the finished portrait. I’ve learned a couple of important thing about this process and I’ll share them with you. I had a great time doing this and I’ve managed to make an anniversary present for my husband. He actually liked it very much, reminds him of all the years we’ve been together, 44 years is a bunch.
I somehow lost track of my shades of gray and didn’t follow through with the right shade on the top right. By the time I got to the bottom and the arm I realized my mistake and didn’t have enough of the lighter shade mixed so… I just continued with the darker shade. It’s okay, I’m still happy with the over all outcome but lesson #1…mix enough clay. It was just hard for me because I had trouble mixing that much gray from perfectly good black and white new clay. I actually have enough scrap gray thank you very much! If it would have been any color, I could always used the left overs for something else.
I believe I might do it again just to see how different it will look if I actually follow the picture. Whaaat? follow the pattern, pheeew.. but this time it’s going to be a color.
Part of Lesson #2 I already knew, there will be places that you have to fill in. The lesson came in when I realized I was in a big hurry to finish it last night and didn’t take enough time to cover well at all. I had to spend that time this morning filling in anyway. So Lesson #2 is take your time. HA!
Part of the problem was it was hard to see, the paper picture on the back of the glass didn’t let light through and it was night time. ( cant’ think of any more excuses for this one)
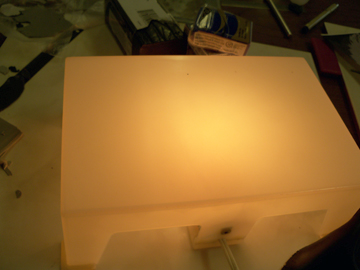
I have this little light box that came in handy for finding the holes to fill in. I just placed the piece on top and filled away.
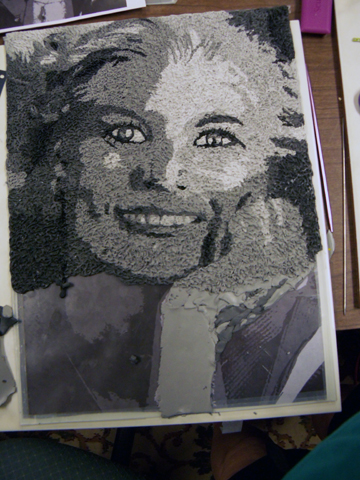
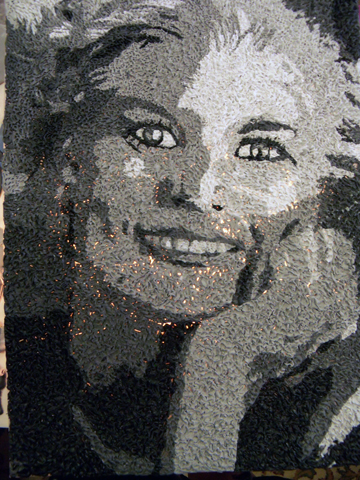
Here it is a little more than half way finished. First I lay out my clay following the picture and then stipple it with a knitting needle, my fingers are not very happy with me.
I think you might really enjoy giving this a try. It was pretty easy to do and not as time consuming as other techniques. You could do it with a drawing as well, or a photo of a landscape, it doesn’t have to be a portrait. And it doesn’t have to be a large wall piece.
I have way too many ideas, i just can’t get to them all fast enough. I laid out a wall piece for my older son Brad who is a Master Scuba instructor. It’s lots of my funky fish and I can’t wait to get started on it.

But before that I really wanted to try something new. After I posted my first large wall piece, Wall Flowers, almost everyone that saw it in person commented on the texture in-between the flowers. When more than one person mentions something, I usually pay attention. I called it stippling for lack of a better word and stipple actually describes pretty well.
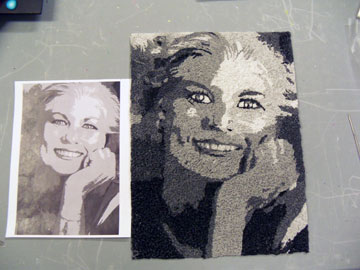
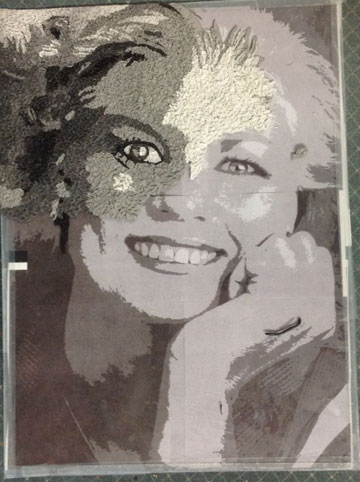
I wanted to use the artistic cutout filter in Photoshop to change a photo to a graphic picture so I could stipple it in either shades of gray or monochromatic. I decided on shades of gray. So here’s the beginning and I thought I’d share it with you.
This one isn’t as large as the first one, I need to get to Tampa to buy new frames, it’s only 12″ x 16″. But this will work out just fine in case it isn’t a keeper.
To get the photo large enough, I imported into Illustrator, enlarged it and then tiled it to print. I taped it together and then taped it to the back of the glass from the frame I’m going to use.
I’m hoping that when the picture gets completely covered that it will looks like a person….check back, I’ll post more as I get it finished. I promise…even if it isn’t what I expect. Trust me, I’m having way too much fun to care and besides, polymer clay is not precious, there’s more where this came from.
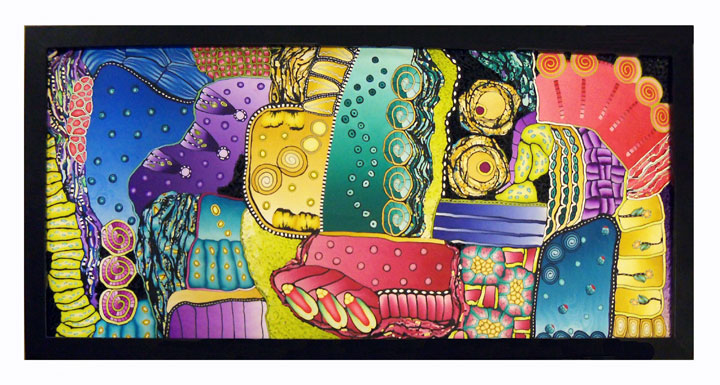 Explorations – Alice Stroppel This is the second large wall art piece made of polymer clay. It’s 9″ x 20″. About half the size of the first picture, Wall Flowers. It’s totally random pops of color that has already been speaking differently to each person. I began working on it with this view as the way it should be hung.
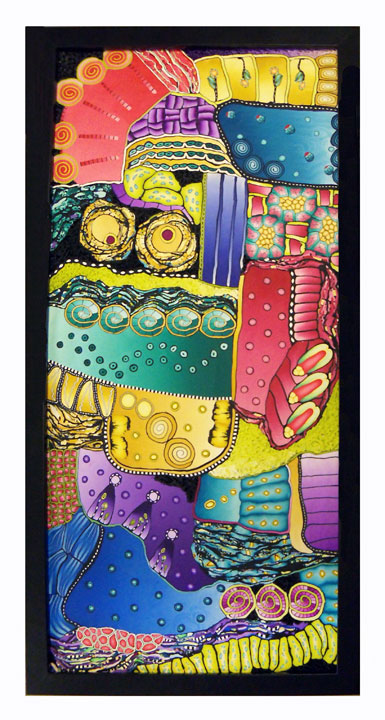 Explorations – Alice Stroppel But when I posted it on Facebook yesterday, people started telling me they thought it should be hung a different way.
 Explorations – Alice Stroppel Nikolina Otrzan , Orson’s World, said she saw it hanging like below, and I quote, “because those “eyes” look to me like Pink panther in distress. Nik, you’re so funny.
Yvette Macy wants to sing, “We all live in a yellow submarine.”
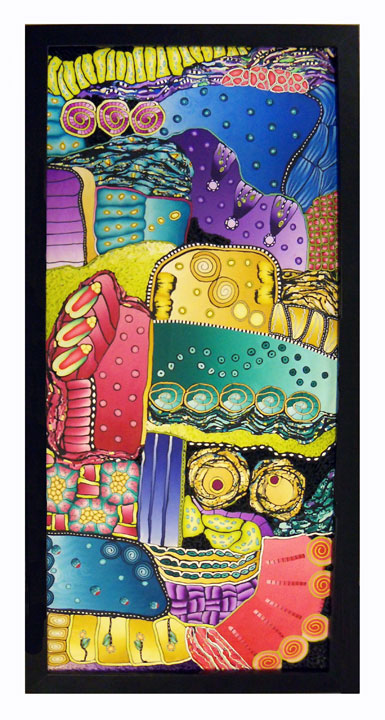 Explorations – Alice Stroppel Maybe I should take a vote. voice your opinion, leave a comment. I think it will be interesting to see what ya’ll think and what you see. I’ll tell you what I think in a couple of days.
In the end, my son Jason will decide because this one is going to him.
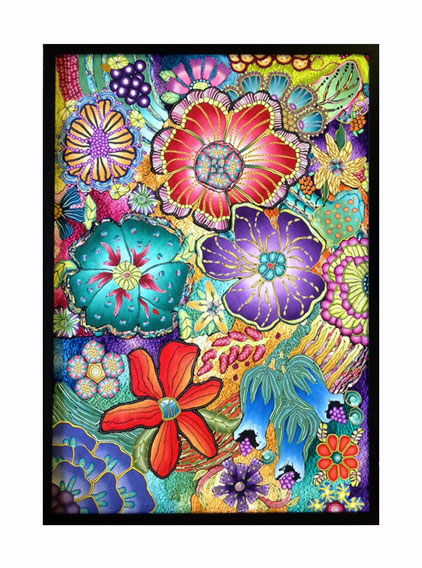
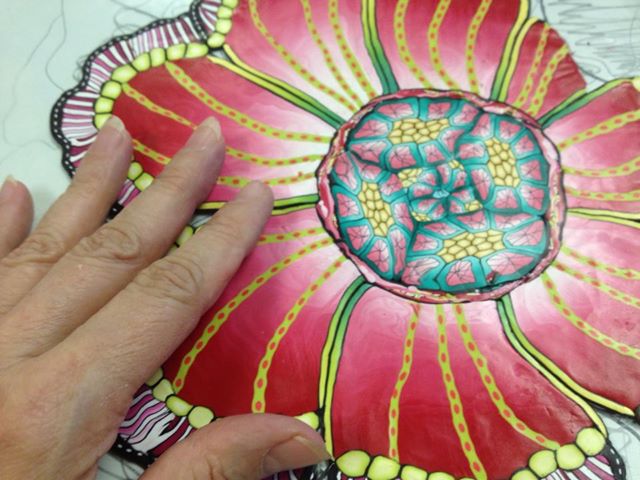
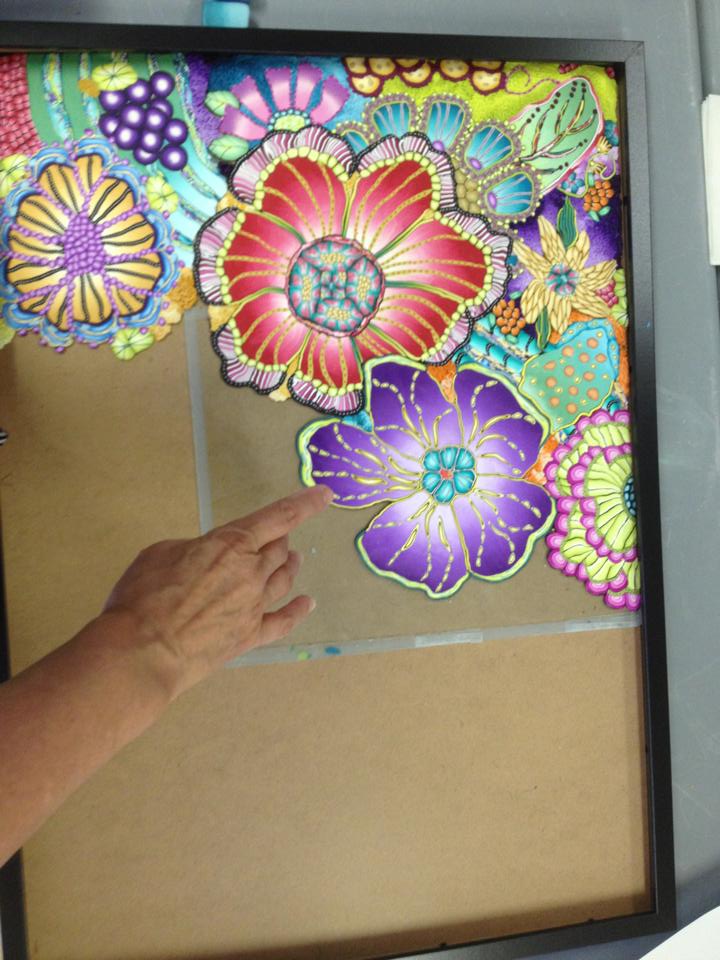
This is my newest adventure, I pushed myself to create something large and more complicated than in the past. I used my Cane Mapping technique with an added twist.
It’s a large piece, 19″ x 27″, framed it’s 20 1/2″ x 28 1/2″. I bake my polymer clay in a regular kitchen oven, but even so I had to construct it in pieces like a giant jigsaw puzzle.
After baking a pieces, I constructed the next piece on a piece of glass and by fitting it to the last piece. I placed a roughly drawn pattern behind the glass, but as you can see by this picture, I didn’t follow it exactly.
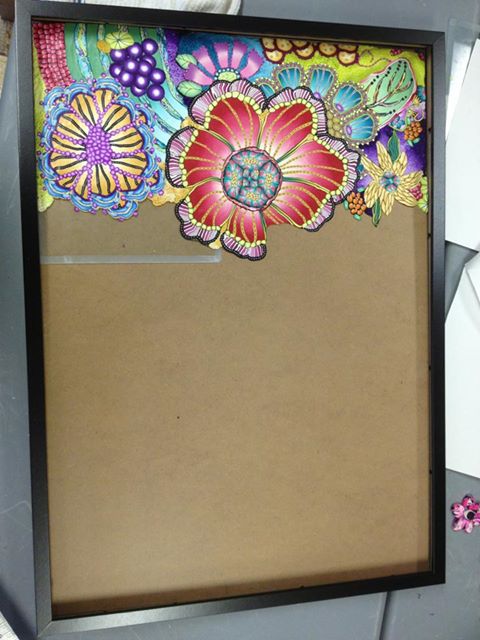
I continued this way until all were pieces were baked and then glued them to a back board. Actually this board came with a frame I bought. Here’s a look at each step as it was completed.
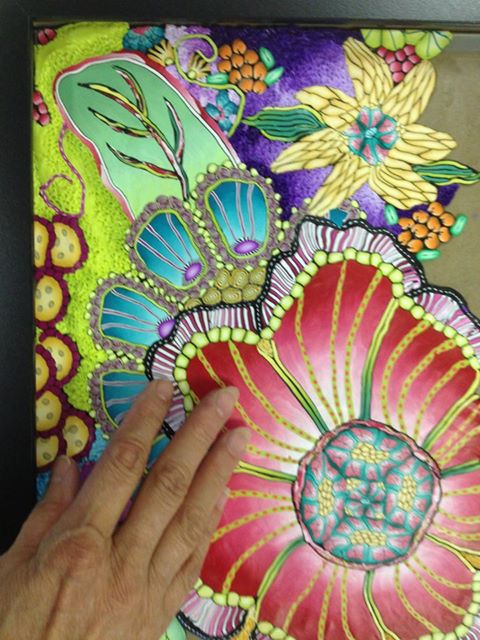
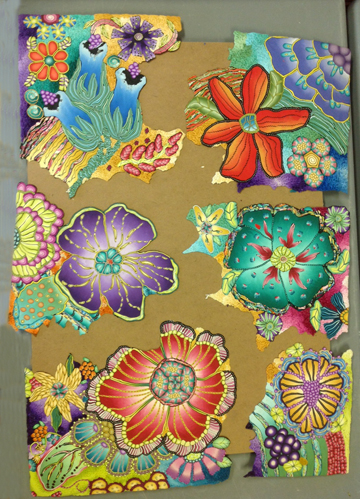
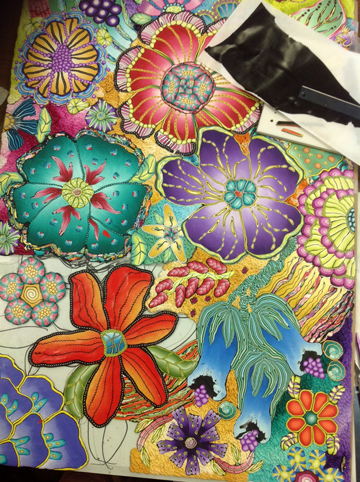
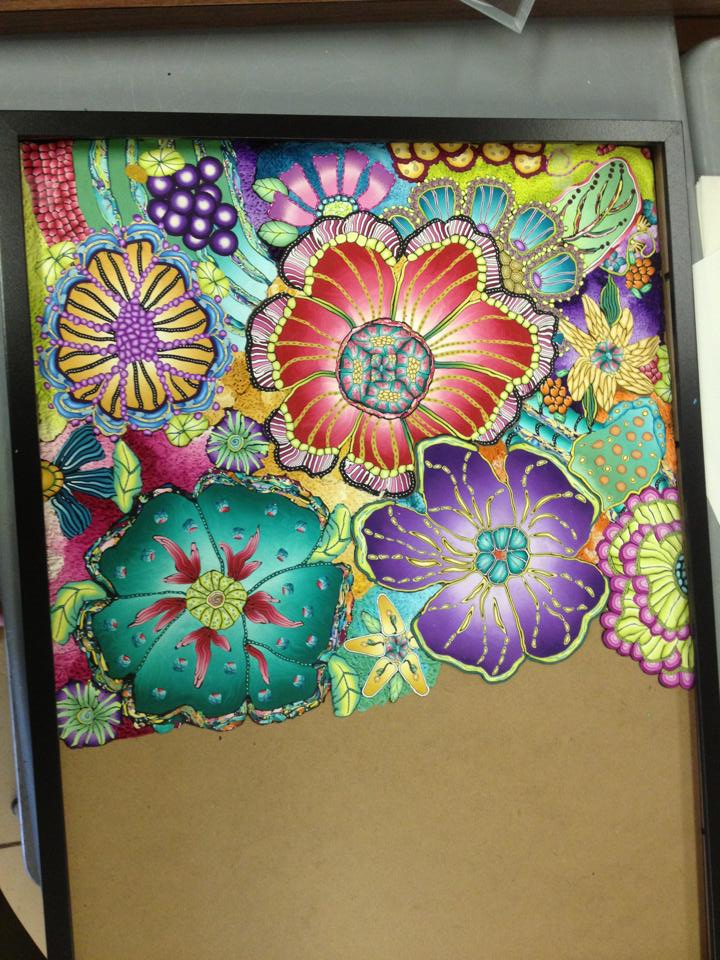
After completing and taking a picture of this step, I realized how disjointed some of the yellow flower petals looked. So before I baked it, I made some corrections.
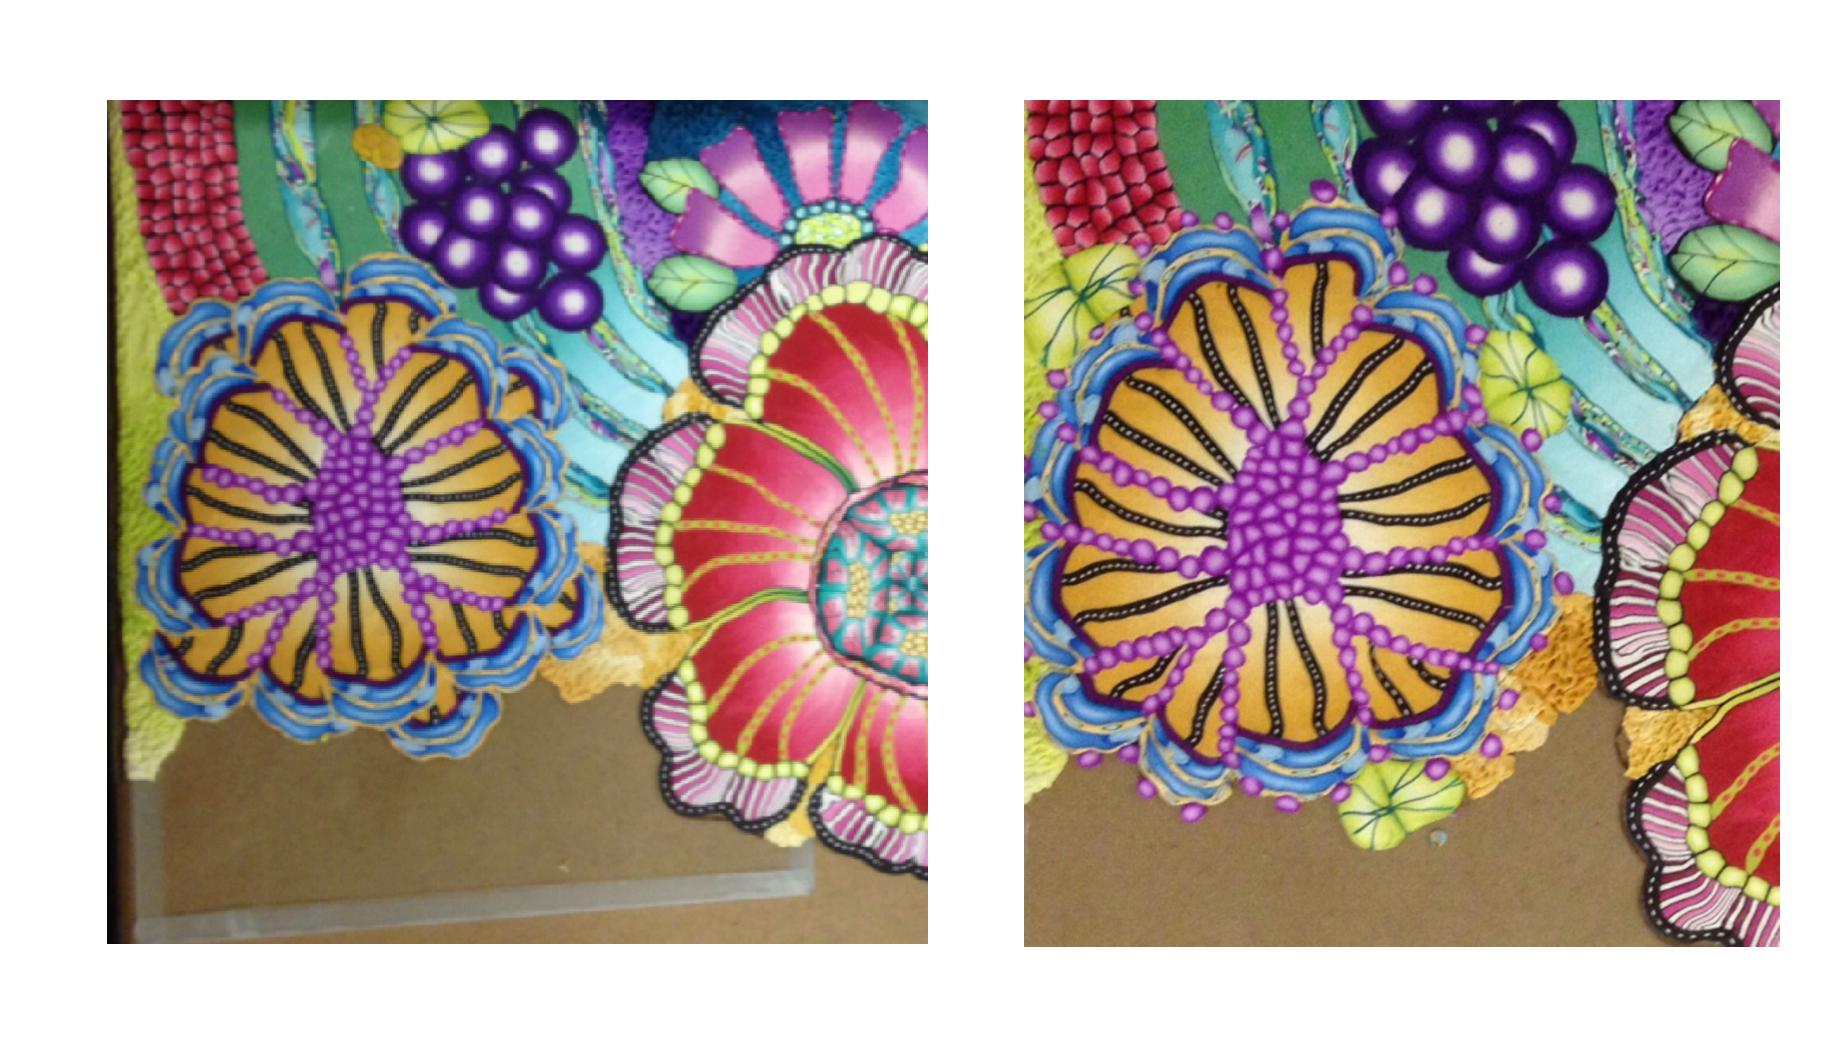
Not completely satisfied, but knowing this was as good as it was going to get, I baked it and moved to the next section. Once again I used my and for size reference.
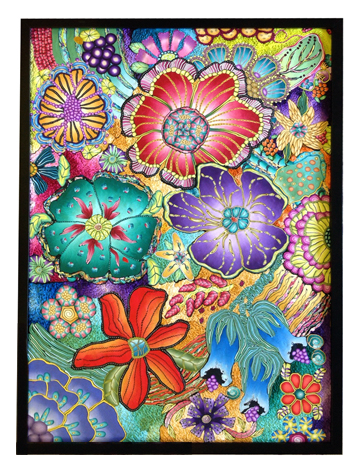
And once again the finished piece. I certainly learned a lot and look forward to making many more.

After reading what everyone else was doing with the Stroppel cane, using up old canes and not just scraps on their work tables, I decided that I needed to dig around in my really old canes and see what I had. Tons! I have Tons of old canes, most of them made from Sculpey III that I won’t ever use for anything else and some of them really pretty bad. So experimenting was it.
I also have a desire to do wall art with polymer clay, I made this cane that has layers as wide as 1/4″ to 1/2″. I sliced it and added what I call my dot, dot, dot cane and am now ready to attach them to the canvas shown below. I just can’t decide what to do with the background, the canvas or which way to place the pieces. I’ve already baked them.
 I like the contrast of the black against the white so I might just paint the canvas white. I think I have to look at it for awhile. Maybe they would look better like this…… I like the contrast of the black against the white so I might just paint the canvas white. I think I have to look at it for awhile. Maybe they would look better like this……
 Just me having fun again. Thank to all of you for your ideas for the Stroppel Cane. Just me having fun again. Thank to all of you for your ideas for the Stroppel Cane.

Here’s another cane I made last year sometime and couldn’t ever figure out exactly how to finish it. I did know however, that I wanted to make something for the wall and I had already sliced and baked the whole cane, so like the canes from yesterdays post, I’ve moved them out of the shoe box and onto my wall.
Again this is just for me, so I give myself permission to do whatever I want.  And I’m having fun just playing around with foam core and cheap frames. Who knows all this playing around could just lead to something exceptional……or not….but the key word here is FUN! Go have some today. And I’m having fun just playing around with foam core and cheap frames. Who knows all this playing around could just lead to something exceptional……or not….but the key word here is FUN! Go have some today.
Oh and I am still working on the idea I told you about yesterday. It’s a way to use the mosaic that you made from my free video you watched when you signed up for my newsletter. You did make something didn’t you? *g*
 If you have been playing with clay for awhile, you have to have a box full of bits and pieces of things that are half finished or half burned or just a big question mark. If you’re like me, you can’t even remember doing some of them. If you have been playing with clay for awhile, you have to have a box full of bits and pieces of things that are half finished or half burned or just a big question mark. If you’re like me, you can’t even remember doing some of them.
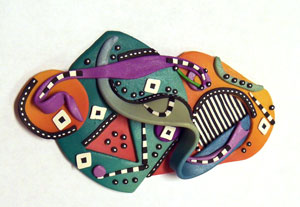
Anyway….I’ve been cleaning and rearranging and wondering if I should just throw some of these older “probably never going to finish” bits away. When I came across this piece that I was messing around with (see it here) and decided that instead of throwing it away or putting it back in the shoebox, I’d combine it with other slices of old canes and make something just for me to hang on the wall.

So here it is, a sample board of canes I’ve made or I like to call it a story board because it’s kind of a story of where I’ve been.
I’ve mounted them on a piece of black foam board that I got from the dollar store and put it in a dollar store frame. So there isn’t much money involved but I’ve rescued some canes and I get to look at them from time to time.
Next….another idea I’ve been working on. See ya’ then.
I love doing my girlfriend bracelets and pins. I laugh while I’m making them and I’m delighted when someone else likes them as well. I left one with Debbie at my dentist’s office, she bought it right off my wrist. She was going to give it as a gift, but by the time I left, I think she had decided to keep it for herself. Made me feel really great. Granted, the visit costed more than the cost of the bracelet, but every little bit helps.
Debbie continued to smile as she wore her girlfriend bracelet and that made me smile. She even gave a me self addressed stamped envelope for me to send her more business cards because she gave her card to another patient while I was having my teeth cleaned.
I swear, I’ve never had that happen to me before. Thank you Debbie for brightening my day even though I only went there to brighten my teeth.
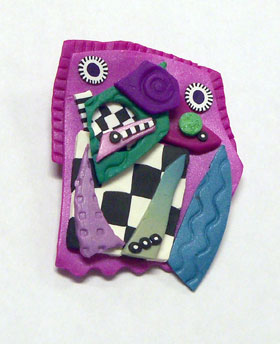
 Wall Art - Polymer clay Yesterday, I wanted to try something different. I’ve always wanted to do wall pieces with polymer so I decided to just begin. This piece is 10″ x 6 1/2″. It can hang just like it is, but I am considering mounting it in a frame. What do you think?
It is actually a snap shot of how my brain works I think. Full of color and gong in several directions at once.
 This one is much smaller and I think I’ll finish it as a bib necklace. The one below is 2 1/4″ x 2 and is finished already as a pin. This one is much smaller and I think I’ll finish it as a bib necklace. The one below is 2 1/4″ x 2 and is finished already as a pin.
I love the versatility of polymer. I can’t imagine ever getting tired of creating with this medium.
|
|


Comments