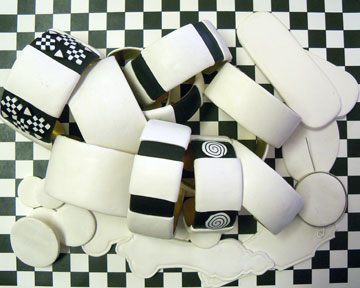
27 videos, step by step, beginner cane workshop
What people are saying about this tutorial.
jennifer rose
Just finished this first workshop on how to make canes, and I must say I learned so much. This is exactly what I have been looking for, someone who could explain cane making in a step by step that process that I could replicate. I watched the videos, went into my studio and began to create all of the canes Alice showed. I finally have results I can be proud of, and I say thank you so much for doing this workshop. My only question now is when do we get more workshops. If you are only going to take one online class let it be this workshop. Thank you Alice for your hard work, and your dedication to helping others learn the joys of polymer clay.
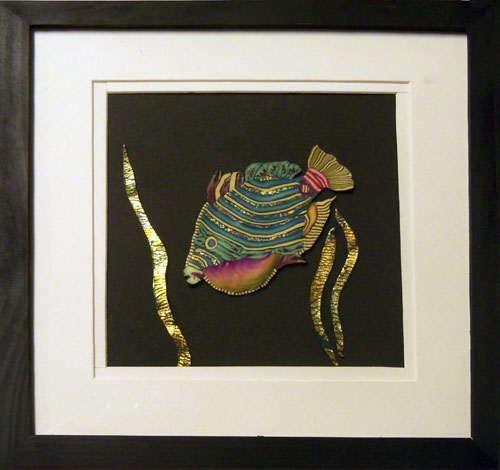
For the last few weeks I’ve been working on these fish slides for an exchange I will be taking part in. They really have been so much fun and each one is different than the next so I can’t say I was the least bit bored by the number. I still have more to go and hope to finish up in the next few days.
Even though you can’t see it, there is metal leaf on each one of these fish. I’ve recently begun to use the metal leaf with my cane mapping and have some other ideas that don’t involve fish, so stay tuned. By the way you can learn how to map out the use of your old canes by signing up for my newsletter if you haven’t already. Just fill in your name and email address in the spaces on the upper right hand side of this page. I send out a newsletter about once a month and a class up date from time to time.
Okay so I’m not telling the exact true about being bored with these fish. I can say that bored is probably not the right word anyway, I think I get tired of doing the same type of item for a long period of time and have to break it up with other projects or activities along the way. But I’m always excited to come back and make more because they make me smile. Okay so they don’t make me laugh out loud like my girls do, but they do make me smile a lot.
I usually sit down and make five in a row, get them baked and the holes drilled, then I do something else for awhile. Today I am playing around with how to package them. Most of the time in an exchange just including your card is enough, but I wanted to do mine a bit different this time.
I’ve used cards like this before to display my pins and I think I just might use them this time as well. These are smaller than the ones I’ve used before and I like them better for these smaller pieces.
I have soft wire that I’ve run through the slide and out the back of the card, twisting it together to hold the fish in place. I use a very small hole punch to make the holes so everything looks nice and neat.
The next thing I’m going to play with today is the design of the card. I think it might need some updating, I just signed my name on the top but I don’t think I like that. You never know until you try…words I live by.
I’ve been busy this week making slices to exchange at a retreat I’m going to in September. Very excited about it and I’ll tell you more about it another day.
I’ve also been making a zillion, yes that many, skinner blends for a fun new workshop I’ll be teaching in Sarasota, FL at Beads, F.O.B., Inc. on Saturday, August 20th – 10am – 4pm and Sunday the 21st from 10am – 1pm.
Marty Montague is the owner of Beads, F.O.B., Inc and she and Karen Johnson is manager, designer and teacher at the shop. They both attended my pen and ink class last month and we all had such a good time Marty asked me to teach a cane/bead class for her. I’m delighted.
It’s a two day workshop for people new to polymer clay, don’t worry you won’t have to buy lots of equipment, I have pasta machines to share, but you will be investing in lots of clay. The up side of that is you will be “stocking” your cane pantry with enough colors, blends and canes to make hundreds of beads or pendant with the techniques I’ll show you.
It’s also a workshop for those who have been playing with clay for awhile but have just never tried caning and are ready to take the plunge.
I’ll be showing you how I make reasonable sized to small canes to use all kinds of fun projects. I never make giant canes because I don’t like to have lots of one cane, I’d rather use my clay stock to make hundreds of small interesting canes. It makes it easier on your pocketbook if your just starting out.
I’ll spend some time with skinner blends, I’ve learned a few important things over the years that I’ll share. Plus we’ll be using the skinner blends to make many different canes and beads.
So here’s what you’ll be learning
Create a Skinner blend
Make these basic canes: stripe, checker board, jelly roll, bulls eye,
flowers and some fun little accent canes.
Use tons of tips gleaned from my years of practice. If there is an
easier way, I’m going to do my best to find it.
Learn several ways to make beads.
Finish a simple yet striking pendant.
This strand of beads are just a sample of the beads you’ll be able to make from the canes we produce in this workshop.
I’m still making samples for this class and will be posting them over the next couple of week. To find out more about this class download my pdf, to register call Karen or Marty at 941-921-0871
I’m not sure if their August newsletter is out yet, but it will be shortly. You can download it from the front page of Beads, F.O.B.
The next class in my studio will this month, July 30, 2011. We’ll be using up your old canes and creating some very cool fish.
I’m using fish as the subject, but you could cane map almost anything. I’ll be showing you a couple of other cane mapped items in the next few days. The photo above shows one crazy fantasy fish that I applied to this cute little tea pot. Fun! Here’s a close up. It’s only about 3″ square.
The Class is $55.00 and that will include lunch and Foam core for mounting your finished fish and cording or pin back to finish your small fish. Plus…I’ll add a bit of metal foil to add the pop need to create a fantasy fish.
If you were in Sarajane Helm’s 2011 mini mask swap and
HAVEN”T RECEIVED YOUR MASKS YET
STOP NOW
or your surprise might be ruined.
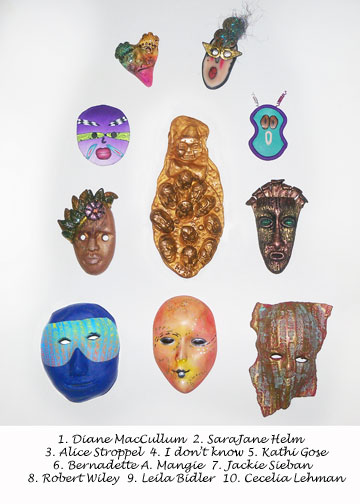
Whew, glad I remembered that some people might not have their masks back yet. But not everyone will be receiving these masks. There are 1,000 masks involved in this adventure and there are only 30 shown here.
Thanks to my friend Leila Bidler I found out about the swap in enough time to join in. And I will be forever in your debt Leila, because these masks are all incredible. I have to step up my game to be in it next year I can see that.
I was in three groups of 10 and that meant I sent in 30 masks and got back 30 masks including one of each of the ones I made. Here’s group one.
Group1
Are these not the best??? I just enjoy each one so much, looking at how they made them and believe me they are all different.
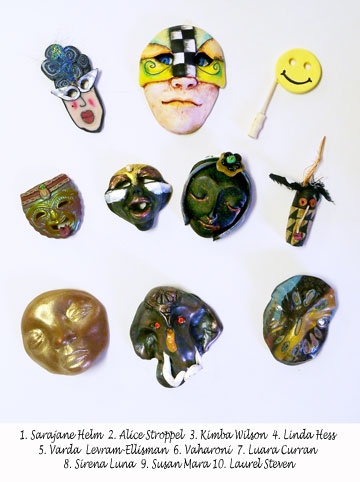
Of course you could pick my brightly colored crazy design out of the line up I bet. Nothing earthy and tribal for me. Okay so I tried to be tribal with this next one, but couldn’t stay away from the color.
Group 2
Again……a wonderful group of fabulous faces. If anyone knows who the gold masks with all the cool faces belongs to, I’d love to know.
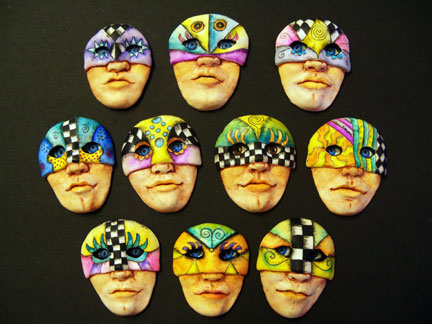
In this next group I combined sculpting, mold making, pen and ink and markers. Lots of fun.
Group 3
Aren’t these all so interesting? I wish you could see each one up close, the details are what grabs you. I love the time and effort that went into every one, and now I get to look at them all the time.
Here’s a picture of all of my masked man, just because they are all different even though they are all made from the same mold.
My guys
Now I know exactly why Sarajane wants to be the hostess for this swap. there are 1000 masks exchanged and she gets to keep one of each. If the ones I’ve received are this fantastic, I know the rest of them are just as wonderful.
Thank you, thank you, to all who took the time to be in this swap and for those of you whom I managed to be lucky enough to get your mask, I’ll be emailing you personally.
A special thank you to Sarajane for hosting such a fun exchange and Bryon for helping her.
I know I said I wasn’t going to post today, but I wanted to say Happy 4th of July to everyone here in America. It’s a grand day for our country so celebrate and enjoy.
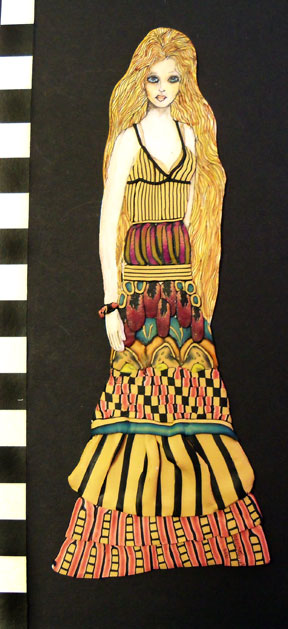
Plus…….I finished this girl last night and wanted to share.
When I was little my sister had a set of paperdolls that she drew herself. She created a girl and a guy and the girl had the most wonderful clothes. I loved the way they looked and wanted so badly to be able to draw just like my big sister. The paperdolls aren’t around anymore, I wish they were I’d love to look at them again.
When I made this girl I was reminded of my wish to be able to draw my own paperdolls, somehow I feel like that little girl wish from years ago kind of came true. The difference is her clothes are made from polymer clay and can’t be removed. Still having fun here and fulfilling dreams.
When I tell you I have too many ideas in my head, it’s the truth. I was inspired and reminded by Vicky in my class the other day that I love playing with color on faces. I love her faces.
Vicky
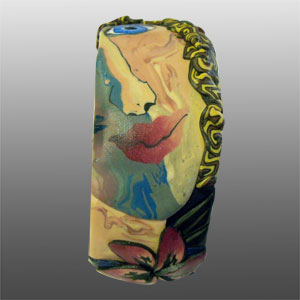
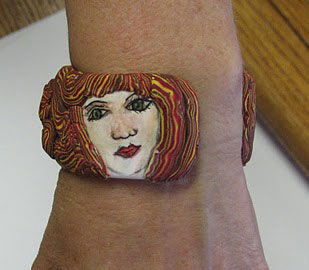
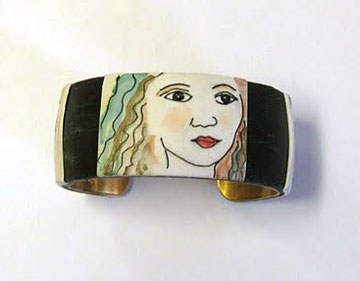
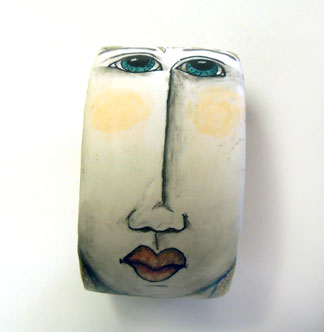
She said she was inspired by a face cane I did and an artist friend of hers. Here’s a bracelet I made with that face cane.
I was inspired when making the face cane by a fabulous watercolor artist friend of mine, Janet F. King. Here’s a sample of her work. Look at all the different colors in her faces.
Boys in the Band - Janet F. King
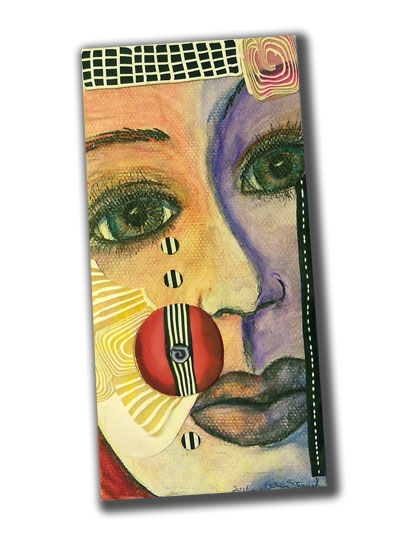
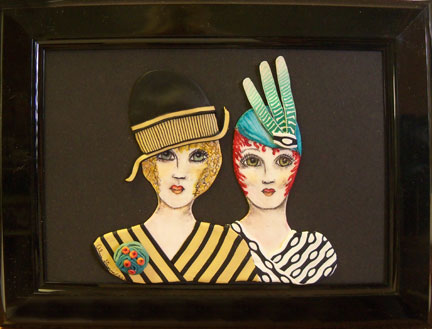
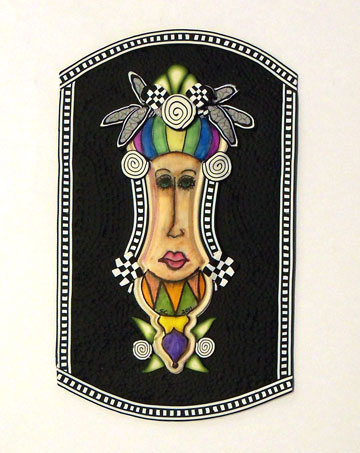
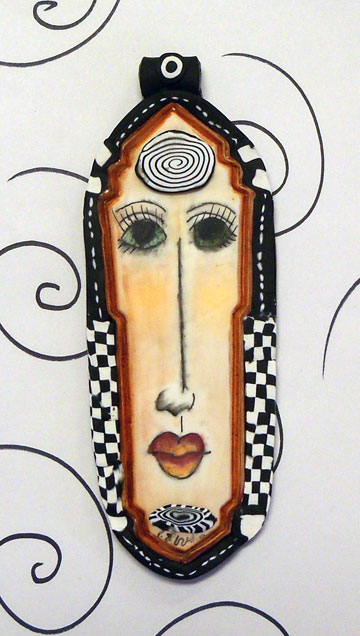
And so it goes, inspiration is around us everyday and in everything. The problem is finding the time to execute all the ideas. Which brings me back to the first picture on this post. This is a painting with pen and ink and markers on canvas coated with polymer clay, then accented with polymer clay canes. The layering inspiration came from a Kathleen Dustin class.
Combining lots of ideas got me here and I really, really, really like doing these and can’t wait to make more.
I was going to wait to post this next idea until tomorrow, but since it’s the 4th of July, I probably will be outside all day so I thought I’d go ahead and post it now.
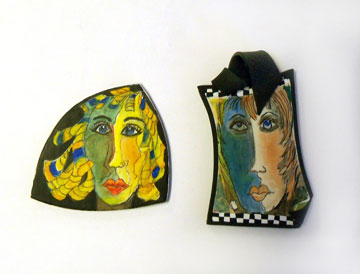
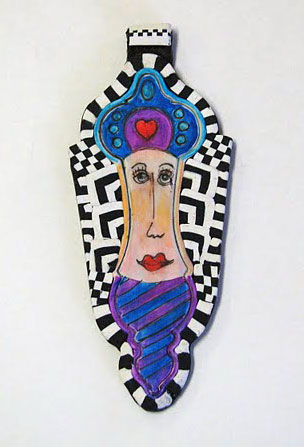
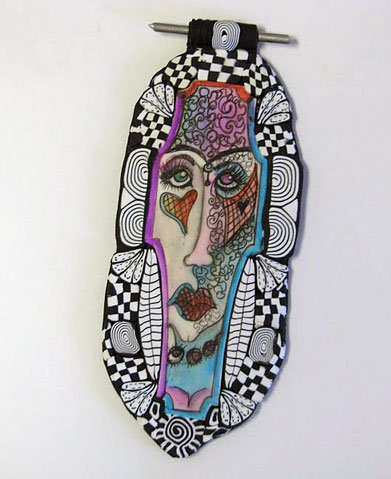
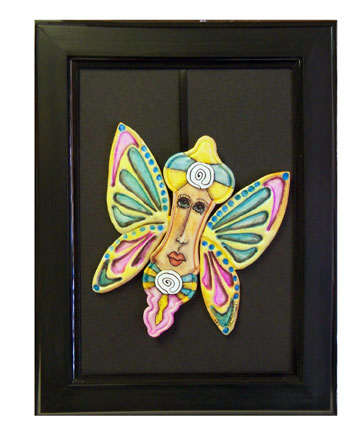
I am just as excited about these women as I am about the canvas woman. I’ve cut out the shape from polymer clay, used pen and ink and markers, then added polymer clay canes again. I’m excited! It’s why I love polymer clay, the possibilities are truly endless.
These are some of the sample items I made for my class last weekend and I think they are a good mix of styles from the same group of patterns. The face on the bracelet in the middle is the same face that is one the figure in blue surrounded with black and white canes.
If you are a student in my P&I class the patterns in pdf form are emailed to you after class, usually the next day. If you can’t make it to the South East anytime soon, you may want to consider my tutorial and these patterns. Both are for sale in my Etsy shop.
Now that I’ve started coloring on clay, and I kind of feel like I’m 10 and have all these wonderful coloring book pages in front of me and all the colors to go with it. I just can’t stop.
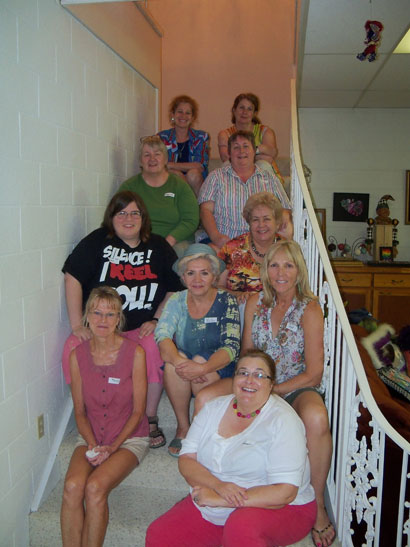
Carole, Ellyn, Charlene, Sydney, Tyra, Marty, Terri, Vicky, Pat, Karen
It was a hot day in Central Florida, but we had enough fun to make up for it. This was a great group of woman who created some fabulous work. I’m always inspired by the diversity of the pieces. Even though we all start at the same place we end up with such different creations, it’s a joy to witness.
Most of these shape were created with Barbara McGuire’s Antique Door Plate stamps. You can purchase them from me, just leave a comment on this post if you’re interested.
Here are the works of art in the order of the stairs ….. pendants first.
Carole
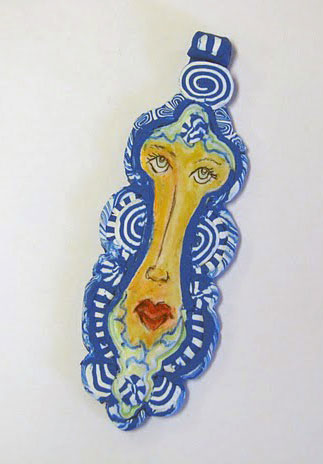
Carole wanted a blue surround and made quick work of putting together blue canes for her soulful girl. Love her eyes.
Ellyn
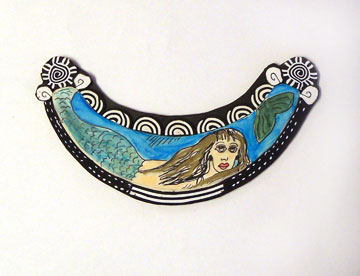
Ellyn and I are on the same wave length, I love mermaids and this one is going to be such fun to wear.
Charlene
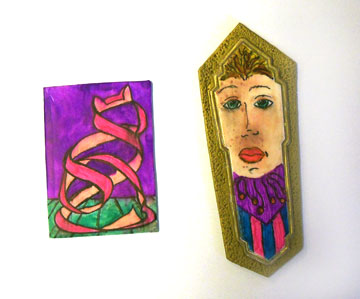
Charlene freehanded this cool ribbon cat and step away from the rest of the group with a gold surround for her face. Charlene is President of the Orlando Area Polymer Clay Guild that sponsors the Fandango retreat. You should think about attending next year.
Sydney
Okay, so Sydney just kept adding until hers is now too big to wear and is going to grace the front of a journal. A mixture of canes and ink and markers, can you tell which is which? Can’t wait to see the finished piece. Sydney is involved in the Florida Gulf coast Polymer Clay Guild, if you live in that area you should check it out.
Tyra
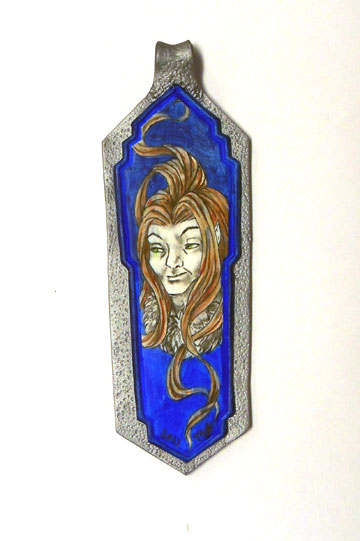
Tyra created her own drawing of this interesting mythical character and we were all impressed. Lots of wonderful detail.
Marty
Marty kept saying she couldn’t draw and didn’t like her pendant at first, but by the end of the class she walked out with it around her neck. I think she was mistaken about the drawing part.
I don’t have a pendant picture for Terri. Terri, if you have a picture send it to me….. please.
Vicky
Vicky created these fabulous faces on her own shapes. I just love the colors and her imagination. Vicky has a website with more of her beautiful work displayed.
Pat
Pat outlined her face in red, a great accent against the black. Fun! Love those lips.
Karen
Now Karen’s face is right up my alley too. It’s strange and funky, and yes very cool, I love that.
Terri
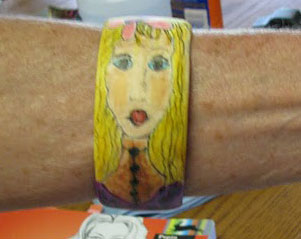
Terri created this sweet girl and used her imagination to cover a mistake in coloring. I know she’s going to love wearing this bracelet.
Carole
Carole combined the pen and ink with a hair cane to come up with this unique bracelet. There is three different faces, it’s really cool.
Ellyn
Ellyn has three faces on her bracelet as well. I love the softness of this face and the coloring of the hair. She emailed me the next day saying she wore it home and it made her smile. YES!!! that’s my goal, so mission accomplished.
I’m busy making samples for my classes and drew the faces in the video to go with Barbara McQuire’s stamps. Yesterday I wanted to see they might look on a bracelet.
I decided to show you this new bracelet in a video because it’s hard to capture the look in still photos. The face patterns will be available for purchase next week sometime. I’ll post more about them when I’ve added them to my Etsy Shop.
I’m excited to tell you that I’ll be teaching two 1 day workshops at Mount Dora Center for the Arts in Mount Dora, FL in October 15th, Pen and Ink and November 12th, Cane Mapping, details to come.
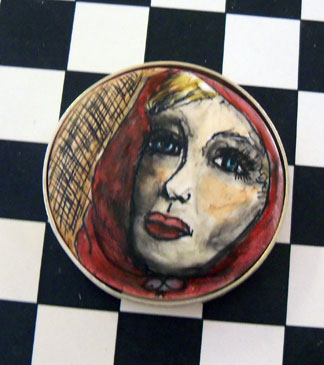
This morning I started to do samples of what we are going to be doing in class on Saturday but I ended up drawing a grown up Red Ridding Hood. Grown up you might ask, well the story goes that the wolf died and she lived to grow up right? So here she is, with a silver frame ready for the eye pin and a chain.
Okay so the truth is the hood just showed up by itself and I colored it red. I use photos or pictures as my guides, but I don’t sketch out my work ahead of time. I just dive right in and begin and correct as I go letting the piece create itself.
That’s why I like working with polymer clay as a base and my pen and ink technique, I can easily correct most lines and sometimes colors. I do most of the black work first and add color at the end, then reapply black here and there.
I probably would benefit from more planning including sketching the ideas in my head instead of just making notes, but then I’m not so sure how things like the red hood would ever happen. But it’s something to consider.
International Polymer Clay Association’s Polymergence editor Suzanne Ivester wrote a wonderful article in this month’s newsletter entitled All About Sketching! It’s an interesting read, you’ll enjoy it.
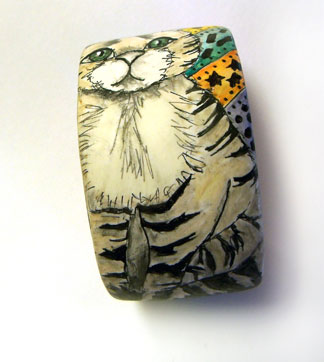
This cat just called to me, no explanations, no excuses. I’m going to post this and get back to my original plan..samples…step by step samples.
Comments