Just finished this first workshop on how to make canes, and I must say I learned so much. This is exactly what I have been looking for, someone who could explain cane making in a step by step that process that I could replicate. I watched the videos, went into my studio and began to create all of the canes Alice showed. I finally have results I can be proud of, and I say thank you so much for doing this workshop. My only question now is when do we get more workshops. If you are only going to take one online class let it be this workshop. Thank you Alice for your hard work, and your dedication to helping others learn the joys of polymer clay. Jennifer Rose
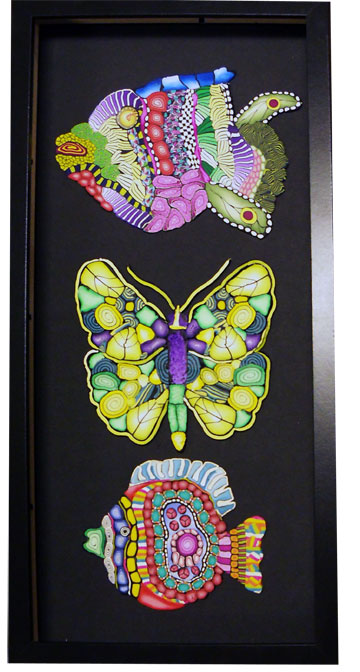
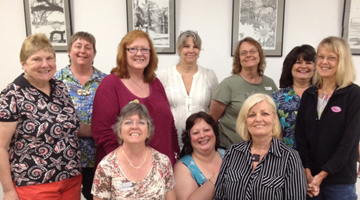
Top – Linda Boyd, Middle – Monica Sauls, Bottom – Barbara Snapp
Every Monday evening, three friends i’ve known since we were kids, Barbara Snapp, Monica Sauls and Linda Boyd, come over to my studio and we play with polymer clay. I was so excited by these cane mapping pieces they finished last Monday, I just had to share them with you. Remember these are relatively new clayers.
It’s the same technique I use to make my large Wall Flowers and I teach in one of my workshops.
How they ended up spending time in my studio in the first place is pretty funny.
Sebring, where I live, my home town, my mother’s home town, is pretty small. Granted, it’s grown quite a bit over the years, but it’s still a small town by most standards. Even so, most people don’t know that I work with polymer clay or even what polymer clay is or can become.
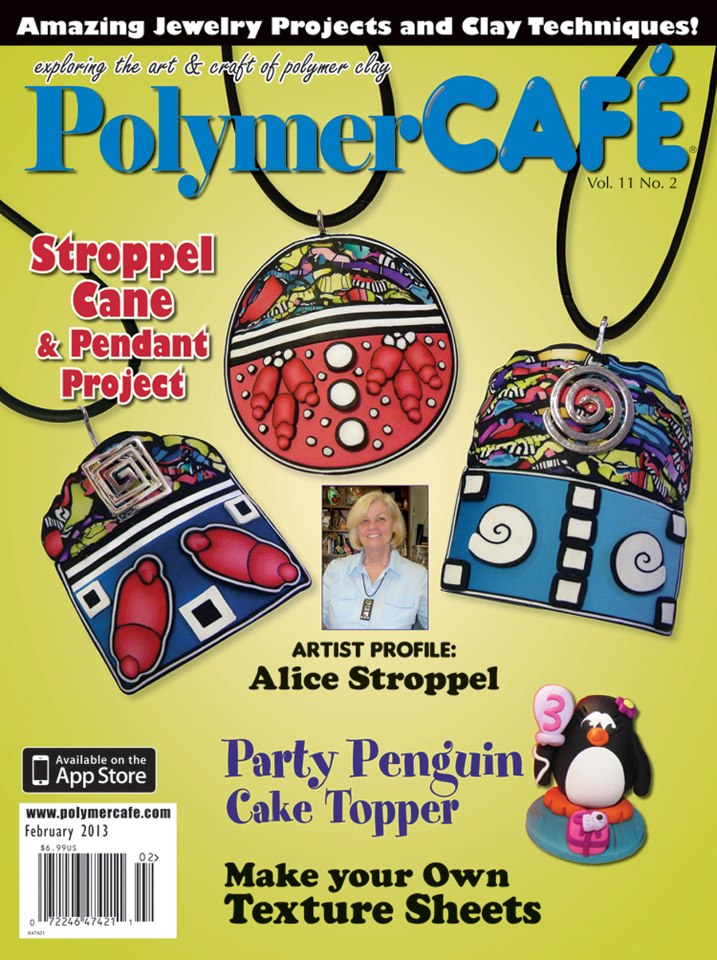
Shortly after I was on the cover of Polymer Cafe, I was walking through Home Depot (looking for stuff to use with polymer I’m sure) and ran into Monica. She asked me if my ears were burning from being talked about. I smiled and worried what I might have done now!!!. She told me how Barbara was in Books-a-Million, (yes we finally have a large book store) and picked up several craft magazines including Polymer Cafe´. It wasn’t until she got home that she really looked at the cover. She said, “That’s Alice!!!”. Too funny.
I’m showing you this cover so you can imagine how funny it was for Barbara to see my face staring back at her.
So Monica said she and Barbara and some others might be interested in learning more about polymer clay. Music to this “polymer clay is for everyone” crusader. Besides as much as I love the internet and all you guys, it can get lonely working in my studio without another polymer clayer to share with. So the thought of new pc players coming to spend time with me in the studio was exciting.
It’s been several months now, with a pretty steady exploration of polymer clay. Gradually, canes are being stockpiled and things are starting to really come together. I really think they’re having as much fun as I am. Linda said, “I didn’t like Mondays very much and now I know I get to play with clay, so I can’t wait.” Makes my heart sing.
Here’s wishing you all have someone to clay with from time to time.
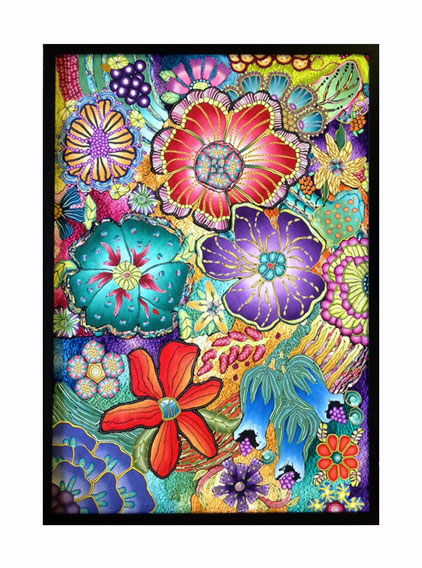
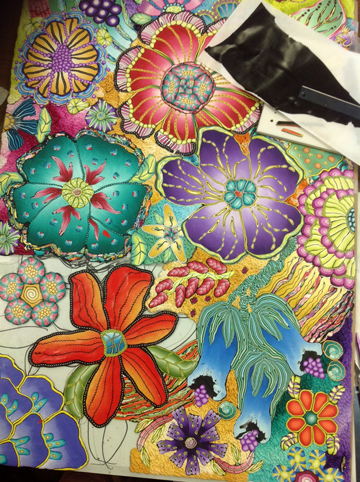
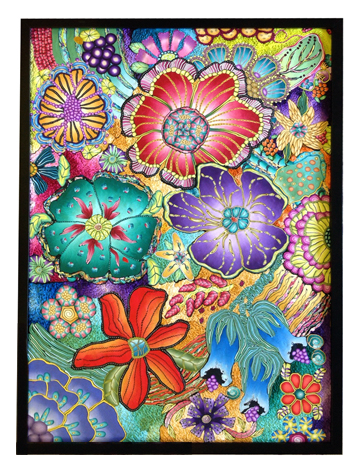
This is my newest adventure, I pushed myself to create something large and more complicated than in the past. I used my Cane Mapping technique with an added twist.
It’s a large piece, 19″ x 27″, framed it’s 20 1/2″ x 28 1/2″. I bake my polymer clay in a regular kitchen oven, but even so I had to construct it in pieces like a giant jigsaw puzzle.
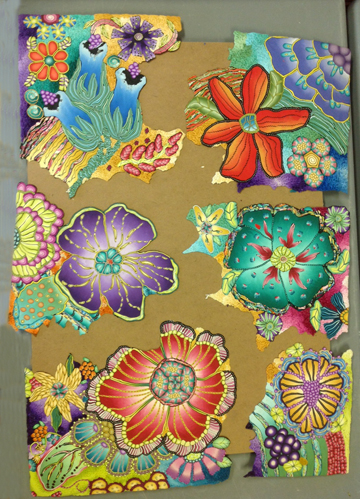
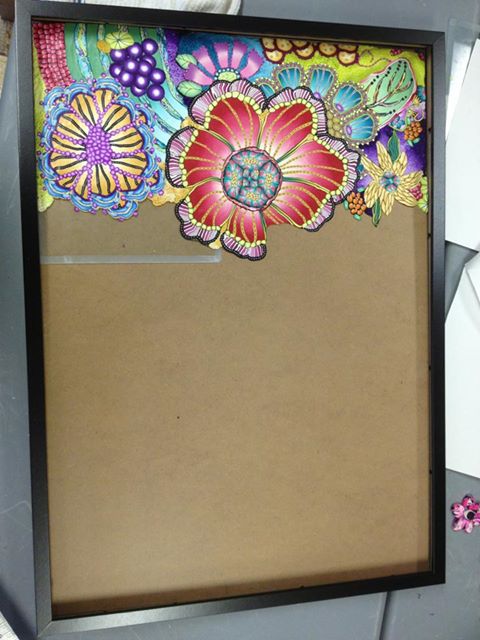
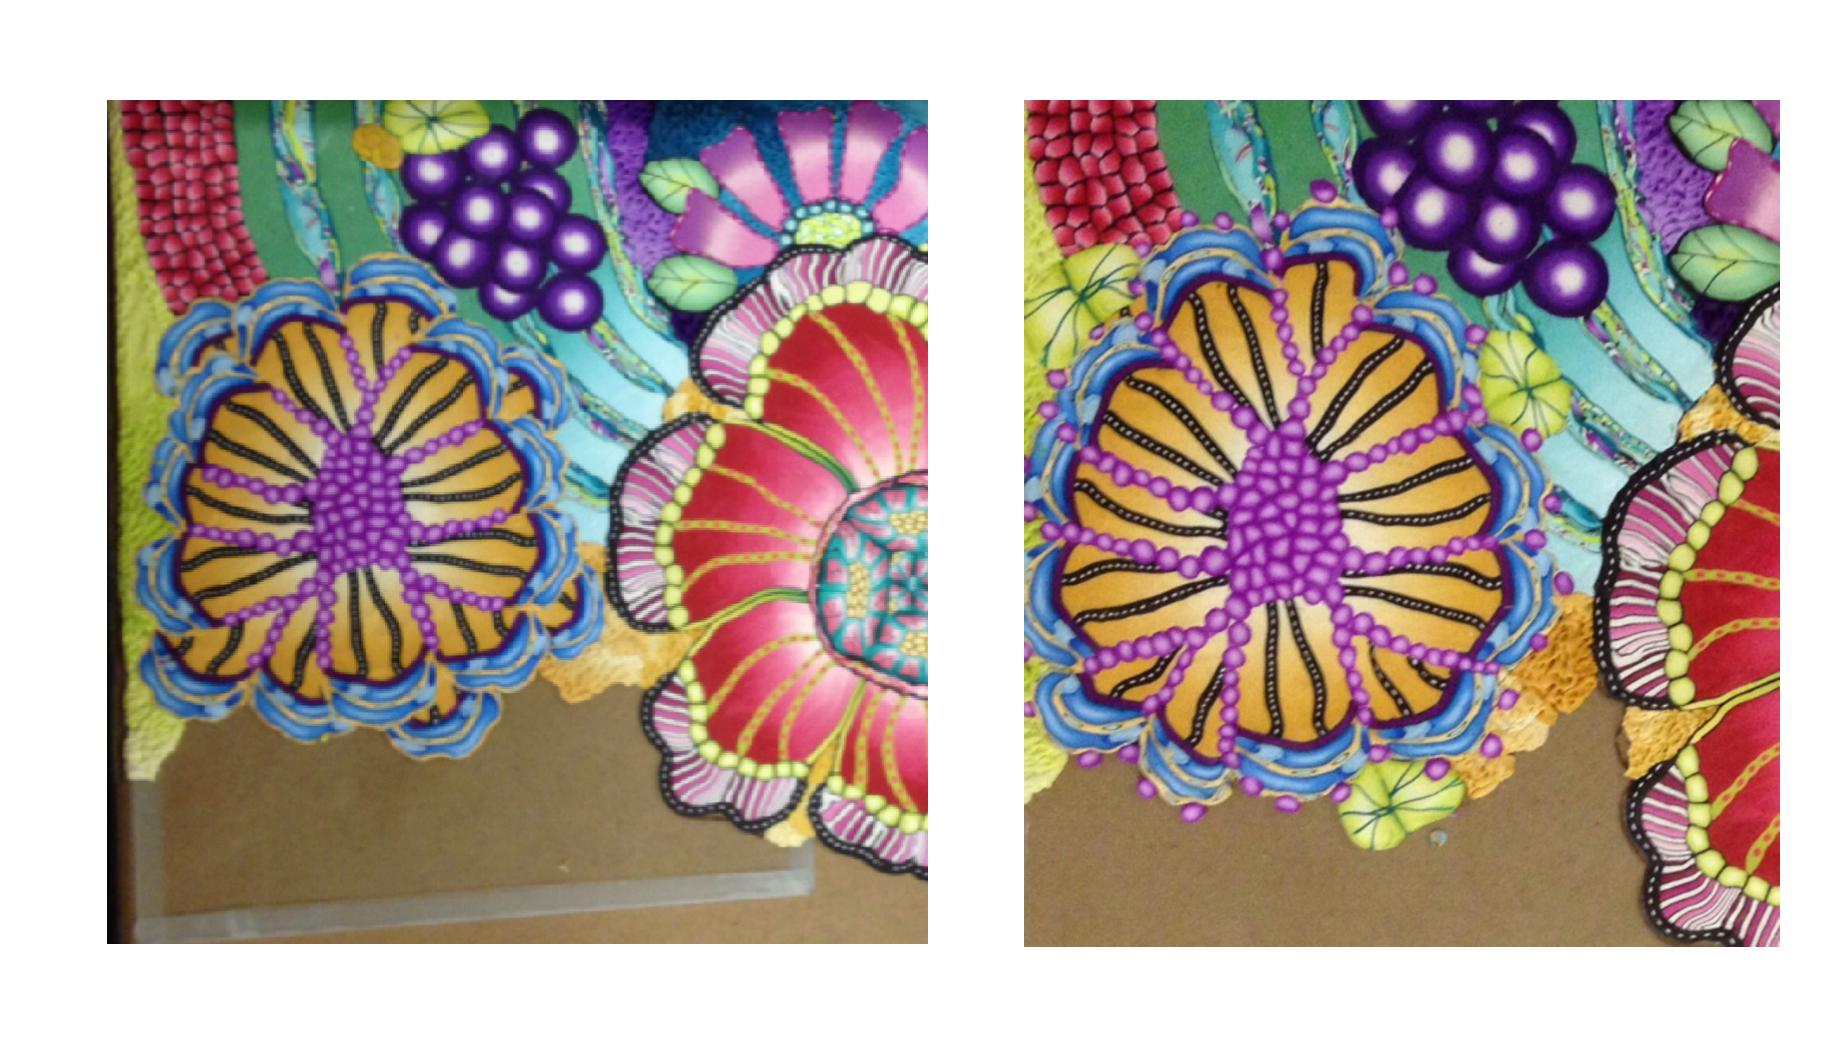
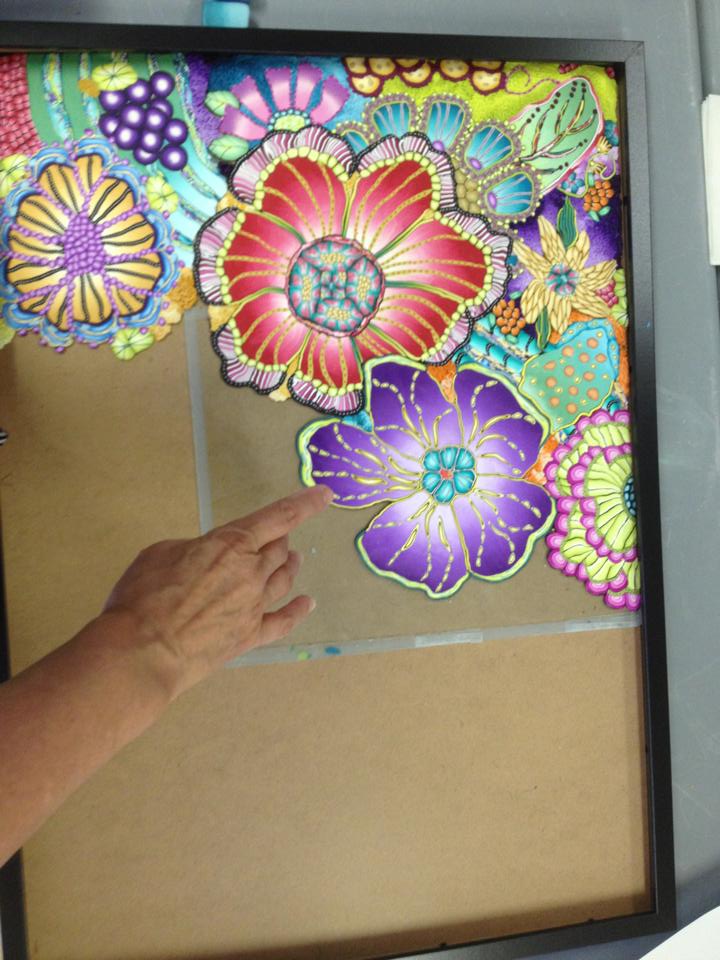
After baking a pieces, I constructed the next piece on a piece of glass and by fitting it to the last piece. I placed a roughly drawn pattern behind the glass, but as you can see by this picture, I didn’t follow it exactly.
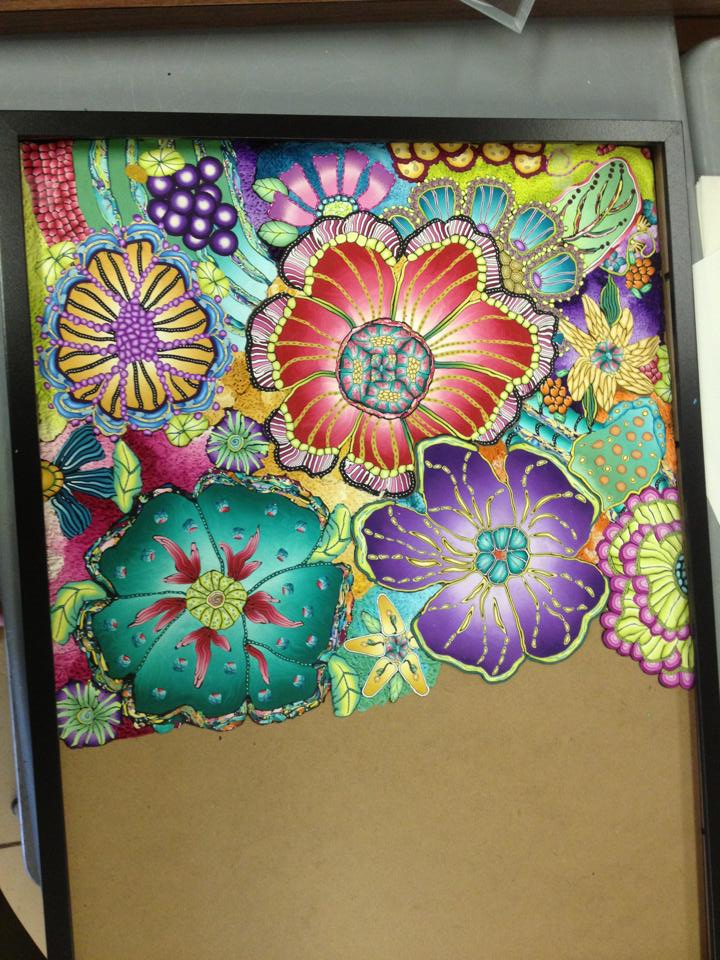
I continued this way until all were pieces were baked and then glued them to a back board. Actually this board came with a frame I bought. Here’s a look at each step as it was completed.
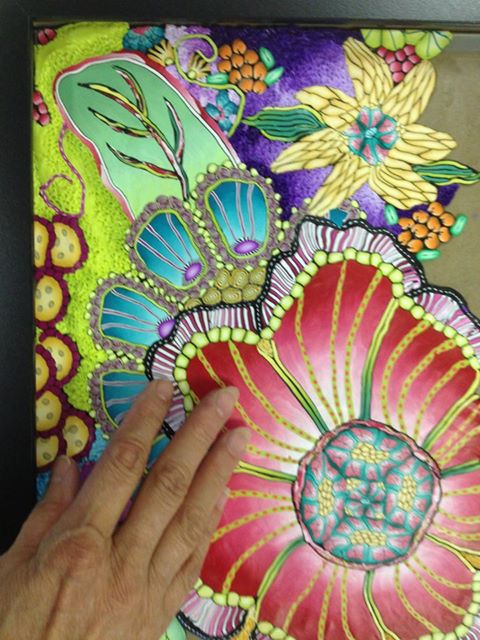
After completing and taking a picture of this step, I realized how disjointed some of the yellow flower petals looked. So before I baked it, I made some corrections.
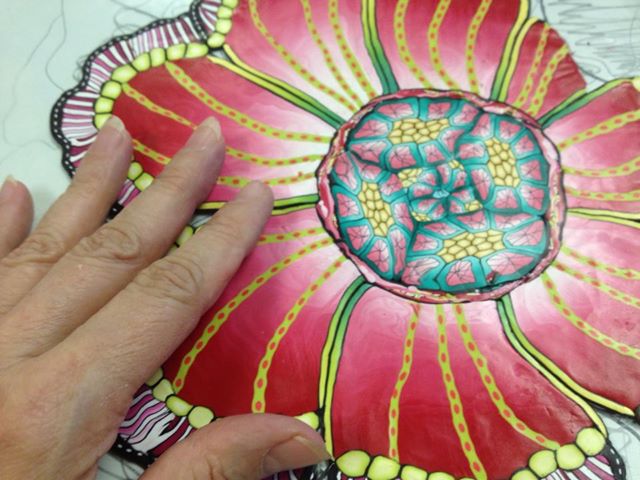
Not completely satisfied, but knowing this was as good as it was going to get, I baked it and moved to the next section. Once again I used my and for size reference.
And once again the finished piece. I certainly learned a lot and look forward to making many more.
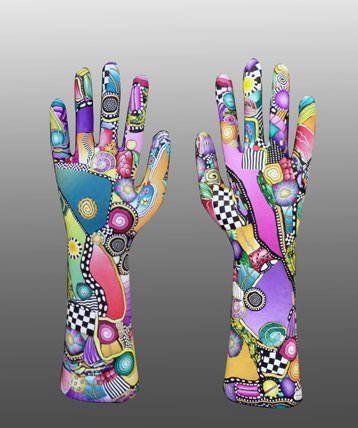
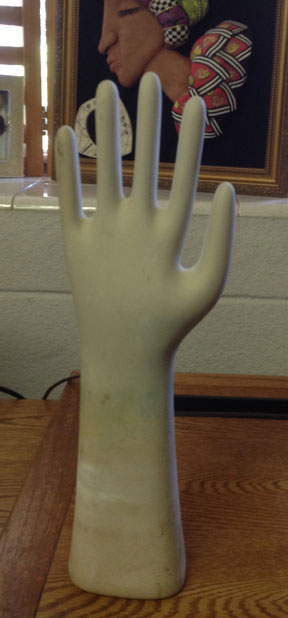
I bought two hand molds at a flea market several months ago with the intention of coming right home and covering them with clay. It certainly wasn’t right away but believe it or not, I’m proud I actually got one of them covered before the year was out. Usually projects like this sit around staring at me forever.
This is one hand, I’m just showing you both sides at the same time. I still have some work to do on it before I begin on the second one. I have a bit of ……*choke, cough, choke* ………sanding to do and buffing it up. You see how much I wanted these, I do not like to sand or buff. but it will be worth it.
These are colorful, funky and a perfect sampler of many of my canes. I’ll be happy to have it to remind me of them all.
These hand are molds for rubber gloves. The flea market vendor had about 20 of them and I wanted to buy them all. I know, I know, I’m having trouble finishing two so what would I do with 20? Anyway, I’m glad I bought the two. You can find plenty of these glove molds online should you be so inclined to cover one.
Even if you didn’t cover them, they would make great display pieces just like they are. Hang your necklaces or bracelets from the fingers.
now…..what should I do with the second one. Black and white? more color? hmmmmmm.
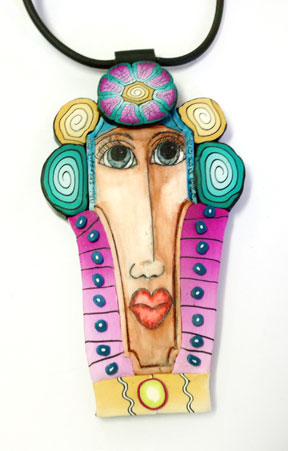
Just a quick picture of a new pen and ink pendant. I’m getting ready to go spend some time with the Orlando Area Polymer Clay Guild. A little bit of ink and a little bit of clay……The main shape is a stamp by Barbara McGuire
These are talented people and I look forward to sharing some of their work next week. Have a get weekend and a fun 4th of July.
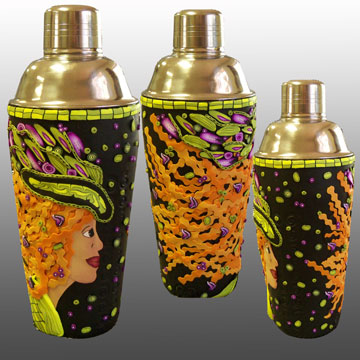
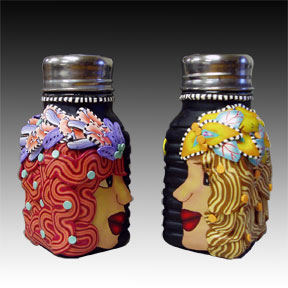
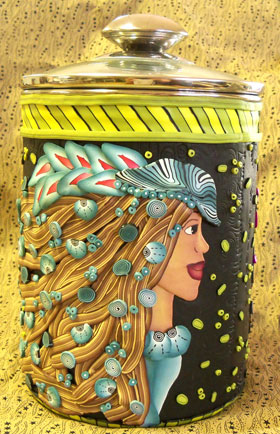
But these funky faces aren’t just for bracelets, I’ve used them on all kinds of things.
A cocktail shaker, or
salt and pepper skakers, or
a canister, just to name a few.
I always have the best time at this guild, they’re fun and really enjoy the clay. And they always have the greatest pot luck! Thanks ladies and a special thank you to Sydney Carter for asking me and making the arrangements.
Everyone was delighted to the Premo clay for this project donated by Polyform. That you Iris Weiss.
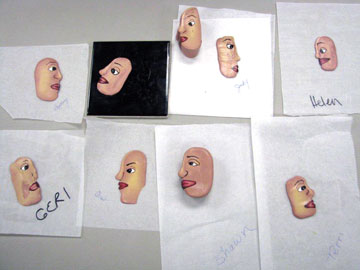
Next week I’m teaching at the West Coast Polymer Clay Guild in New Port Richey, FL. It’s a great class to teach and I’m looking forward to seeing friends I made at Orlando Clay Fandango and making new ones. And making more great faces……..
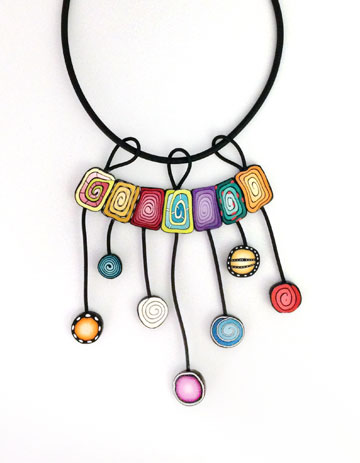
When I was getting ready to travel to Atlanta to attend the Synergy Conference, I wanted to make a few new things to wear. I’ve had a couple of ideas in my head for awhile and thought this would be the perfect opportunity to try them out.
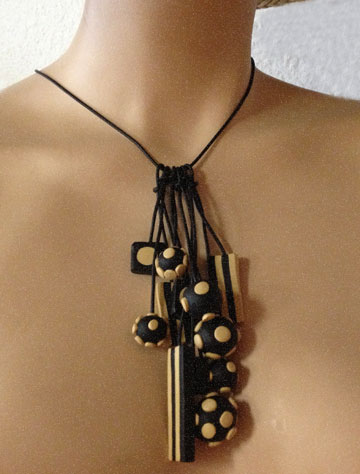
The necklace or “slide” in the picture above was really simple and fun to make. It’s more fun to wear because it has motion. It’s made with spiral canes formed into rectangles and of course round canes. I’ve attached them together with Buna Cord and looped the Buna Cord at the top to allow me to slide whatever chain or cording through and TaDa….it’s ready to wear.
I really like this necklace too. It moves and dangles and is just fun to wear. But I’m concerned with the o-rings shelf life. I’ve talked with several people that say that after many years, they begin to disintegrate and thus your necklace falls apart. So it’s not something that I could ever sell, but maybe it I keep searching, I can find a replacement.
I have so many things to show you and talk about concerning Synergy and the inspiring things that went on, what was shared, the friends I got to see again, the friends I met in person for the first time and just the overall experience.
Unfortunately I came home sick and am just not getting back to normal. I have lots of catching up to do.
DO take a minute to click on the sun on the righthand side of this page and see what is being offered at this years Fandango retreat. I’m teaching along with Suzanne Ivester, Sydnee Holt, Linda Hess and Penny Jo Couch. I hope to see you there.
“We’re all mad here.”
― Lewis Carroll (The Cheshire Cat), Alice in Wonderland
I feel like I followed the White Rabbit into a hole and don’t know when I’ll get out again. I began the long put off task of cleaning out my spare room. I won’t go into details, it’s just too scary. I didn’t need halloween, I had my own frightening adventure in my house.
But I’ve taken a day to play with clay and get something out of my head and into a design. It’s my contour cat bracelet. I think he is related to the other Alice’s Cheshire Cat, don’t you?
Here’s the other side.
And here it is on my wrist. I can tell you from experience that I always get compliments and comments when I wear my boldest contour bracelets, mainly because they’re so crazy.
I have lots more work to do on “the room” but I can’t stay away from clay for long. I agree with the Cheshire Cat, I am a bit crazy when it comes to clay. See you next time.
I had these wonderful people in my studio for two day last weekend. We had the best time, but we always do when this group comes to play. Thanks you guys for everything.
We took both days to experiment and give permission to ourselves to explore canes and designs in different ways. To let go of preconceived notions of how thing are SUPPOSE to look and let imaginations run wild.
On day two I we explored my Cane Mapping technique and how to cover something, make giant hollow beads or make a beautiful piece to frame. Everyone created very individual pieces. How fun are these?
Each person had their own colors and style making the day and the finished pieces so interesting.
Some of these were clip art and some were drawn by Tyra, who is very talented, and some were done without a drawing. And if you look close, I’m sure you’ll see a Stroppel Cane or two. *g*
Today I’ve had exactly an hour at my clay table and computer, I had some database work to do for our business and I was watching a tutorial at the same time. shh don’t tell my husband.
Anyway…I have been looking at the beads from yesterday and don’t have the time today to jump into the ideas in my head, but did decide to add a color wash to bring out the valleys. Can you see the difference?
Now I’m going to…shudder….buff them. I’ll be back.


Comments